Sign In
Upload
Download
Table of Contents
Contents
Add to my manuals
Delete from my manuals
Share
URL of this page:
HTML Link:
Bookmark this page
Add
Manual will be automatically added to "My Manuals"
Print this page
×
Bookmark added
×
Added to my manuals
Manuals
Brands
Westinghouse Manuals
Cookers
WFE904SC
User manual
Westinghouse WFE904SC User Manual
900mm cooking appliances
Hide thumbs
1
Table Of Contents
2
3
4
5
6
7
8
9
10
11
12
13
14
15
16
17
18
19
20
21
22
23
24
25
26
27
28
29
30
31
32
33
34
35
36
37
38
39
40
41
42
43
44
45
46
47
48
49
50
51
52
53
54
55
56
57
58
59
60
page
of
60
Go
/
60
Contents
Table of Contents
Troubleshooting
Bookmarks
Table of Contents
Table of Contents
Important Safety Instructions
Wfe904Sc
Wfe914Sc
Wfep915Sc
Wfe946Sc
Wvep916Sb
Wve916Sb
Wve914Sb
Before Operating Your Appliance for the First Time
Installing Your Oven Accessories
Installing Burners and Trivets
Getting to Know Your Cooktop
Getting to Know Your Ceramic Cooktop
Using Your Ceramic Cooktop
Using Your Oven
Cooking Test
Cooking Guide (Freestanding Models)
Cooking Guide (Built-In Models)
Dealing with Cooking Problems
Cleaning Your Oven
Cleaning Oven Accessories
Cleaning Your Pyrolytic Oven
Troubleshooting
Installation of the Appliance
Wiring Requirements
Installing the Freestanding Cooker
LPG Conversion
Testing the Operation of the Gas Cooker
Notes
Warranty
Advertisement
Quick Links
1
Wfe914Sc
2
Wvep916Sb
3
Wve916Sb
4
Before Operating Your Appliance for the First Time
5
Using Your Oven
6
Cleaning Your Oven
7
Troubleshooting
Download this manual
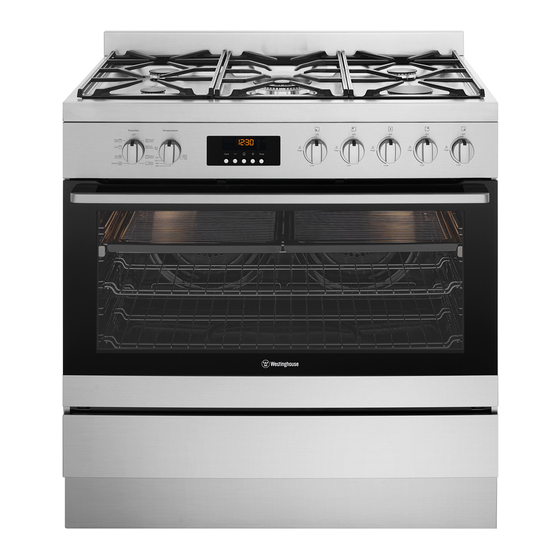
USER MANUAL
900mm COOKING APPLIANCES
WFE904SC, WFE914SC, WFEP915SC, WFE946SC
WVE914SB, WVE916SB, WVEP916SB
1
IMPORTANT SAFETY INSTRUCTIONS
Table of
Contents
Previous
Page
Next
Page
1
2
3
4
5
Advertisement
Table of Contents
Need help?
Do you have a question about the WFE904SC and is the answer not in the manual?
Ask a question
Questions and answers
Related Manuals for Westinghouse WFE904SC
Cookers Westinghouse WFE914SB User Manual
900mm cooking appliances (48 pages)
Cookers Westinghouse WFE912SA User Manual
900mm cooking appliances (48 pages)
Cookers Westinghouse WFE946SB User Manual
900mm cooking appliances (48 pages)
Cookers Westinghouse WFE912SB User Manual
900mm dual fuel freestanding cooker (32 pages)
Cookers Westinghouse WFE911SB User Manual
900mm cooking appliances (32 pages)
Cookers Westinghouse WFE914SC User Manual
900mm cooking appliances (60 pages)
Cookers Westinghouse WFE946SC User Manual
900mm cooking appliances (60 pages)
Cookers Westinghouse WFE946 Installation Manual
90cm freestanding cookers (9 pages)
Cookers Westinghouse WFE904SD User Manual
90cm cooking appliances (48 pages)
Cookers Westinghouse WFE9516DD User Manual
90cm cooking appliances (40 pages)
Cookers Westinghouse WVE9516DD User Manual
(40 pages)
Cookers Westinghouse WFE9756DD Installation Manual
90cm freestanding cookers (5 pages)
Cookers Westinghouse WFE512 User Manual
540mm and 600mm slot-in upright range cooker (21 pages)
Cookers Westinghouse WFEP915SC User Manual
900mm cooking appliances (60 pages)
Cookers Westinghouse WFE642WCB User Manual
540mm and 600mm slot-in upright range cooker (40 pages)
Cookers Westinghouse WFE642SCB User Manual
540mm and 600mm slot-in upright range cooker (40 pages)
This manual is also suitable for:
Wfe914sc
Wve916sb
Wfep915sc
Wvep916sb
Wfe946sc
Wve914sb
Table of Contents
Print
Rename the bookmark
Delete bookmark?
Delete from my manuals?
Login
Sign In
OR
Sign in with Facebook
Sign in with Google
Upload manual
Upload from disk
Upload from URL


Need help?
Do you have a question about the WFE904SC and is the answer not in the manual?
Questions and answers