Table of Contents
Advertisement
Quick Links
Installation Guide
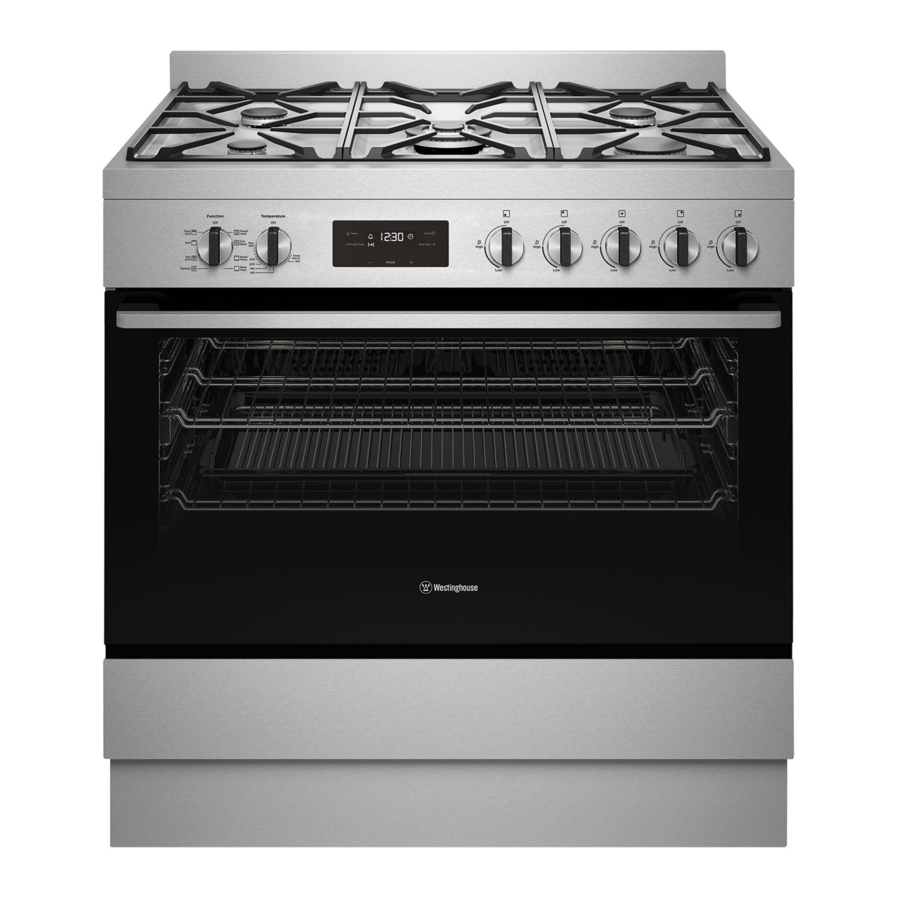
90cm freestanding cookers
Your freestanding cooker is designed to fit into a 900mm wide gap
between standard kitchen cabinets. The appliance integrates with
the kitchen cabinets by matching the height, depth and kick panel.
The cooker may also be installed at the end of a line of benches or
with a free space either side. In addition, a slot-in type installation is
catered for allowing a continuous cabinetry kick panel to be used.
WARNING
WARNING
• The cooker must be installed and serviced only by an authorised
person.
• A Certificate of Compliance MUST be supplied to be kept by the
customer.
• The packing materials must be removed before you install the
cooker.
• The surrounding kitchen cabinets must be able to withstand 85°C.
Electrolux WILL NOT accept responsibility for damage caused by
installation into kitchen cabinets which cannot withstand 85°C.
• The pipes used for installation MUST have sufficient loops so the
cooker can be moved for service (gas models).
• The vents, openings and air spaces MUST NOT be blocked.
• Two anti-tilt brackets are supplied and stored in the base of the
packaging
• The anti-tilt brackets MUST be installed to avoid accidental
tipping (freestanding and slot-in models).
• You MUST NOT lift or pull the cooker by the door handle.
• The cooker MUST be checked every five years.
• If the supply cord is damaged, it must be replaced by the
manufacturer, its service agent or similarly qualified persons in
order to avoid a hazard.
• The appliance must not be installed behind a decorative door in
order to avoid overheating.
• Due to the weight (95-100kg) and size of the cooker, 2 persons
are required to install it.
Gas model clearance requirements
• Ensure the appliance is installed in accordance with clauses 6.2.5
and 6.10.1.1 of AS/NZS 5601.1 or clauses 6.9.1 and 6.9.5 of AS/
NZS 5601.2 with regard to clearances to combustible surfaces
and materials, and clearances to rangehoods and exhaust fans, to
ensure clearances of 200mm from burners to vertical combustible
surfaces. Observe the minimum dimension of 100mm from each
side of the cooker to combustible surfaces.
• Clearances to combustible surfaces may be reduced if combustible
surfaces are protected in accordance with clause 6.10.1.2 of AS/NZS
5601.1, or clause 6.9.2 of AS/NZS 5601.2.
• When setting the cooker height, ensure the top of the cooker is at
least 10mm higher than the level of the benchtop.
To access your detailed user manual simply scan the QR code on your
smart phone.
For more detailed information and installation guide refer to user manual at
westinghouse.com.au/manuals
and WESTINGHOUSE are trademarks of Westinghouse Electric Corporation. Used under license by Electrolux Home Products Pty Ltd. All Rights Reserved.
© 2020 Electrolux Home Products Pty Ltd. ABN 51 004 762 341 ANC A20343401 Rev B W_INS_FS_90_Cooker_A4_Oct20
Dimensions
600mm minimum
vertical clearance
from combustible
surfaces
Gas hob 910mm
(adjustable 910-930mm)
Ceramic hob 906mm
(adjustable 906-926mm)
Splashback
The splashback is secured to the back of the cooker.
REMOVE the splashback before installing the feet.
15mm
(height of trivet above hob)
1
Advertisement
Table of Contents

Related Manuals for Westinghouse WFE946


Summary of Contents for Westinghouse WFE946
- Page 1 For more detailed information and installation guide refer to user manual at westinghouse.com.au/manuals and WESTINGHOUSE are trademarks of Westinghouse Electric Corporation. Used under license by Electrolux Home Products Pty Ltd. All Rights Reserved. © 2020 Electrolux Home Products Pty Ltd. ABN 51 004 762 341 ANC A20343401 Rev B W_INS_FS_90_Cooker_A4_Oct20...
- Page 2 Installation Guide 90cm freestanding cookers FREESTANDING INSTALLATION 3. Tilt and carefully lay the appliance on its back to gain access to the installation point for the screw in feet. The freestanding type installation requires four screw-in feet to be installed before it can be fitted in between cabinets, with cabinets CAUTION WARNING on one side or without adjacent cabinets.
- Page 3 Anti-tilt bracket installation reference line Levelling oven Place a level in the oven as below making sure the level sits on the front and rear forms. Adjust the feet accordingly to level the appliance. WARNING WARNING • Appropriate fasteners must be used to suit the type of wall on Installing splashback which the anti-tilt brackets are installed.
- Page 4 Installation Guide 90cm freestanding cookers SLOT-IN INSTALLATION The slot-in type installation uses the appliance as supplied. The appliance can be mounted on a plinth. This enables a continuous cupboard kickboard to be installed, giving a more integrated appearance. There is no clearance requirement between oven and adjacent side cabinets.
- Page 5 KICKPANEL INSTALLATION TRIVET INSTALLATION Installing the clip-on kick panel Installing the trivets Selected models are supplied with a clip-on kick panel that can Install the middle trivet first by aligning the trivet with the wok be assembled to clip onto the front feet for a more integrated and burner and gently placing the trivet on hob.
- Page 6 Supply cord size required: WFE904/WFE915/WFE916 models - 2.5mm WFEP917 models - 4.0mm WFE946 models - 6.0mm Plastic clips The Data plate gives information about rating and is located behind Plastic clip the bottom of the oven door.
- Page 7 Gas pressures Gas connection Read these points before connecting to the gas supply: The following table shows the supply and operating pressures for various gases. • The appliance is preset for natural gas use, if LPG is to be used see Conversion to LPG section.
- Page 8 Installation Guide 90cm freestanding cookers TESTING THE OPERATION OF THE regulator may be needed, or an upstream regulator or valve with insufficient flow capacity may be present in the gas GAS COOKER supply line. If this is suspected then it may be necessary to repeat the checks whilst measuring both the inlet and outlet Checking gas supply pressure to determine if the inlet pressure is in the range...
Need help?
Do you have a question about the WFE946 and is the answer not in the manual?
Questions and answers