Table of Contents
Advertisement
USER MANUAL
Enjoy peace of mind.
Register your appliance today.
Stay updated on better living services, safety notices and
shop for accessories.
1. Open the camera app on your smartphone and
point at the QR code to scan
Product Registration QR code is located on the
front of your appliance or inside the door rim*.
2. Tap the notification or link to open the registration form
3. Complete your details and enjoy peace of mind
*Exact location of QR code may vary depending on oven model
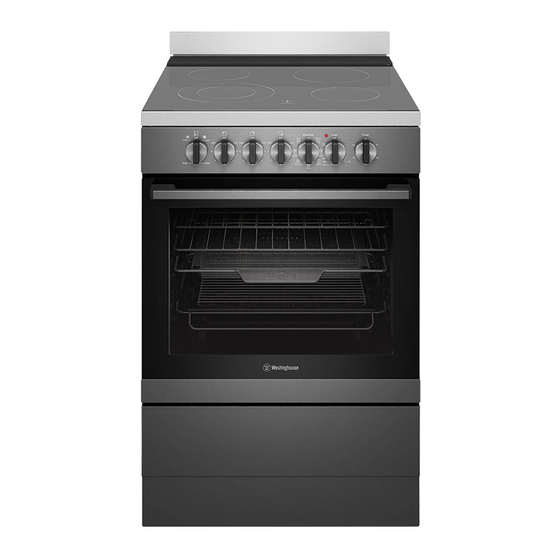
540MM AND 600MM SLOT-IN
UPRIGHT RANGE COOKER
WFE512, WFE542, WFE614, WFE612
WFE642, WFG612, WFE532, WFE616, WFE646
Advertisement
Table of Contents


Need help?
Do you have a question about the WFE512 and is the answer not in the manual?
Questions and answers