Avaya J169 Manual
Hide thumbs
Also See for J169:
- User manual ,
- Installing and administering (203 pages) ,
- Instructions manual (179 pages)
Table of Contents
Advertisement
Advertisement
Table of Contents

Related Manuals for Avaya J169


Summary of Contents for Avaya J169
- Page 1 Using Avaya J169/J179 IP Phones SIP Release 1.5 Issue 1 March 2018...
-
Page 2: Table Of Contents
Adding an entry from the call history to your contacts list .................. 28 Removing an entry from call history ..................29 Clearing all call history entries ......................29 Handling Contacts list ....................29 Using the contacts feature March 2018 Using Avaya J169/J179 IP Phones SIP Comments on this document? infodev@avaya.com... - Page 3 .......................... 48 Call Parking ........................49 Parking a call ......................49 Unparking a call ........................49 Recording a call ..........................50 Calendar ......................50 Using the Calendar March 2018 Using Avaya J169/J179 IP Phones SIP Comments on this document? infodev@avaya.com...
- Page 4 ....................... 79 Activating call forwarding ........79 Enabling call forwarding when your line is busy or you do not answer ................80 Setting rules for enhanced call forwarding March 2018 Using Avaya J169/J179 IP Phones SIP Comments on this document? infodev@avaya.com...
- Page 5 ....................83 Limited access during failover Chapter 9: Related resources....................85 ........................85 Documentation ............. 87 Finding documents on the Avaya Support website ....................87 Viewing Avaya Mentor videos ..........................88 Support March 2018 Using Avaya J169/J179 IP Phones SIP...
-
Page 6: Chapter 1: Introduction
Chapter 1: Introduction Purpose This document is intended for end users and describes how to use the features available on Avaya J169/J179 IP Phone. This document also describes the end user procedures to setup various functionality. March 2018 Using Avaya J169/J179 IP Phones SIP... -
Page 7: Chapter 2: Phone Overview
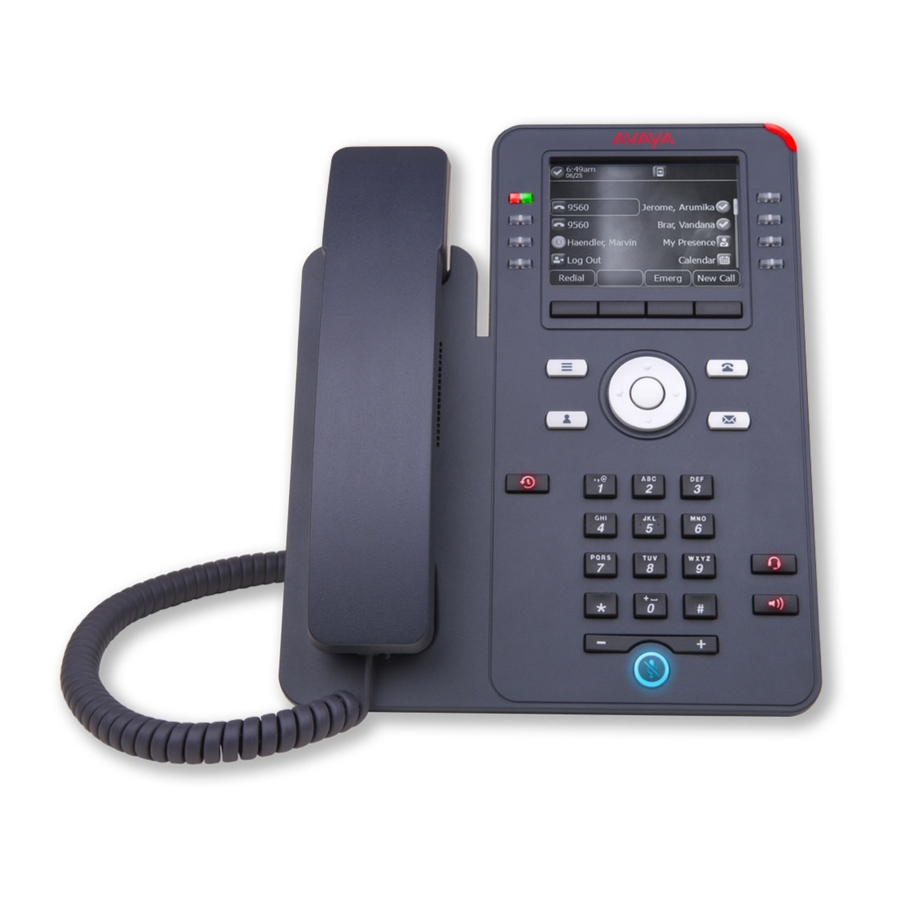
The phone supports eight call appearances with four lines of call display. The phone can support up to three button modules, and each button module supports 24 call appearances. The Avaya J169 IP Phone has a grayscale display, and the Avaya J179 IP Phone has a color display. Physical specifications •... -
Page 8: Physical Layout
Phone overview Physical layout March 2018 Using Avaya J169/J179 IP Phones SIP Comments on this document? infodev@avaya.com... - Page 9 The softkey labels show you the action that each key produces. The labels and the actions vary depending on the screen that the phone displays. Table continues… March 2018 Using Avaya J169/J179 IP Phones SIP Comments on this document? infodev@avaya.com...
- Page 10 To listen to your voice mail messages, ensure that the system administrator configures the voice mail for your extension. Headset Press the Headset button to use the headset if connected. Table continues… March 2018 Using Avaya J169/J179 IP Phones SIP Comments on this document? infodev@avaya.com...
-
Page 11: Connection Jacks
To unmute the call, press the Mute button again. Connection Jacks The following image illustrates the connection jacks that are present on the back panel of Avaya J169/J179 IP Phone. The image schematically describes which device to connect to which jack. - Page 12 Phone overview March 2018 Using Avaya J169/J179 IP Phones SIP Comments on this document? infodev@avaya.com...
-
Page 13: Optional Components
Phone icons General icons The following table lists the icons for Avaya J169 IP Phone and Avaya J179 IP Phone. The icons are similar for both the phones, except Avaya J169 IP Phone displays the icons in grayscale and Avaya J179 IP Phone in color. - Page 14 ™ Indicates that the call is being recorded for SLA Mon Indicates that the end to end call is secured. March 2018 Using Avaya J169/J179 IP Phones SIP Comments on this document? infodev@avaya.com...
-
Page 15: Call History Icons
Phone icons Call history icons The following table lists the icons for Avaya J169 IP Phone and Avaya J179 IP Phone. The icons are similar for both the phones, except Avaya J169 IP Phone displays the icons in grayscale and Avaya J179 IP Phone in color. -
Page 16: Mlpp Icons
Phone overview MLPP icons The icons are similar for both the phones, except Avaya J169 IP Phone displays the icons in grayscale and Avaya J179 IP Phone in color. Icon Name Description Priority Priority icon for a priority call. Immediate... -
Page 17: Chapter 4: Call Operation
Each time you press the dialpad, the list display shifts to match your input. You can also scroll up or down to locate the contact. 4. Press Call or OK. March 2018 Using Avaya J169/J179 IP Phones SIP Comments on this document? infodev@avaya.com... -
Page 18: Calling A Person From The Call History
2. If you are working with a redial list, scroll to the number to call and press Call or OK. Your system administrator can disable Redial functionality. Related links Setting redial options on page 56 March 2018 Using Avaya J169/J179 IP Phones SIP Comments on this document? infodev@avaya.com... -
Page 19: Speed Dialing A Person
• If you are not on another call, lift the handset or press the line button next to the incoming call, press Speaker, OK, or Answer to answer the call using the speakerphone, or press Headset to answer using the headset. March 2018 Using Avaya J169/J179 IP Phones SIP Comments on this document? infodev@avaya.com... -
Page 20: Muting A Call
Hold Recall feature, which alerts you visually and with a priority ring to remind you of a held call after a certain period of time. March 2018 Using Avaya J169/J179 IP Phones SIP Comments on this document? infodev@avaya.com... -
Page 21: Autodialing A Pre-Assigned Number
When contacts whose presence you have set up to track have called you, the applicable presence icon displays along with the call information. 3. Scroll up or down to view the entries on the list. March 2018 Using Avaya J169/J179 IP Phones SIP Comments on this document? infodev@avaya.com... -
Page 22: Viewing Call History Details
Removing an entry from call history Procedure 1. Press Recents. 2. Select the number you want to delete. 3. Press More, and then press Delete. 4. Press Yes to confirm the deletion. March 2018 Using Avaya J169/J179 IP Phones SIP Comments on this document? infodev@avaya.com... -
Page 23: Clearing All Call History Entries
• If this is your first contact list entry, press Contacts > New. • If you already have entries in your contact list, press Contacts > More > New. March 2018 Using Avaya J169/J179 IP Phones SIP Comments on this document? infodev@avaya.com... -
Page 24: Assigning Specific Ring Tone To A Contact
5. Press OK. 6. Use the Up and Down navigation keys to choose the ring tone of your choice and press 7. Press Back. 8. Press Save. March 2018 Using Avaya J169/J179 IP Phones SIP Comments on this document? infodev@avaya.com... -
Page 25: Viewing The Details For A Contact
With each successive dialpad key press, the phone displays the matching entries. Procedure 1. Press Contacts. 2. Use the dialpad to type the name that you want to search. March 2018 Using Avaya J169/J179 IP Phones SIP Comments on this document? infodev@avaya.com... -
Page 26: Extended Searching
Deleting a contact Before you begin You must have at least one contact in the contacts list. Procedure 1. Press Contacts. March 2018 Using Avaya J169/J179 IP Phones SIP Comments on this document? infodev@avaya.com... -
Page 27: Accessing Exchange Contacts
• Dial the phone number by using the dial pad. • Call the person from the Contacts list or from the Recents list • Redial the last dialed number by using the Redial softkey. March 2018 Using Avaya J169/J179 IP Phones SIP Comments on this document? infodev@avaya.com...
Need help?
Do you have a question about the J169 and is the answer not in the manual?
Questions and answers