Table of Contents
Advertisement
Quick Links
Advertisement
Table of Contents

Related Manuals for Insportline Ellare II


Summary of Contents for Insportline Ellare II
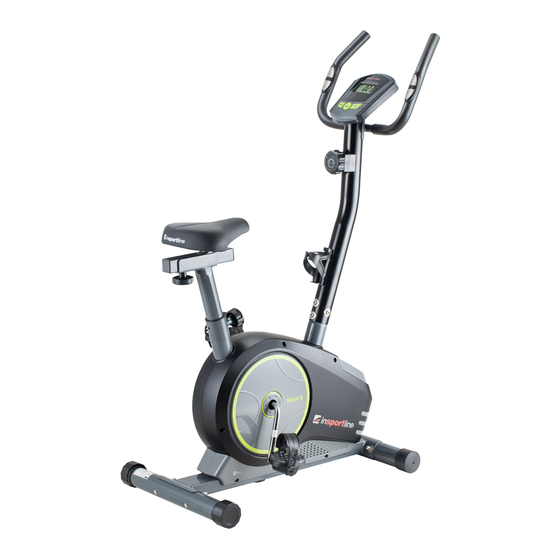
- Page 1 USER MANUAL – EN IN 16527 Exercise Bike inSPORTline Ellare II...
-
Page 2: Table Of Contents
CONTENTS SAFETY PRECAUTIONS ........................3 EXPLODED DRAWING ........................... 4 PARTS LIST ............................5 ASSEMBLY STEPS ..........................6 USAGE INSTRUCTIONS ........................9 COMPUTER ............................10 BUTTON FUNCTIONS ........................10 FUNCTIONS ............................11 OPERATION ORDER ........................... 12 PULSE MEASUREMENT ........................12 RECOVERY............................12 BODY FAT ............................. -
Page 3: Safety Precautions
SAFETY PRECAUTIONS • Read this manual carefully before first using and retain it for future reference. Specifications may slightly vary from the illustrations and can be changed without any previous notice. • Observe all instructions and warnings for higher safety. Use it only for intended purpose. •... -
Page 4: Exploded Drawing
EXPLODED DRAWING... -
Page 5: Parts List
PARTS LIST Description Qty. Main frame Front stabilizer Rear stabilizer Rear end cap Carriage bolt M8xL74 Arc washer ø8.5x1.5x ø25xR33 Acorn nut M8 Crank 9L/R Pedal Front end cap Sensor wire Tension cable Extension wire Inner hex bolt M8x16 Saddle bushing Cross pan-head screw Handlebar post Arc washer... -
Page 6: Assembly Steps
NOTE: Most of the listed assembly hardware has been packaged separately, but some hardware items have been pre-installed as assembly parts. Because of this, simply remove and reinstall the hardware as for assembly required. Keep the assembly steps for reference and make note about all pre-installed hardware parts. - Page 7 STEP 3 • Attach the saddle (33) to the horizontal saddle post (34), then attach the horizontal saddle post (34) to the saddle post (28) using flat washer (31) and plum nut (32) as shown below. • At least insert the saddle post (28) into the main frame (1) and secure with the knob (29) at proper height.
- Page 8 STEP 5 • Insert the pulse wires (20) through the hole on the handlebar post (17) and pull them out from the top of the computer bracket. • Attach the handlebar (25) to the handlebar post (17) and secure using inner hex bolt (14), spring washer (24) and arc washers (6).
-
Page 9: Usage Instructions
USAGE INSTRUCTIONS Using this bike can provide you with many benefits such as physical fitness improving, muscle toning or weight lost (in coordination with controlled diet). WARM-UP PHASE This phase should prepare your body for exercising and prevent your muscles from injury. Warm up for two or five minutes before stretching or aerobic exercising. -
Page 10: Computer
EXERCISE PHASE This is the stage, where there should be your effort put in. After regular use, your leg muscles should get more flexible. Work at your own pace and be sure to maintain a steady tempo throughout. The rate of work should be sufficient to raise your heart beat into the target zone as shown below. -
Page 11: Functions
• RESET Push it to reset the function value during setting. • Press and hold it for 2 seconds to reset all the values to zero and to go into adjustment of current data of calendar and clock. If the user replaces batteries, all the data values will be reset to zero automatically. -
Page 12: Operation Order
OPERATION ORDER POWER ON • Insert two pieces of 1.5V UM-3 or AA batteries. The monitor starts segment test with a long sound signal. • If batteries will be removed, all the function values will be reset to zero or to default value. SET CURRENT DATA •... -
Page 13: Terms And Conditions Of Warranty, Warranty Claims
• After testing end, you can see the fat percentage value and the BMI (Body Mass Index), displayed on the main LCD in sequence by scan mode. BODY FAT %: Calculated from your personal data to show the value from 5%~50%. BMI: Calculated from your personal data to show the value from 1.0~99.99. - Page 14 Warranty & Service Centre: Cermenska 486, 749 01 Vitkov, Czech Republic CRN: 26847264 VAT ID: CZ26847264 Phone: +420 556 300 970 E-mail: eshop@insportline.cz reklamace@insportline.cz servis@insportline.cz Web: www.insportline.cz INSPORTLINE s.r.o. Headquarters, Warranty & Service centre: Elektricna 6471, 911 01 Trencin, Slovakia...
- Page 15 CRN: 36311723 VAT ID: SK2020177082 Phone: +421(0)326 526 701 E-mail: objednavky@insportline.sk reklamacie@insportline.sk servis@insportline.sk Web: www.insportline.sk Date of Sale: Stamp and Signature of Seller:...
Need help?
Do you have a question about the Ellare II and is the answer not in the manual?
Questions and answers