
Related Manuals for ACME LS-608 RGB


Summary of Contents for ACME LS-608 RGB
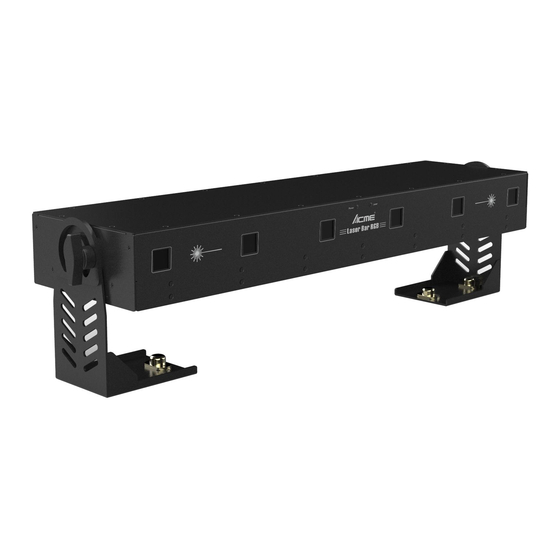
- Page 1 Laser Bar RGB LS-608 RGB User Manual Please read the instructions carefully before use...
-
Page 2: Table Of Contents
MENU 1. Safety Instructions ..........................2 2. Technical Specifications ........................3 3. Installation ............................3 4. How to set the fixture ........................4 4.1 Control Panel ..........................4 4.2 Main Functions ..........................4 5. How To Control The Fixture ......................8 6. DMX512 Configuration ........................8 7. Troubleshooting ..........................10 8. -
Page 3: Safety Instructions
1. Safety Instructions Please read the instructions carefully which includes important WARNING information about the installation, operation and maintenance. Laser radiation avoids body exposure, especially for eye, it’s easy to cause blindness. Please keep the safe distance at 30 meters from clothing or skin. ... -
Page 4: Technical Specifications
2. Technical Specifications DMX Control; Input Voltage: AC100V~240V,50/60Hz Power Consumption of Laser: 800 mW x 6 Power Consumption 105W IP Rate IP X4 Dimension: 915 x 225.5 x 249mm Weight: 13.8Kgs 3. Installation The unit should be mounted via its screw holes on the bracket. -
Page 5: How To Set The Fixture
4. How to set the fixture 4.1 Control Panel ○ ○ 1 Power Input /Output 2 DMX IN/OUT ○ ○ 3 Key switch 4 LED Indicator ○ ○ 5 Display 6 Menu 4.2 Main Functions To select any functions, press the MENU button until the required one is shown on the display. Select the function by the ENTER button and the display will blink. - Page 6 DMX Address Select the DMX Address, press the ENTER button and the display will blink. Use the DOWN/UP button to change the DMX 512 address. Once the address has been selected, press the ENTER button to save or automatically exit menu mode without any change after one minute. Back to the previous functions without any change press the MENU button.
- Page 7 to select the 5CH/20CH. Once select the required mode, press the ENTER button to save or automatically exit menu mode without any change after one minute. To go back to the functions without any change press the MENU button. DMX Last State Select the DMX Last State (The state when the fixture out of signal), press the ENTER button and the display will blink.
- Page 8 automatically exit menu mode without any change after one minute. To go back to the functions without any change press the MENU button. Auto Test Select the Back Light, press the ENTER button. The fixture will test by itself automatically. Back to the functions without any change press MENU button again.
-
Page 9: How To Control The Fixture
5. How To Control The Fixture 1. Control by DMX Console; Use universal DMX controller to control the units, you have to set DMX address from 1 to 512 channel so that the units can receive DMX signal. 6. DMX512 Configuration... -
Page 11: Troubleshooting
7. DMX 512 Connections Connection mode: 1. Connect the fixture together in a “daisy chain” by XLR plug cable from the output of the fixture to the input of the next fixture. The cable cannot be branched or split to a “Y” cable. 2. -
Page 12: Fixture Cleaning
3. If you have intermittent DMX signal problems, check the cables of the fixture or the previous one. 4. Try another DMX controller. 8. Fixture Cleaning The cleaning must be carried out periodically to optimize light output. Cleaning frequency depends on the environment in which the fixture operates: damp, smoky or particularly dirty surrounding can cause greater accumulation of dirt on the unit’s optics.
Need help?
Do you have a question about the LS-608 RGB and is the answer not in the manual?
Questions and answers