Table of Contents
Advertisement
Dear customer!
Thank you for choosing this quality product from ASKO. We hope it will
meet your expectations and fulfi l your needs for many years to come.
Scandinavian design combines clean lines, everyday functionality and
high quality. These are key characteristics of all our products and the
reason they are greatly appreciated throughout the world.
Operating instructions
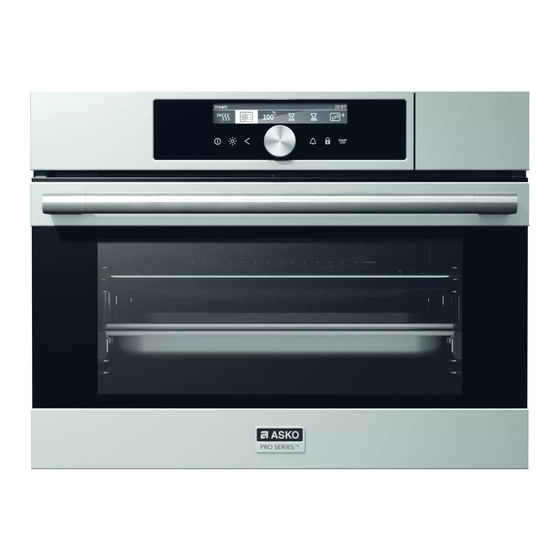
COMBINED STEAM OVEN
BO4CS2L1-42 OCS8456S
Advertisement
Table of Contents


Need help?
Do you have a question about the OCS8456S and is the answer not in the manual?
Questions and answers