Sign In
Upload
Download
Table of Contents
Contents
Add to my manuals
Delete from my manuals
Share
URL of this page:
HTML Link:
Bookmark this page
Add
Manual will be automatically added to "My Manuals"
Print this page
×
Bookmark added
×
Added to my manuals
Manuals
Brands
Yamaha Manuals
Synthesizer
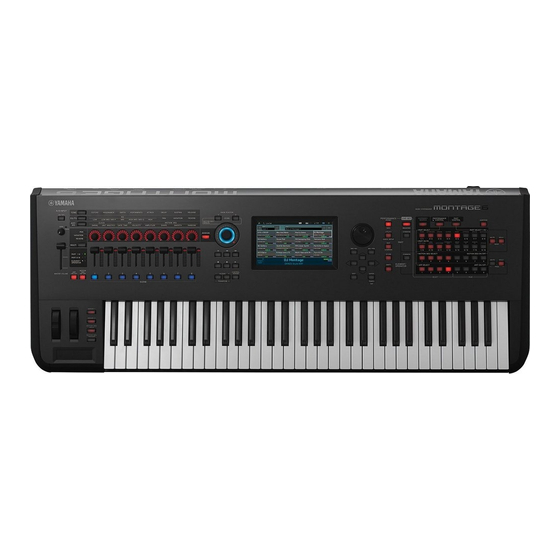
montage6
Owner's manual
Yamaha montage6 Owner's Manual
Hide thumbs
1
2
3
4
5
6
7
8
9
10
11
12
13
14
Table Of Contents
15
16
17
18
19
20
21
22
23
24
25
26
27
28
29
30
31
32
33
34
35
36
37
38
39
40
41
42
43
44
45
46
47
48
49
50
51
52
53
54
55
56
57
58
59
60
61
62
63
64
65
66
67
68
69
70
71
72
73
74
75
76
77
78
79
80
81
82
83
84
85
86
page
of
86
Go
/
86
Contents
Table of Contents
Troubleshooting
Bookmarks
Table of Contents
Special Message Section
Important Safety Instructions
Saving Data
A Message from the MONTAGE Development Team
About this Manual
Accessories
Main Features
Table of Contents
Controls and Functions
Top Panel
Rear Panel
Setting up
Power Supply
Connecting Speakers or Headphones
Powering up the System
Auto Power off Function
Adjusting the Master Volume Output
Restoring the Initial Factory Settings (Initialize All Data)
Basic Operation and Displays
Moving the Cursor
Quick Guide - Selecting Performances
Selecting a Performance from the Live Set
Switching Performances
Using the Category Search Function
Playback Audition Phrase
Quick Guide - Playing the Keyboard
Performance Play Display
Switching a Part On/Off
Using the Arpeggio Function
Using the Motion Sequencer Function
Using Controllers to Change the Sound
Using the Knobs to Change the Sound
Using the Super Knob to Change the Sound
Mixing
Using the Scene Function
Quick Guide - Creating Your Own Live Sets
Registering a Performance to a Live Set
Sorting Registered Performances in a Live Set
Quick Guide - Editing the Settings
Performance Editing
Part Editing
Part Effect Editing
How Parts Are Assigned to a Performance
Creating a Performance by Combining Parts
Selecting a Performance
Recording and Playback
Terminology
Realtime Recording
MIDI Recording
Playing a Song
Recording Your Performance as Audio
Song Playback
Playing an Audio File
Using as a Master Keyboard
Making Settings for Use as a Master Keyboard-Zone
Connecting a Microphone or Audio Equipment
Playing the Keyboard Along with the Sound Input from the A/D
INPUT [L/MONO]/[R] Jacks
Making Global System Settings
Setting Automatic Power-On Tasks
Setting Button Lamp Behavior
Turning Various Functions On/Off
Changing the Master Tuning
Touch Panel Calibration
Changing the Velocity Curve
Connecting External MIDI Instruments
Controlling the MONTAGE from an External MIDI Keyboard or Synthesizer
Controlling an External MIDI Keyboard or Synthesizer from the MONTAGE
Using a Connected Computer
Connecting to a Computer
Creating a Song with a Computer
Saving/Loading Data
Saving the Settings to a USB Flash Memory Device
Loading the Settings from a USB Flash Memory Device
Precautions When Using the [USB to DEVICE] Terminal
Using USB Flash Drives
Shift Function List
Display Messages
Troubleshooting
Specifications
Index
Advertisement
Quick Links
1
Controls and Functions
2
Rear Panel
3
Specifications
Download this manual
MUSIC SYNTHESIZER
Owner's Manual
EN
Table of
Contents
Previous
Page
Next
Page
1
2
3
4
5
Advertisement
Table of Contents
Need help?
Do you have a question about the montage6 and is the answer not in the manual?
Ask a question
Questions and answers
Related Manuals for Yamaha montage6
Synthesizer Yamaha montage7 Owner's Manual
(86 pages)
Synthesizer Yamaha montage8 Owner's Manual
(86 pages)
Synthesizer Yamaha Montage 7 Reference Manual
(188 pages)
Synthesizer Yamaha MONTAGE 6 Supplementary Manual
(60 pages)
Synthesizer Yamaha MONTAGE 6 Service Manual
(158 pages)
Synthesizer Yamaha MOX8 Reference Manual
Reference manual (160 pages)
Synthesizer Yamaha MOX6 Owner's Manual
Music production synthesizer (76 pages)
Synthesizer Yamaha MO6 Owner's Manual
Yamaha music production synthesizer owner's manual mo6, mo8 (240 pages)
Synthesizer Yamaha MOTIF 6 Software Manual
Yamaha motif 6 synthesizer: installation guide (45 pages)
Synthesizer Yamaha MOTIF ES6 Owner's Manual
Music production synthesizer (300 pages)
Synthesizer Yamaha MOXF8 Reference Manual
Music production synthesizer (163 pages)
Synthesizer Yamaha MOXF6 Owner's Manual
Music production synthesizer (80 pages)
Synthesizer Yamaha MODX6 Supplementary Manual
(46 pages)
Synthesizer Yamaha MODX6 Service Manual
(132 pages)
Synthesizer Yamaha Motif XS Series Service Manual
Music production synthesizer (254 pages)
Synthesizer Yamaha Motif XS Manual
Using display templates (10 pages)
This manual is also suitable for:
Montage7
Montage8
Table of Contents
Print
Rename the bookmark
Delete bookmark?
Delete from my manuals?
Login
Sign In
OR
Sign in with Facebook
Sign in with Google
Upload manual
Upload from disk
Upload from URL


Need help?
Do you have a question about the montage6 and is the answer not in the manual?
Questions and answers