Table of Contents
Advertisement
Barbecues
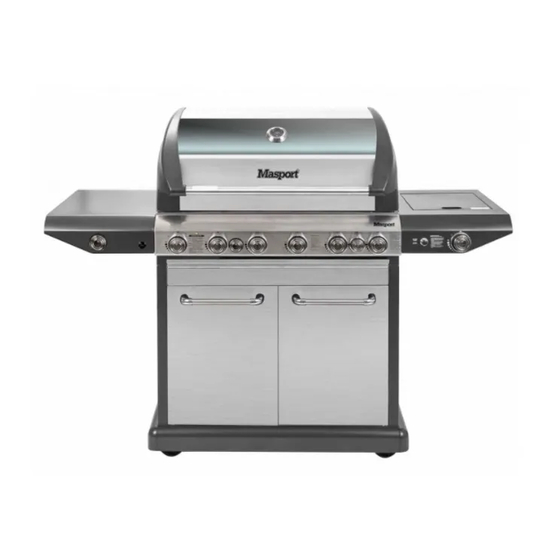
MASPORT 4/6 BURNER 210 SERIES
OWNER'S MANUAL
Please read these instructions carefully before assembly, to
reduce risk of fire, burn hazard or other injury.
Keep these instructions in a safe place for future use.
This manual covers a range of barbecues which include: Graphite,
Elite, Elite Plus, Supreme, Supreme Plus, Deluxe, Deluxe Plus,
Grande, Super Grande and Rear Burner Models.
www.masport.com
Part N
: 559802.F.0
o
Advertisement
Table of Contents


Need help?
Do you have a question about the SUPREME W 210 and is the answer not in the manual?
Questions and answers