Advertisement
Table of Contents
Advertisement
Table of Contents

Subscribe to Our Youtube Channel
Related Manuals for Masport BG6286BS-WBI-RRB


Summary of Contents for Masport BG6286BS-WBI-RRB
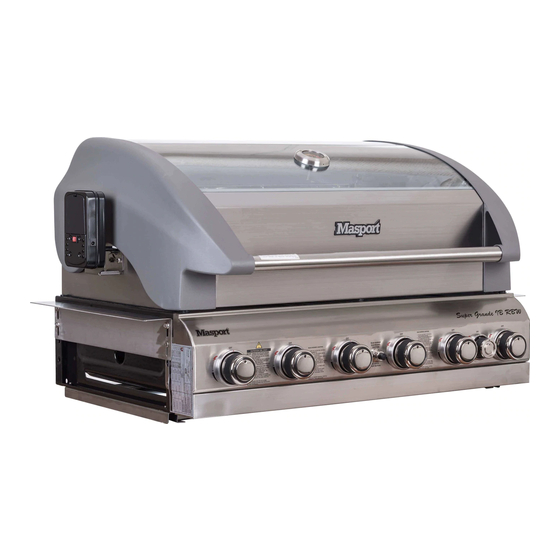
- Page 1 Barbecues MASPORT 6 BURNER INBUILT RBW OWNER’S MANUAL Please read these instructions carefully before assembly, to reduce risk of fire, burn hazard or other injury. Keep these instructions in a safe place for future use. www.masport.com Part N : 559714.J.0...
-
Page 2: Table Of Contents
Keep the instructions in a safe place for future use. Important Safety Information Please read and understand this manual fully before assembly and Contents use. Safety Information • The Manufacturer’s Warranty may be voided by the incorrect use Parts of this product. •... -
Page 3: Disposal Of Packaging
For your safety and others The location for your grill If you smell gas: Do not use your gas grill in garages, porches, breezeways, sheds or Shut off the gas supply to the barbecue. other enclosed areas. Your gas grill is to be used outdoor only. The Extinguish any open flame (candles, cigarettes, etc.) grill should not be placed under any surface that will burn. -
Page 4: Parts List
Parts List The parts list below is generic and for assembly reference only. For a detailed parts list contact a Masport dealer. 1. Hood & Body Assy × 1pcs 2. Drip tray bracket × 2pcs 3. Body bracket × 2pcs 4. -
Page 5: Assembly Instructions
Assembly Instructions Tools required for assembly: Phillips screwdriver Step 1: Attach the drip tray bracket (2) to the body (1) using 4pcs M6 x 12mm long screws (a) and 4pcs fibre washer ф6.4 × 14.5 (b) and 4pcs M6 nuts (c). a, b, c Step 2: Loosen the screws(A), then attach the body bracket (3) to the body(1), then tighten the screw A (4 places), repeat on the RH side. - Page 6 Step 4: Gas connection point Step 5 Locate the flame tamer (6) as shown. Step 6: Locate the grill plate (8), hotplate (9) and the warming rack (7) as shown.
- Page 7 Installation Both ends open SELECTING A LOCATION This barbecue is for outdoor use only and should be placed in a well-ventilated area. Take care to ensure that the minimum clearances guidelines are followed: Minimum clearances: From sides: 430mm; From back: 430mm FIGURE F3-OUTDOOR AREA-EXAMPLE 3 From above (vertical): 1000mm Keep this barbecue away from any flammable materials! This...
-
Page 8: Leak Testing
• The copper piping can terminate in a “bayonet point” on a wall GAS AND REGULATOR INFORMATION or other structure. A special hose and terminator allows the This barbecue is designed for LP gas use only. Bottle sizes of 4.5kg barbecue to be connected and disconnected from the bayonet or greater are recommended for use with this barbecue. - Page 9 Warning! 1. Do not light the grill if odour of gas is present 2. It is important to ensure that all control valves, including the gas cylinder, are turned off after use. For manual ignition 1. Light a 90mm barbecue match and hold adjacent to the burner. 2.
-
Page 10: Lighting Instructions (Operation)
30 seconds. Do not place a cold pizza stone into a hot environment. This Occasionally the rear burner on your Masport BBQ may need could cause the stone to break due to uneven resetting to provide reliable ignition. In most cases following the temperatures. -
Page 11: Changing The Battery
• Never handle hot parts with unprotected hands. Do sprinkle a little flour or cornmeal to stop the pizza sticking to the stone. Whilst our products are made to the highest standards and all care Do keep fillings away from the pizza edge, food spills may is taken to make them as weather proof as possible, we cannot spoil the pizza stone. - Page 12 Modern tastes dictate that your BBQ features Stainless Steel with a brushed finish. This brushed finish is attained by running Stainless Steel sheets through an abrasive process that removes the mirror finish and leaves the brushed finish. Brushed-finish Stainless Steel requires frequent cleaning and care, to maintain its quality of appearance.
-
Page 13: Technical Data
AUS: ULPG or NG Standard AS4557-2004 (Amdt2) Minimum Clearance : From Top of BBQ: 1000mm, From Sides: 430mm, From Rear : 430mm Distributed by MASPORT LIMITED MASPORT LIMITED 1-37 Mt Wellington Highway, Panmure, Auckland 1060, New Zealand PO Box 14349, Panmure Auckland 1471, New Zealand... -
Page 14: Troubleshooting
This is a very dangerous REGULATOR PROVIDED! condition, which can cause a fire to occur, thereby damaging the If a replacement is necessary, please contact either our Masport grill and making it unsafe to operate. Customer Service Department or your local dealer. -
Page 15: Inbuilt Installation
WARNING: Should the design allow the sitting of the ULPG bottle directly below the BBQ, then a permanent separation must be included between the BBQ base and the ULPG bottle. ILLUSTRATION OF AN INSTALLATION USING THE MASPORT DOOR ASSEMBLY (552766) - Page 16 Head Office - New Zealand 1-37 Mt Wellington Highway. Panmure, P.O. Box 14 349 Auckland 1060, New Zealand...
Need help?
Do you have a question about the BG6286BS-WBI-RRB and is the answer not in the manual?
Questions and answers