Table of Contents
Advertisement
Barbecues
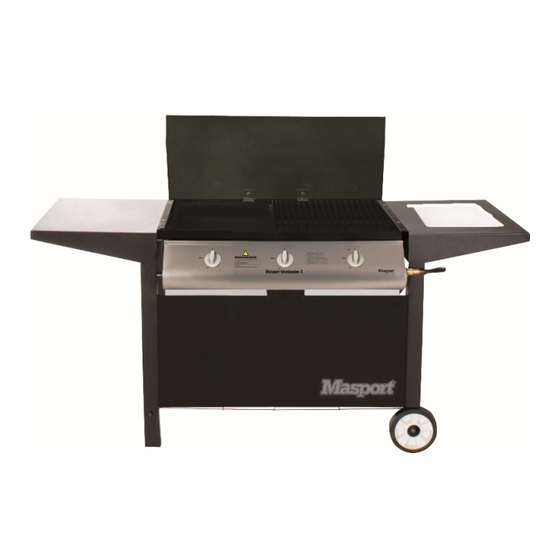
MASPORT 3/4 BURNER
www.masport.com
OWNER'S MANUAL
Please read these instructions carefully before assembly,
to reduce risk of fire, burn hazard or other injury.
Keep these instructions in a safe place for future use.
This manual covers the Weekender & Lifestyle barbecues.
Part N
: 559544
o
Advertisement
Table of Contents

Related Manuals for Masport Weekender 3


Summary of Contents for Masport Weekender 3
- Page 1 Barbecues MASPORT 3/4 BURNER OWNER’S MANUAL Please read these instructions carefully before assembly, to reduce risk of fire, burn hazard or other injury. Keep these instructions in a safe place for future use. This manual covers the Weekender & Lifestyle barbecues.
-
Page 2: Table Of Contents
Keep the instructions in a safe place for future use. Important Safety Information Contents Please read and understand this manual fully before assembly and use. Safety Information • The Manufacturer’s Warranty may be voided by the incorrect use Assembly instructions of this product. -
Page 3: Safety Information
2.75kPa. You must have the correct regulator and bottle for the barbecue to operate safely and efficiently. The items used in the fuel system are designed for operation with the grill. (See parts list for replacement items). Images Weekender 3 Weekender 4 Lifestyle 3 Lifestyle 4... -
Page 4: Assembly Instructions
Assembly Instructions Repeat for each. Step 1. End Shelves and Legs to BBQ TIGHTEN front panel Assembly 6” Wheel Legs You will need (fasteners are in the bolt pack): Front legs have nutserts fitted Cutting Table Plain Table Step 2b. Assemble Wire Rack (Weekender) Place the barbecue upside down on a flat area of protected ground. - Page 5 Step 4. Wheel and Castor Assembly Step 6. Hood to BBQ Assembly You will need (fasteners are in the bolt pack): You will need (fasteners are in the bolt pack): 1. Using the four small bolts to secure the hood to the barbecue body as shown.
- Page 6 Step 7a. Grill Body Assembly Check grill body for any packaging and remove. Position the Hot Plate into the grill body. Position the Flame Tamer over the burners and supported by the grill body. Position the grill over the flame tamer and beside the hot plate. Hot plate and grill positions may be changed to your preference;...
-
Page 7: Spare Parts
Hot Plate Weekender 4 558815 Lifestyle 4 Weekender 3 558810 Lifestyle 3 Grill Weekender 4 558816 Lifestyle 4 Weekender 3 & 4 Flame Tamer 558808 Lifestyle 3 & 4 Weekender 3 Lifestyle 3 Burner 558004 Weekender 4 Lifestyle 4 Weekender 3... - Page 8 558797 Lifestyle 3 558797 Drip Tray Weekender 4 558813 Lifestyle 4 558813 Weekender 3 & 4 Handle - Drip tray 558789 Lifestyle 3 & 4 Weekender 3 & 4 Spacer - Phenolic 558007 Lifestyle 3 & 4 Weekender 3 & 4...
- Page 9 Weekender 3 & 4 Wheel 559555 Lifestyle 3 & 4 Weekender 3 & 4 Bolt - Axle 558803 Lifestyle 3 & 4 Weekender 3 & 4 Nut - Wheel 558801 Lifestyle 3 & 4 Weekender 3 & 4 Washer - Wheel 558802 Lifestyle 3 &...
- Page 10 Installation SELECTING A LOCATION This barbecue is for outdoor use only and should be placed in a well-ventilated area. Take care to ensure that the minimum clearances guidelines are followed: Minimum clearances: From sides: 430mm; From back: 430mm From above (vertical): 1000mm Keep this barbecue away from any flammable materials! This appliance shall only be used in an above ground open-air situation with natural ventilation, without stagnant areas, where gas leakage...
-
Page 11: Location Information
and wait one minute for any accumulated gas to clear off the Hand-tighten the regulator supplied with this barbecue to the gas grill. Once the rightmost burner is lit, simply light the remaining cylinder by screwing in an anti-clockwise direction. burners from right to left. -
Page 12: Care And Maintenance
GRILL COOKING FLARE-UP CONTROL The burners heat up the flame tamers underneath the grill, which Flare-ups occur when meat is barbecued, and its fats and juices in turn heats the food on the grill. The natural juices produced fall upon the flame tamers. The smoke from some flare-up helps during cooking fall onto the flame tamers below and vaporise. - Page 13 TYPES OF SURFACE CONTAMINANTS owner apply a thin coat of Olive Oil to stainless steel surfaces Fingerprints and Stains which should then be polished in. The Olive Oil will help greatly Fingerprints and mild stains resulting from normal use are the most in protecting the stainless steel from corrosive contaminants common surface contaminates.
-
Page 14: Troubleshooting
Minimum Clearance : From Top of BBQ : 1000mm, From Sides : 430mm, From Rear : 430mm ignition. Do not let children tamper with the bottle. NZ: Complies to NZ Standard 5262. Distributed by MASPORT Limited 1-37 Mt Wellington Hwy, Panmure, Auckland, 1060, NZ To protect your investment it is recommended that BBQs are protected by a suitable BBQ cover. - Page 16 Head Office - New Zealand 1-37 Mt Wellington Highway. Panmure, P.O. Box 14 349 Auckland 1060, New Zealand...
Need help?
Do you have a question about the Weekender 3 and is the answer not in the manual?
Questions and answers