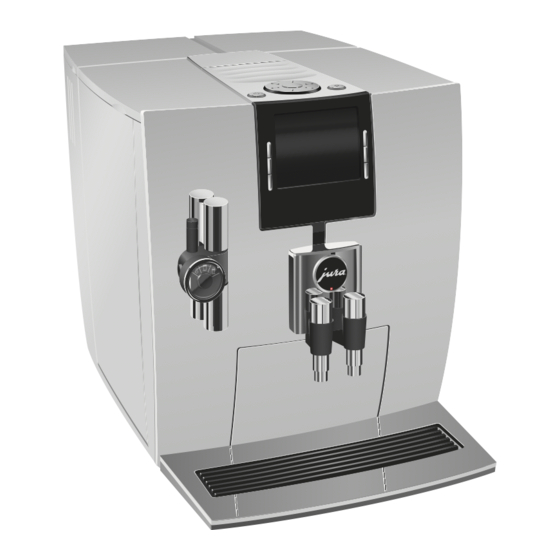
JURA J90/J95/J500 Instructions for Use
The Instructions for Use has been awarded the seal of approval by the
independent German Technical Inspection Agency, TÜV SÜD, due to its
easy-to-understand style, its thoroughness and coverage of safety
aspects.


Need help?
Do you have a question about the J90 and is the answer not in the manual?
Questions and answers