Jura IMPRESSA J9 Quick Reference Manual
Hide thumbs
Also See for IMPRESSA J9:
- Instructions for use manual (52 pages) ,
- Instructions for use manual (52 pages)
Table of Contents
Advertisement
Quick Links
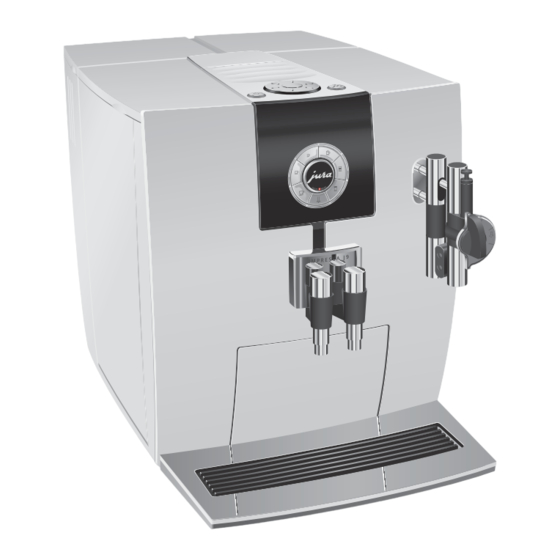
IMPRESSA J9 – Quick Reference Guide
The 'IMPRESSA J9 Instructions for Use' together with these
short instructions 'IMPRESSA J9 – Quick Reference Guide'
has been awarded the seal of approval by the independent
German Technical Inspection Agency, TÜV SÜD, due to its
easy-to-understand style, its thoroughness and coverage
of safety aspects.
Advertisement
Table of Contents

Related Manuals for Jura IMPRESSA J9


Summary of Contents for Jura IMPRESSA J9
- Page 1 IMPRESSA J9 – Quick Reference Guide The ‘IMPRESSA J9 Instructions for Use’ together with these short instructions ‘IMPRESSA J9 – Quick Reference Guide’ has been awarded the seal of approval by the independent German Technical Inspection Agency, TÜV SÜD, due to its easy-to-understand style, its thoroughness and coverage of safety aspects.
-
Page 2: Maintenance
IMPRESSA J9 – Quick Reference Guide IMPRESSA J9 – Quick Reference Guide These short instructions do not replace the ‘IMPRESSA J9 Instruc- tions for Use’. Make sure you read and observe the safety informa- tion and warnings first in order to avoid hazards. -
Page 3: Insert Filter
IMPRESSA J9 – Quick Reference Guide , the Maintenance INSERT FILTER PRESS RINSE button c lights up. T Remove the filter cartridge extension from the Welcome Pack. T Fit the filter extension on top of a CLARIS Blue filter car- tridge. -
Page 4: Change Filter
IMPRESSA J9 – Quick Reference Guide If the CLARIS Blue filter cartridge is not activated in program- ming mode, you will not be prompted to change the filter. Precondition: is dis- COFFEE READY CHANGE FILTER played and the Maintenance button c lights up. - Page 5 IMPRESSA J9 – Quick Reference Guide Rinsing of the filter stops automatically after approximately 500 ml. The IMPRESSA heats up and is once more ready for use. Rinsing the cappuccino This chapter applies to the Professional and Easy Cappuccino frother Frothers.
-
Page 6: Cappuccino Frother
IMPRESSA J9 – Quick Reference Guide T Pour 250 ml of fresh water into a receptacle and add one capful (max. 15 ml) of Cappuccino Cleaner. T Immerse the milk pipe in the receptacle. Professional Cappuccino Frother, turn If you are using the the selector switch to the Milk Foam p or Milk t position. -
Page 7: Clean Machine
IMPRESSA J9 – Quick Reference Guide Dismantling and rinsing T Carefully remove the cappuccino frother from the Connec- the Easy Cappuccino tor System by twisting slightly. © Frother T Dismantle the cappuccino frother into its individual parts. T Rinse all parts of the cappuccino frother thoroughly under running water. - Page 8 The operation is interrupted, ADD TABLET T Open the cover of the filler funnel for preground coffee. T Insert a JURA cleaning tablet into the filler funnel. T Close the cover of the filler funnel. , the Maintenance but- ADD TABLET PRESS RINSE ton c lights up.
- Page 9 SOLVENT IN TANK T Remove and empty the water tank. T Completely dissolve the contents of one blister (three JURA descaling tablets) in a receptacle holding 500 ml of water. This may take several minutes.
- Page 10 IMPRESSA J9 – Quick Reference Guide T Place a receptacle (at least 500 ml) under the Connector Sys- © c T Press the Maintenance button. DECALCS This causes water to flow out of the Connector System sev- © eral times. The Maintenance button c flashes during the descaling operation.
Need help?
Do you have a question about the IMPRESSA J9 and is the answer not in the manual?
Questions and answers