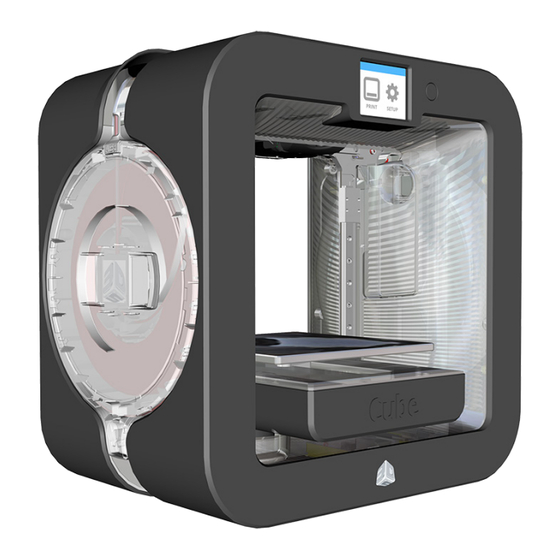
3D Systems CUBE Quick Start Manual
3rd generation
Hide thumbs
Also See for CUBE:
- User manual (121 pages) ,
- Quick start manual (32 pages) ,
- Lesson (15 pages)

Related Manuals for 3D Systems CUBE


Summary of Contents for 3D Systems CUBE
- Page 1 Generation Personal 3D Printer Quick Start Guide See Inside for Use and Safety Information...
-
Page 3: Table Of Contents
Welcome to the 3D creative revolution – let the possibilities begin! If you have any questions, do not hesitate to reach us at CubifySupport@Cubify.com. This Quick Start Guide will give you basic instructions on how to get your Cube 3D Printer plugged in ®... -
Page 4: Safety
• Follow all safety rules in this section and observe all cautions and warnings in this guide. • DO NOT modify any safety features or make modifications to the Cube. Doing so is prohibited and voids your warranty. • Use of print materials other than 3D Systems print materials and genuine 3D Systems components may void warranty. -
Page 5: Your Cube At A Glance
YOUR CUBE AT A GLANCE Print Jets Print Jet Cords Material Cartridges Print Pad Print Platform Touchscreen Display On / Off Button USB Inlet Port (Mass Storage Device) Power Inlet Refuse Bins... -
Page 6: Unpack Your Cube
UNPACK YOUR CUBE NOTE: Keep all packing materials in case the printer would need to be returned. Returning the printer without the original packing materials may damage the printer and void the manufacturer’s warranty. Pull the clips (A) and remove them from the top of the printer box and open the box. - Page 7 Front View Top View 8” (203 mm) 4” (102 mm) Back Front 4” (102 mm) Hand Clearance Around the Printer Build Plate Travel Area Remove the top insert. Insert Fold the sides inward and remove the lower insert from the printer.
- Page 8 Connect the power cord to utility power and to the power supply. NOTE: Ensure the connection is secure. Power on the Cube by pressing the button next to the touchscreen display.
-
Page 9: What's Included
WHAT’S INCLUDED Cube Cartridges* Print Pad Cube Glue USB Mass Gap Gauge Storage Device Power Supply Power Cord Pliers Scraper Envelope Sandpaper Quick Start 1.5 mm Allen Guide Wrench *Depending on your printer model or configuration, up to two cartridges may be included. -
Page 10: Setting Up And Activating Your Cube
SETTING UP AND ACTIVATING YOUR CUBE Select your language. Press the checkmark to confirm your selection. NOTE: The selected language will be indicated. Enter a name for your printer. Scroll through the letters by pressing the arrow symbols on each side of the screen. - Page 11 NOTE: The printer will attempt to connect to your network. NOTE: If your network is password protected, your Cube will first prompt you to enter the password. Once entered, select the checkmark to continue. NOTE: The display will indicate when the...
- Page 12 NOTE: If the wrong password was entered, you will be asked to enter the password again after a few seconds. NOTE: Connection to a network is confirmed by a checkmark to the left of the network name. If the network is secured, a lock icon will appear to the right of the network name.
- Page 13 Log in to Cubify.com. Go to www.Cubify.com and select Cubify. Enter your username and password and select Login. Go to www.cubify.com/en/Cube. NOTE: Select Products > 3D Printers. Navigate to Cube and select LEARN MORE. Select Activate.
- Page 14 NOTE: The serial number for your printer will appear on the printer’s touchscreen display. Take note of the serial number. You will need the serial number to activate your printer. Select the checkmark to continue. serial number Enter your twice and select ACTIVATE.
- Page 15 activation code Enter the 4-digit into the printer and select the checkmark to continue. checkmark Select the to complete the registration and warranty activation process. START Select the cartridge icon or select to begin the process of installing your print cartridge.
- Page 16 NOTE: The printer will begin to heat. Wait until the printer has finished heating and then follow the user prompts in the touchscreen menu. Insert the left material cartridge print jet into the top of the printer. Rotate the print jet clockwise until the dots align. NOTE: As you rotate the print jet, ensure the print jet cord is tucked under the top of the printer cover.
- Page 17 NOTE: The print jet will begin to heat. Once the print jet has reached the operating temperature, the printer will prime molten material into the refuse bin. checkmark The cartridge has been installed. Select the to continue. NOTE: The printer will begin to heat. Wait until the printer has finished heating and then follow the user prompts in the touchscreen menu.
- Page 18 Insert the right material cartridge print jet into the top of the printer. Rotate the print jet clockwise until the dots align. NOTE: As you rotate the print jet, ensure the print jet cord is tucked under the top of the printer cover.
- Page 19 checkmark The cartridge has been installed. Select the to continue. It is recommended that Auto Level is performed prior to the first print. Ensure the print pad is clean and installed properly and then select the checkmark to continue to Auto Level.
- Page 20 checkmark Select the to continue. NOTE: If the print pad is not level, remove the print pad and select the checkmark to continue. NOTE: Follow the instructions on the screen. Use the included 1.5 mm Allen wrench to loosen the set screws securing the adjustment knobs to the bracket before turning the knobs.
- Page 21 It is recommended that Auto Gap is performed after performing the Auto Level procedure. Ensure the print pad is clean and installed properly and then select the checkmark to continue to Auto Gap. NOTE: The printer will perform an automated gap measurement.
- Page 22 NOTE: If Auto Gap is not successful, it is recommended that you perform Auto Level and Auto Gap again. Select AUTO LEVEL continue. NOTE: If Auto Gap is not successful the second time, select PLATE MAINTENANCE. For more information, refer to the section titled PRINT PAD MAINTENANCE.
- Page 23 Locate the Cube Glue. Apply a thin layer of Cube Glue to the print pad. Select checkmark to continue. NOTE: Apply enough glue to cover a square area of 5”/15 cm.
- Page 24 NOTE: The print jets will begin to heat and then begin printing the welcome message. checkmark Select the to continue. checkmark Select the to continue. NOTE: You may also press and release the button next to the touchscreen display to return to the main menu.
-
Page 25: Finishing Your Creation
FINISHING YOUR CREATION REMOVING YOUR CREATION FROM THE PRINT PAD Remove the print pad and place it in a container filled with warm tap water. Allow it to soak for approximately ten minutes or until your creation can be easily removed from the print pad. After it has soaked, gently pry the creation from the print pad using the included scraper. -
Page 26: Maintenance
MAINTENANCE PRINT PAD MAINTENANCE Auto Level and Auto Gap can be affected by a residual glue or print material adhered to the print pad or if the print pad is too shiny. Select PLATE MAINTENANCE. Using the fine-grit sandpaper, buff the print pad. NOTE: Refer to the section titled Clean The Print Pad for specific instructions. - Page 27 Clean The Print Pad Remove the print pad from the printer. Wash all glue and print material from the print pad with warm tap water. If necessary, scrub the print pad with a soft brush. Dry the print pad thoroughly. If residual print material is still adhered to the print pad, gently use the scraper to remove it.
-
Page 28: Gap Verification
GAP VERIFICATION After the welcome message has printed and has been removed from the print pad, visually inspect the first (bottom) layer of the print and verify the quality. Turn the print upside down and inspect the printing grain. When the gap is optimal, the bottom of the print should appear smooth and the lines should be very light and fused together. - Page 29 Gap Is Too Large If the lines are more prominent (see the illustration below) and not tightly fused, the gap is too large. Auto Level and Set Plate Z-Height should be performed. If the first layer begins to fray when removing the print from the print pad, that is also an indication that the gap is too large.
-
Page 30: Manual Gap Adjustment
MANUAL GAP ADJUSTMENT If Auto Gap is unsuccessful, you may perform a manual gap adjustment to ensure the first layer of the part prints properly. Select MANUAL GAP ADJUSTMENT. Place the gap gauge on top of the print pad under the left print jet. - Page 32 3D Systems, Inc. 333 Three D Systems Circle | Rock Hill, SC | 29730 www.Cubify.com ©2014 3D Systems, Inc. All rights reserved. The 3D Systems logo, 3D Systems, Cube and Cubify are registered trademarks of 3D Systems, Inc. PN: 390186-00 Rev. A...
Need help?
Do you have a question about the CUBE and is the answer not in the manual?
Questions and answers