Ekofires eko 3070 Installation And User Instructions Manual
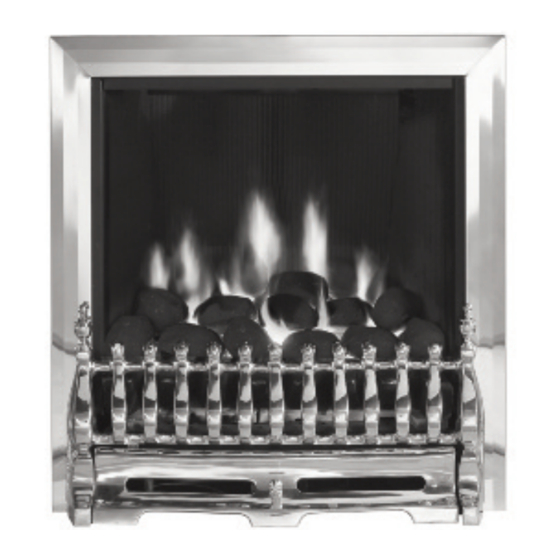
Fuel effect gas fire
Hide thumbs
Also See for eko 3070:
- Installation instructions manual (21 pages) ,
- Installation and user instructions manual (17 pages)
Chapters
Table of Contents

Subscribe to Our Youtube Channel
Related Manuals for Ekofires eko 3070


Summary of Contents for Ekofires eko 3070
- Page 1 All instructions must be handed to user for safekeeping Revision C - 02/12 Country(s) of destination - GB/IE BS7977-1 : 2009 BS EN 509 : 2000 KM579168 eko 3070 fuel effect gas fire manual...
-
Page 2: Installation Instructions
The appliance is designed for installation on to a non-combustible hearth of at least 300mm depth. This appliance is factory set for operation on the gas type, and at the pressure stated on the appliance data plate. © 2012 Focal Point Fires plc. -
Page 3: Table Of Contents
This appliance must be installed in accordance with the rules in force and used only in a sufficiently ventilated space. Consult all instructions before installation and use of this appliance. This appliance is free from any asbestos material. Refractories and coal bed are constructed from ceramic fibre. © 2012 Focal Point Fires plc. -
Page 4: Appliance Data
A suitable terminal may be fitted, such as class GC1, as regulations allow. This appliance is suitable for use with a “lightweight” surround and back panel of 150 C minimum rating. © 2012 Focal Point Fires plc. -
Page 5: Site Requirements
Any combustible side walls must be at least 500mm to the side of the radiant heat source. As with all heating appliances, any decorations, soft furnishings, and wall coverings (i.e. flock, blown vinyl and embossed paper) positioned too close to the appliance may discolour or scorch. © 2012 Focal Point Fires plc. -
Page 6: Debris Collection Space
When all loose parts have been removed, the outer sleeve may be lifted off to reveal the appliance. Check that the components supplied correlate with the component checklist given in section 7.1. Please dispose of all the pack- aging materials at your local recycling centre. © 2012 Focal Point Fires plc. -
Page 7: Component Checklist
Failure to fit the seal correct- ly will cause flue suction to act upon the area under the burner, resulting in poor performance and intermittent cutting out of the burner. © 2012 Focal Point Fires plc. -
Page 8: Fitting The Decorative Frame
When the opening is ready for installation of the fire, the gas supply can be routed as shown in the diagram below. IMPORTANT - Wherever a concealed connection is made a rubber grommet must be used to seal the firebox. Suggested gas supply routes: Fireplace opening Grommets Firebox Inlet restrictor elbow © 2012 Focal Point Fires plc. -
Page 9: Fitting The Firebox
Temporarily fit the burner tray and ensure a suitable gas route can be achieved. Place the burner tray into the firebox making sure that the rear lugs locate properly on to the ledge in the firebox. Fit the two securing screws through the tray legs to secure the assembly. © 2012 Focal Point Fires plc. -
Page 10: Fuel Bed Layout
Remove the screw from the pressure test point. ALL COMPONENTS TO BE FREE FROM SILICONE CONTAMINATION AND BURRS. ALL INFORMATION REMAINS THE PROPERTY OF FOCAL POINT F ALL DIMS IN MM Manual control models : The pressure test point is located on the inlet isolation elbow. -
Page 11: Testing For Spillage
8. Check the fireplace opening for rubble accumulation and remove. If debris is excessive, initiate remedial work on the flue. 9. Check the flue with smoke pellet for correct operation. 10. Refit firebox using new seals where necessary. 11. Strip off the burner pipes and clean thoroughly. © 2012 Focal Point Fires plc. -
Page 12: Dismantling The Burner Tray
Check the seal around the fireframe and if necessary replace. Refitting of the firebox is as described in the fitting section of these instructions. © 2012 Focal Point Fires plc. -
Page 13: Troubleshooting Guide
• Spillage occurring. Carry out spillage test and rectify any problems. • Combustible materials used in incorrect positions. • Firebox grommet seal missing, rectify. • Other airborne contaminants such as dust, tobacco smoke, paint vapours. © 2012 Focal Point Fires plc. - Page 14 This fire is supplied with a particular style of firefront. Use of the firefront will ensure an adequate airflow under the firebed for the correct functioning of this appliance. Compliance with safety standards cannot be guaranteed if another style of front is used. © 2012 Focal Point Fires plc.
-
Page 15: Clearances To Combustibles
Check that all of the holes in the burner top plate are unobscured. 2. Place the matrix into position as shown. Slide it back to the rearmost position and centralise. © 2012 Focal Point Fires plc. - Page 16 The fire is designed to operate correctly with the sixteen coals supplied when assembled according to the instructions. Never add to the sixteen coals, or change them for a different type. Never throw rubbish or other matter onto the fuel bed. Please note: some discolouration/sooting is to be expected during normal use. © 2012 Focal Point Fires plc.
-
Page 17: Servicing
DO NOT allow the appliance to be used until the flue system is passed as safe. CLEANING ALL COMPONENTS TO BE FREE FROM SILICONE CONTAMINATION AND BURRS. ALL INFORMATION REMAINS THE PROPERTY OF FOCAL POINT ALL DIMS IN MM THE COPYING AND DISSEMINATION TO ANY OTHER PARTIES I DO NOT SCALE TOLERANCES +/- 0.5 UNLESS OTHERWISE STATED. -
Page 18: Service History
GAS SAFE No. : Contact details of Engineer © 2012 Focal Point Fires plc. As our policy is one of continuous improvement and development, we hope therefore you will understand we must retain the right to amend details and/or specifications without prior notice.
Need help?
Do you have a question about the eko 3070 and is the answer not in the manual?
Questions and answers