Table of Contents
Advertisement
Advertisement
Table of Contents

Related Manuals for Bodyworx AELEGANCE


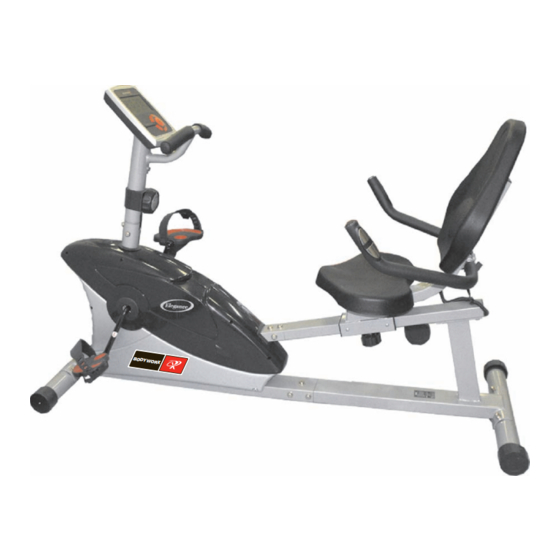
Summary of Contents for Bodyworx AELEGANCE
-
Page 2: Table Of Contents
This quality product is designed, manufactured, tested and certified for enhanced Fitness Training. Dear Customer, We want to thank you for having chosen a RECUMBENT BIKE. Wish you a lot of fun and success during training. Please note and follow the enclosed safety and assembly instructions carefully. If you have questions, please do not hesitate to contact us. -
Page 3: Exploded Drawing
Exploded Drawing - 3 - - 3 -... -
Page 4: Hardware Package
Hardware Package - 4 -... -
Page 5: Assembly Instructions
Assembly Instructions Step 1 Step 3 1. Insert rear support frame (2) into main frame (1), 1. Connect wire-A (65) with wire-B (66) securely. secure with 5 bolts & washers (59) firmly. 2. Insert end of seat rail (7) into main frame (1) and place another end of seat rail (7) on rear support frame (2), screw with 8 bolts (46) &... - Page 6 Step 5 Step 7 1. Place seat (21) on seat post (9), secure with 4 1. Attach tension control (15) to handlebar post (5) by washers (58) & bolts (47) tightly. bolt (57) & washer (61) securely. 2. Place backrest (20) to seat post (9); secure with 4 2.
- Page 7 Step 9 Screw pedal (19) onto crank (29). The pedals are marked with R and L at the screw. Tighten the left pedal counter-clockwise, the right pedal clockwise. - 7 -...
-
Page 8: Computer Instructions
Computer Instructions Display Console Overview The things you should know before exercise A. User Data: You should input your personal data before workout. Press BODY FAT key to enter your personal data of sex, age, height and weight then the computer can save the data unless take out the batteries. -
Page 9: Error Message
Key function: There are 6 button keys and the function description as follows: 1. UP key: During the setting mode, press the key to increase the value of Time, Distance, Calories, Age, Weight, Height etc. and to select sex. During the CLOCK mode, you can set up clock and alarm by this key. -
Page 10: Training Instructions
Training Instructions To achieve a considerable improvement of your During the first week, it is advisable to start with a pulse physical resistance and your health, some aspects of rate of 101. Afterwards, increase it to 117. how to find the most efficient amount of training should With increasing improvement of fitness, the training be followed: intensity should be increased to 70% - 85% of your... -
Page 11: Parts List
Parts List Description Quantity Main frame Rear support frame Front stabilizer Rear stabilizer Handlebar post T bar Seat rail Seat bracket Seat post Handlebar T knob Computer Upper computer cable Lower computer cable Tension control Hand pulse sensor Hand pulse sensor wire (upper) Flywheel Pedal (L&R) Backrest... - Page 12 Bolt (for seat bracket) Bolt (for T bar) Bolt (for idle wheel) Screw (for chain cover) Screw (for chain cover) Screw (for fastener #37) Bolt (for sensor holder) Steel sleeve (for handlebar) Screw (for hand pulse sensor) Bolt (for tension control) Washer Washer Wave washer (for T bar)
-
Page 13: Training Pulse Rate
Training Pulse Rate The owner’s manual is only for the customer reference. - 13 -...
Need help?
Do you have a question about the AELEGANCE and is the answer not in the manual?
Questions and answers