Sign In
Upload
Download
Table of Contents
Contents
Add to my manuals
Delete from my manuals
Share
URL of this page:
HTML Link:
Bookmark this page
Add
Manual will be automatically added to "My Manuals"
Print this page
×
Bookmark added
×
Added to my manuals
Manuals
Brands
KYMCO Manuals
Scooter
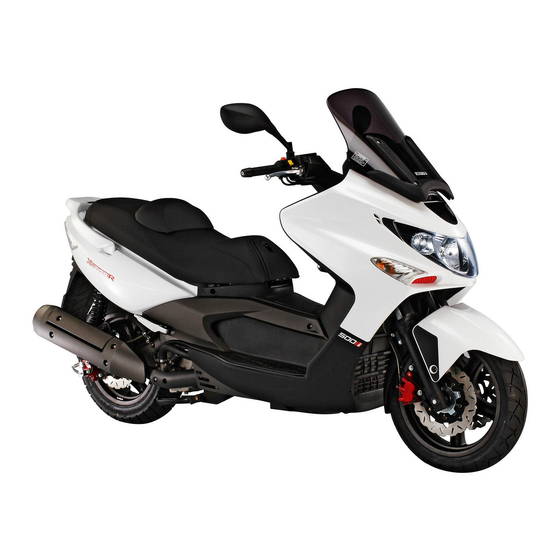
Xciting 250i
Owner's manual
KYMCO Xciting 250i Owner's Manual
Hide thumbs
1
2
Table Of Contents
3
4
5
6
7
8
9
10
11
12
13
14
15
16
17
18
19
20
21
22
23
24
25
26
27
28
29
30
31
32
33
34
35
36
37
38
39
40
41
42
43
44
45
46
47
48
49
50
51
52
53
54
55
56
57
58
59
60
61
62
63
64
65
66
67
68
69
70
71
72
73
74
75
76
77
78
79
80
81
82
83
84
85
86
87
88
89
90
91
92
page
of
92
Go
/
92
Contents
Table of Contents
Bookmarks
Table of Contents
Table of Contents
Model Identification
Model Identification
Section 1 - Safety
Forward
Scooter Safety
Section 1 - Safety
Scooter Safety
Load Limits & Guidelines
Accessories & Modifications
Caution & Warning Labels
Locations of Parts & Controls
Locations of Parts & Controls
Section 2 - Controls & Features
Serial Numbers
Keys
Section 2 - Controls & Features
Security Shutter
Ignition Switch
Multifunction Meter
Right-Hand Handlebar Switch
Left-Hand Handlebar Switch
Brakes
Parking Brake
Fuel Filler Cap
Fuel Recommendation
Front Glove Box
Center Storage Box
Seat
Adjustable Back-Rest
Center Compartment
Center Compartment Light
Cell-Phone Power Socket
Cell-Phone Mount
Helmet Holder
Center Stand
Side Stand
Suspension
Diagnostic Tool Connector
Section 3 - Operation
Pre-Ride Inspection
Starting the Engine
Section 3 - Operation
Ignition Cut-Off
Riding Your Scooter
Parking Your Scooter
Break-In Recommendations
Tire Break-In
Section 4 - Maintenance
Maintenance Schedule - 500I & 500Ri
Maintenance Schedule - 250/300I & 250/300Ri
Tool Kit
Crankcase Breather Drain
Engine Oil
Engine Oil Level Inspection
Engine Oil Change
Oil Filter Change
Transmission Fluid Change
Air Filter Element Change
Throttle Operation & Adjustment
Spark Plug
Coolant Level Inspection
Coolant Replacement
Coolant Recommendation
Suspension Adjustment
Side Stand Inspection
Brake Lever Adjustment
Brake Fluid Level Inspection
Brake Pad Inspection
Parking Brake Inspection
Battery Removal & Service
Battery Installation
Fuses
Fuses
Tires
Cleaning Your Scooter
Clean the Windshield
Storage
Storage
Maintenance Record
Section 4 - Maintenance
Specifications - 500I & 500Ri
Specifications - 250/300I & 250/300RI
Section 5 - Abs Model Supplement
ABS Indicator Light
ABS Functions
Section 5 - Abs Model Supplement
Emission Information & EPA Warranty
Exhaust Emission Control System
KYMCO Limited Scooter Warranty
Index
Identification Numbers Record
Advertisement
Quick Links
1
Maintenance Schedule - 250/300I & 250/300Ri
2
Engine Oil
Download this manual
Do not remove this Owner's Manual from the vehicle. Read this manual carefully
before operating the vehicle as it contains important safety information.
Table of
Contents
Previous
Page
Next
Page
1
2
3
4
5
Advertisement
Table of Contents
Need help?
Do you have a question about the Xciting 250i and is the answer not in the manual?
Ask a question
Questions and answers
Related Manuals for KYMCO Xciting 250i
Scooter KYMCO XCITING 500Ri ABS Owner's Manual
(128 pages)
Scooter KYMCO XCITING 250 Owner's Manual
(122 pages)
Scooter KYMCO Xciting 500i Technical Training Materials Technical Training Materials
(52 pages)
Scooter KYMCO 250 PEOPLE S INJECTION Specifications
(1 page)
Scooter KYMCO Like 200i Owner's Manual
(37 pages)
Scooter KYMCO 2 STROKE Owner's Manual
2 stroke & 4 stroke (71 pages)
Scooter Kymco Xciting 250Ri Owner's Manual
(92 pages)
Scooter KYMCO 50 AGILITY CITY 2T Technical Specifications
(1 page)
Scooter KYMCO 200 Owner's Manual
(72 pages)
Scooter KYMCO 500 XCITING RI ABS Datasheet
New bodywork – abs – boot light – accessory plug complete instrumentation (1 page)
Scooter KYMCO 50 AGILITY RS NAKED 2T Technical Specifications
(1 page)
Scooter KYMCO LIKE 200I 2019 Inspection Procedure
(2 pages)
Scooter KYMCO KYMCO Movie S 125i Service Manual
(197 pages)
Scooter KYMCO XCITING 400i Manual
(73 pages)
Scooter KYMCO PEOPLE 50 Owner's Manual
Kymco scooter (68 pages)
Scooter KYMCO Downtown 200i Owner's Manual
Kymco scooter (50 pages)
This manual is also suitable for:
Xciting 300i
Xciting 300ri
Xciting 250ri
Xciting 500ri
Xciting 500i
Xciting 500ri abs
Table of Contents
Save PDF
Print
Rename the bookmark
Delete bookmark?
Delete from my manuals?
Login
Sign In
OR
Sign in with Facebook
Sign in with Google
Upload manual
Upload from disk
Upload from URL


Need help?
Do you have a question about the Xciting 250i and is the answer not in the manual?
Questions and answers