Sign In
Upload
Download
Table of Contents
Contents
Add to my manuals
Delete from my manuals
Share
URL of this page:
HTML Link:
Bookmark this page
Add
Manual will be automatically added to "My Manuals"
Print this page
×
Bookmark added
×
Added to my manuals
Manuals
Brands
KYMCO Manuals
Scooter
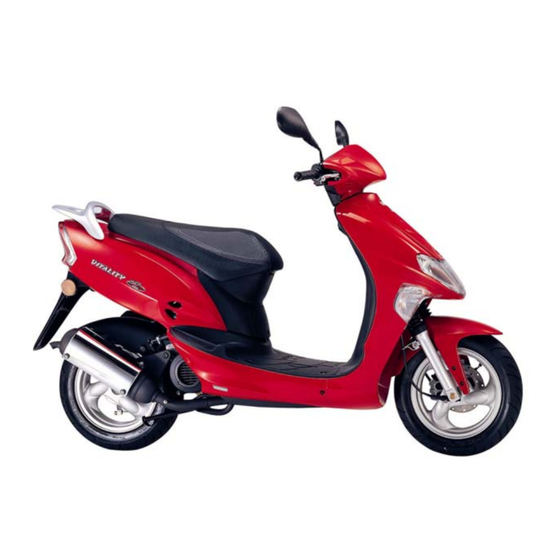
Vitality 50
Owner's manual
KYMCO Vitality 50 Owner's Manual
2 stroke & 4 stroke
Hide thumbs
Also See for Vitality 50
:
Owner's manual
(68 pages)
,
Manual
(275 pages)
1
2
3
Table Of Contents
4
5
6
7
8
9
10
11
12
13
14
15
16
17
18
19
20
21
22
23
24
25
26
27
28
29
30
31
32
33
34
35
36
37
38
39
40
41
42
43
44
45
46
47
48
49
50
51
52
53
54
55
56
57
58
59
60
61
62
63
64
65
66
67
68
69
70
71
page
of
71
Go
/
71
Contents
Table of Contents
Bookmarks
Table of Contents
Table of Contents
Table of Contents Table of Contents
1 Ensuring a Safe Ride
2 Parts Location
Vin Number
Engine Number
Key Number
3 Operating Instructions
Ignition Switch
Handlebar Lock
Electric Starter Button
Headlight Switch
Headlight Dimmer Switch
Passing Signal Switch
Horn Button
Turn Signal Switch
Seat Lock
Met-In Box (Underseat Storage)
Helmet Holder
Centre Hook
Instruments & Indicators
4 Pre-Ride Inspection
Advance Inspection
Engine Oil Level / Refilling
Tire Inspection
Fuel Level Inspection / Refilling
Steering Handlebar
Instrument Lights Inspection
Brake Fluid Level Inspection
Brake Pad Wear
Brake Shoe Wear
Brake Lever Free Play Inspection & Adjustment
Horn / Light Inspection
Front/Rear Shock Absorber Inspection
Brake Performance Inspection
Back Mirror Angle Check
License Plate Check
Reflector Check
Previous Abnormal Parts Inspection
Lubrication Point Check
5 Engine Starting Methods
6 Normal Riding Method
7 Precautions for Riding
8 How to Stop Riding
9 Easy Maintenance
Air Filter Cleaning & Replacement
Cleaning Exterior Surfaces
Battery
Fuse Replacement
Engine Oil Change (4 Stroke)
Transmission Gear Oil
Spark Plug Inspection
Brake Fluid Level Inspection / Refilling
Rubber Cover Inspection for Wire & Cable
10 Important Notices
Pollution-Free Maintenance Schedule
Specifications
11 Kymco Clean Air System (for Euro 2)
Advertisement
Quick Links
1
Engine Oil Level / Refilling
2
Engine Starting Methods
Download this manual
See also:
Manual
KWANG YANG MOTOR CO., LTD.
OWNER'S MANUAL Vitality 50
2 STROKE & 4 STROKE
Table of
Contents
Previous
Page
Next
Page
1
2
3
4
5
Advertisement
Table of Contents
Need help?
Do you have a question about the Vitality 50 and is the answer not in the manual?
Ask a question
Questions and answers
Related Manuals for KYMCO Vitality 50
Scooter KYMCO VITALITY 50 Manual
(275 pages)
Scooter KYMCO Vitality 50 Owner's Manual
2 stroke; 4 stroke (68 pages)
Scooter KYMCO KYMCO Movie S 125i Service Manual
(197 pages)
Scooter KYMCO PEOPLE 50 Owner's Manual
Kymco scooter (68 pages)
Scooter KYMCO Aglity 50 Owner's Manual
Kymco scooter (60 pages)
Scooter KYMCO Super 8 50 Owner's Manual
Kymco super 8 motor scooter owner's manual (56 pages)
Scooter KYMCO Downtown 200i Owner's Manual
Kymco scooter (50 pages)
Scooter KYMCO ZX 50 User Manual
Kymco zx 50 motorcycle user‘s manual (41 pages)
Scooter Kymco Sento 50 Owner's Manual
Kymco scooter (56 pages)
Scooter KYMCO Downtown 125i Owner's Manual
Kymco downtown 125i scooter owner's manual (17 pages)
Scooter Kymco Mini LS Opearting Manual
Kymco mini ls mobility scooter (80 pages)
Scooter KYMCO Super 8 150 Owner's Manual
Kymco super 8 motor scooter owner's manual (56 pages)
Scooter KYMCO K-Lite FE User Manual
(51 pages)
Scooter KYMCO G-DINK 300i Service Manual
(247 pages)
Scooter KYMCO Downtown 125i 2009 Service Manual
(257 pages)
Scooter KYMCO Like 50 Service Manual
(158 pages)
This manual is also suitable for:
4 stroke
2 stroke
Table of Contents
Save PDF
Print
Rename the bookmark
Delete bookmark?
Delete from my manuals?
Login
Sign In
OR
Sign in with Facebook
Sign in with Google
Upload manual
Upload from disk
Upload from URL


Need help?
Do you have a question about the Vitality 50 and is the answer not in the manual?
Questions and answers