Tippmann A-5 RESPONSE Owner's Manual
Paintball markers
Hide thumbs
Also See for A-5 RESPONSE:
- Owner's manual (92 pages) ,
- Parts list (1 page) ,
- Quick reference manual (1 page)
Table of Contents
Advertisement
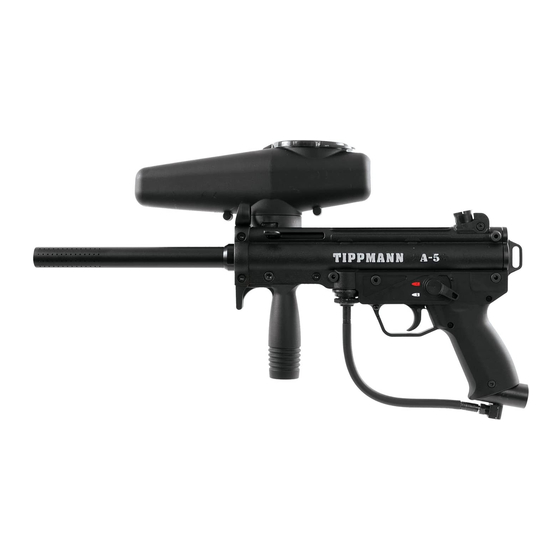
A-5
TM
STEALTH
CR-15
TM
A-5
TIPPMANN
TM
WITH
A-5
TM
E-GRIP
MARKERS
A-5
Owner's Manual
Manual del
Usuario
Le Manuel du
Propriétaire
A-5
RESPONSE
A-5
TM
STEALTH
TM
TM
TM
TM
TM
TM
TIPPMANN
A-5
TM
RESPONSE
TM
A-5
TM
STEALTH
TM
A-5
TM
WITH E-GRIP
A-5
TM
STEALTH CR-15
A-5
TM
Owner's
Manual
Manual
del Usuario
Le Manuel du
Propriétaire
TM
TM
TM
PN# TP04100
Date: 6/05
Advertisement
Table of Contents


Need help?
Do you have a question about the A-5 RESPONSE and is the answer not in the manual?
Questions and answers