Table of Contents
Advertisement
Quick Links
Advertisement
Table of Contents

Related Manuals for Insportline Gemini B200


Summary of Contents for Insportline Gemini B200
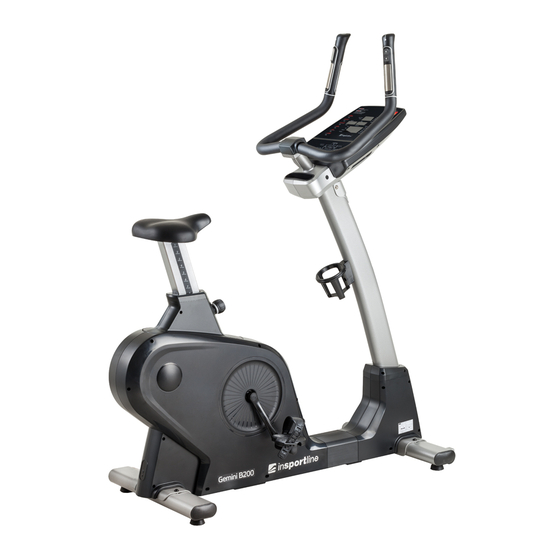
- Page 1 USER MANUAL – EN IN 16662 Exercise Bike inSPORTline Gemini B200...
-
Page 2: Table Of Contents
CONTENTS SAFETY PRECAUTIONS ........................3 PARTS LIST ............................4 HARDWARE AND TOOLS ........................6 ASSEMBLY STEPS ..........................7 OPERATION INSTRUCTIONS ......................10 DISPLAY ............................10 DISPLAY AND START-UP OF BOOT WINDOW ................10 KEY FUNCTIONS ..........................10 PROGRAM FUNCTIONS ........................11 PROGRAM MODE (P1~P12 PROGRAM).................. -
Page 3: Safety Precautions
SAFETY PRECAUTIONS • Read this manual carefully before first use and retain it for future reference. • Follow all warnings and precautions and use it only according to this manual. • To reduce risk of an electric shock, always unplug this product from electric outlet immediately after usage and before cleaning or maintenance. -
Page 4: Parts List
PARTS LIST Sign Picture Description Console mast Console set Console rear decoration cover Holder accessory Console front cover (L/R) Front stabilizer set Rear stabilizer set Main frame front cover (L/R) - Page 5 Console mast decoration cover (L/R) Handlebar set Main frame set Seat set Seat pad Middle cover Pedal set (L/R)
-
Page 6: Hardware And Tools
HARDWARE AND TOOLS Item Description Truss inner hex screw M8xP1.25x25 Spring washer M8 Washer ø8xø16x1.5t CKS inner hex screw M8xP1.25x20 Washer ø8xø12x1.0t CKS inner hex screw M8xP1.25x20 Spring washer M8 Truss cross screw M5xP0.8x10 Truss cross screw M5xP0.8x12 Truss cross self-tapping screw ø4x10 Truss cross self-tapping screw ø4x20 Truss cross self-tapping screw ø4x16 L-shaped hex wrench + cross opener 5 mm... -
Page 7: Assembly Steps
ASSEMBLY STEPS STEP 1 • Fix and fasten main frame set (K) and front and rear stabilizer (F, G) using screw (K01), spring washer (K02) and washer (K03). • Connect the wires as in picture and install the console mast (A) to the main frame set (K) using screw (K04), washer (K05) to secure it. - Page 8 STEP 2 • Make the wires of the handlebar set (J) cross the console mast and fasten handlebar set (J) and the control tube with screw (K06) and washer (K07). Don’t press the wires.
- Page 9 STEP 3 • Connect the console (B) with the wires of the console mast. Thereafter secure it with screw (K08). • Fasten the console front decoration cover (E) using screw (K09) and then fasten the accessory holder (D) with screw (K10). Then fix and fasten the console lower decoration cover (C) with screw (K11).
-
Page 10: Operation Instructions
OPERATION INSTRUCTIONS DISPLAY This is LED display console. Functions include: RPM, SPEED, TIME, CALORIES, DISTANCE, WATTS, LEVEL. Dot matrix displays PROGRAM graph. DISPLAY AND START-UP OF BOOT WINDOW STANDBY MODE After the console has lighted up, dot matrix displays METRIC (or British unit) KM (or ML). to U1 graphic. -
Page 11: Program Functions
• These keys are used for increasing or decreasing various values (weight, height, age, sex, pulse, DIRECTION time) and selection of functional modes (watt, HRC, user, program, manual) or for resistance adjusting. PROGRAM FUNCTIONS PROGRAM MODE (P1~P12 PROGRAM) • Pres the direction key to select program P1-P12. •... -
Page 12: User Mode
• After setting the DISTANCE push ENTER. The CALORIES indicator lights up and the LED indicator light shines on the display of CALORIES. The initial calorie value is: 0. Use direction keys to set CALORIES. • TIME-DISTANCE-CALORIES can be set in a cycle. After the target values of time, distance and calories are set in, push START to start operations. -
Page 13: Hrc Mode
• During exercise press PAUSE and the program will pause. The TIME/DISTANCE/CALORIES display will show motion data by turns. • In pause, if you want to continue previous workout, push START and the program will continue with accumulated data of TIME/DISTANCE/CALORIES as it was before pausing. •... -
Page 14: Watts Mode
A. OPERATION OF WARM UP FUNCTION • Resistance is pre-set at level 1. Heart Rate Control function will automatically work after 1 min. • The user can still use direction keys to adjust the resistance. B. OPERATING PROGRAM OF HEART RATE CONTROL FUNCTION •... -
Page 15: Program Graphs
• During exercise press PAUSE and the program will pause. The TIME/DISTANCE/CALORIES display will show motion data by turns. • In pause, if you want to continue previous workout, push START and the program will continue with accumulated data of TIME/DISTANCE/CALORIES as it was before pausing. •... -
Page 16: Terms And Conditions Of Warranty, Warranty Claims
TERMS AND CONDITIONS OF WARRANTY, WARRANTY CLAIMS General Conditions of Warranty and Definition of Terms All Warranty Conditions stated hereunder determine Warranty Coverage and Warranty Claim Procedure. Conditions of Warranty and Warranty Claims are governed by Act No. 40/1964 Coll. Civil Code, Act No. - Page 17 VAT ID: CZ26847264 Phone: +420 556 300 970 E-mail: eshop@insportline.cz reklamace@insportline.cz servis@insportline.cz Web: www.insportline.cz INSPORTLINE s.r.o. Headquarters, Warranty & Service centre: Elektricna 6471, 911 01 Trencin, Slovakia CRN: 36311723 VAT ID: SK2020177082 Phone: +421(0)326 526 701 E-mail: objednavky@insportline.sk reklamacie@insportline.sk servis@insportline.sk Web: www.insportline.sk...
Need help?
Do you have a question about the Gemini B200 and is the answer not in the manual?
Questions and answers