Ingenico Move/5000 Manual
- Quick start manual ,
- User manual (60 pages) ,
- Quick reference manual (40 pages)
Advertisement
- 1 Powering your device
- 2 Connecting your device to the Internet
- 3 Activation
- 4 Using your device
- 5 Performing a log-on
- 6 Performing a transaction
- 7 Performing a refund
- 8 Card not present transaction MANPAN
- 9 Reprint last receipt
- 10 Settlements
- 11 Enabling & disabling contactless payWave/PayPass/Tap and Go
- 12 Rebooting your unit
- 13 Useful resources
- 14 Common faults
- 15 Documents / Resources
Powering your device
Your Ingenico Move series EFTPOS terminal requires a power connection in order to charge the battery. This is connected to the charging cradle.

Plug the power connection into the round port on the charging cradle, you will need to unclip the cover for access. The power adapter then connects to your wall outlet. Your terminal will charge while placed on the cradle. We recommend fully charging your terminal overnight, this way you can be sure to have a full charge when you need to transact.
Connecting your device to the Internet
Your terminal supports multiple connection types. Depending on your terminal model and desired connection type, a cable may be required. If your terminal is connected with a SIM (3G/4G) or via Wi-Fi a cable will not be required. If you are unsure please consult Eftco technical support.

For a cabled Internet connection start by connecting your Ethernet (network) cable to the port on the rear of the charging cradle. The other end of the Ethernet cable should be connected to your network. Depending on your network setup this could be connected directly to your modem/router, or a network wall port.
For a Wi-Fi connection, you will need to connect the terminal to your network.
- Press "Func." from the home screen, input "72" followed by enter
- When prompted for "Wi-Fi Config" press the enter key
- Select your Wi-Fi network from the list using the number keys
- When prompted for "Wi-Fi Cypher" press the enter key
- Input your password. Press the number key, followed by "Func." to toggle between all options on that key. Eg: "b" = 2 > Func. > Func.
- Press the enter key when the password has been entered completely.
Activation
If this is the first time this terminal is being used, it may need to be activated before you can start transacting. Please contact support on 0800 180 181.
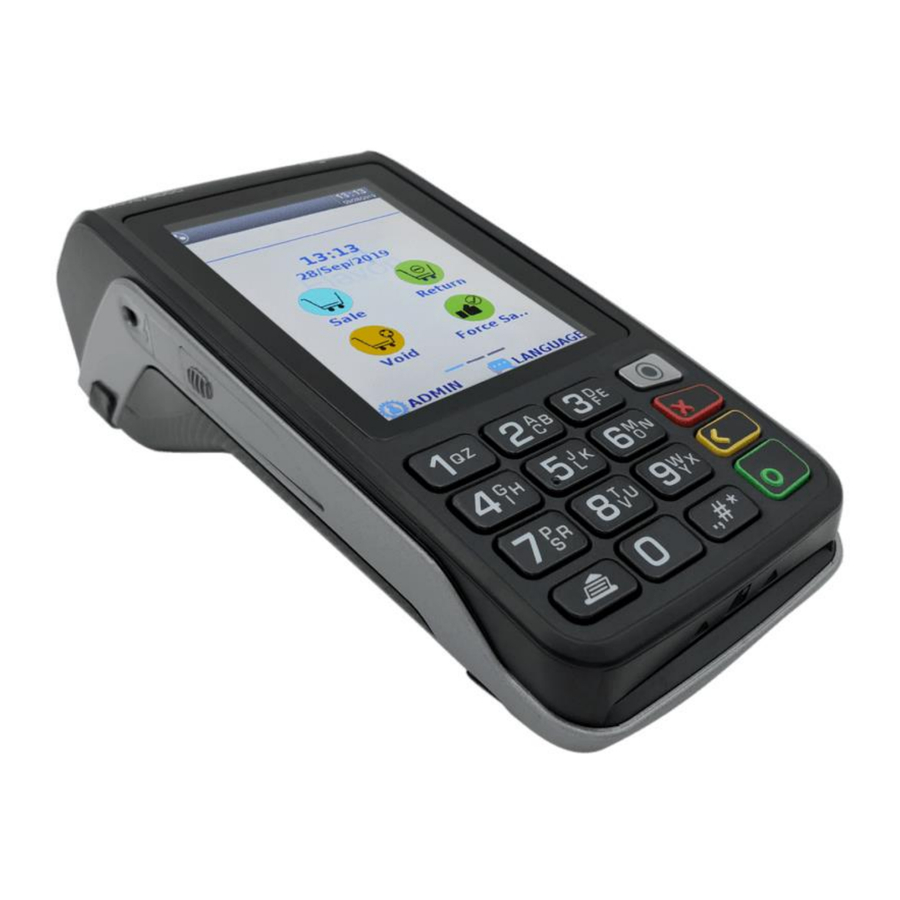
Using your device
Now that your terminal is up and running you can familiarise yourself with the function and menu keys, these enable quick and easy operation of the terminal.
 | Menu: Pressing the menu key while at the home screen will open the main menu where all terminal functions can be found. |
 | Clear: When entering any value pressing the clear key will delete the entered value. Clear also represents no if used at a yes/no prompt. |
 | Cancel: Pressing the cancel key will cancel the current transaction or close the current menu, use this to return to the home screen. |
 | Enter/OK: The enter key will confirm the current value or prompt. If used on a yes/no prompt, enter will represent the yes option. |
 | Paper feed: Holding the paper feed key will feed receipt paper from the roll. After replacing the roll we recommend testing with this key. |
Your terminal also includes 4 function keys. These are labelled F1 - F4 and are located at the very bottom of the touch screen.

On-screen function keys:
From the home screen you can press the function keys to quickly perform certain tasks, this allows quick access to common tasks without needing to open the menu each time.
F1: Starts a new purchase transaction.
F2: Starts a new cash-out transaction (if enabled).
F3: Starts a new refund transaction (requires refund/merchant card).
F4: Performs a log-on.
Performing a log-on
A log-on can be performed as a check to ensure you are ready to transact. If the log-on response is "accepted", you can be assured the terminal is online. Simply press the "F4" key from the home screen to perform a log-on.
Performing a transaction
- Press F1 to start a new transaction from the home screen
- Input the desired purchase amount, followed by the enter key
- If you have cash-out enabled, you can input this next (optional)
- Allow the customer to tap/swipe/insert their card
- Advise the customer to select their account and enter their PIN
- Please take note of the "accepted" or "declined" response
Performing a refund
- Press F3 to start a new refund transaction from the home screen
- Swipe your merchant/refund card and input the refund card PIN
- Input the desired refund amount, followed by the enter key
- Allow the customer to swipe/insert their card
- Advise the customer to select their account and enter their PIN
- Please take note of the "accepted" or "declined" response
Card not present transaction MANPAN
Please note: This requires your bank's merchant services team to have enabled MANPAN for your facility before this function will work.
- Press F1 to start a new transaction from the home screen
- Input the desired purchase amount, followed by the enter key
- If you have cash-out enabled, you can input this next (optional)
- Press the "Func." key (next to enter)
- Input the customer card number
- Input the expiry date of the card
- At CSC prompt press the enter key if the card has a CSC number
- Input the CSC number from the rear of the card (3-4 digit code)
- Select the correct transaction type (typically MOTO)
- Select the correct transaction frequency (typically single)
- Select the credit account option, followed by enter to accept signature
- Please take note of the "accepted" or "declined" response
Reprint last receipt
To reprint the last receipt, simply press the "3" key from the home screen.
Settlements
- Press the menu key from the home screen
- Select "admin menu"
- Select the desired settlement transaction
- Total: Will provide a report showing the transaction values since the total was last run & reset. When this transaction is run, the terminal will ask if you would like to reset the values to 0.
- Inquiry: Generates a report showing the transaction values for today, or a specific date (no further than 7 days in the past) as recorded by Worldline.
- Cutover: Generates a report showing the transaction values for today, as recorded by Worldline. Please note: this can only be performed once per day, during your settlement window. Once performed, any subsequent transactions will be included in the next day's takings. Perform this at the end of your day.
Enabling & disabling contactless payWave/PayPass/Tap and Go
Please note: This requires your bank's merchant services team to have enabled contactless payments for your facility before this function will work.
- Press the "Func." key from the home screen
- Input "7418" followed by the enter key
- At the multi-merch prompt, press the "7" key
- The terminal will present a prompt to enable or disable contactless, depending on the current state, press enter to confirm this change.
- Press the cancel key to return to the home screen
- Perform a log-on by pressing the F4 key
Rebooting your unit
To reboot your terminal simply hold the "Clear" and "Func." keys together for 2-3 seconds. The terminal will perform a reboot. Alternatively disconnect the power cable for 5 seconds, then reconnect.
Useful resources
EOV (Offline transactions): Merchants that are approved for EOV from their bank's merchant services team have the ability to store transactions in the terminal when there is a connectivity issue, such as an Internet outage. When performing an offline transaction please take extreme care, it is important to obtain and check the cardholder's signature as this is verifying the card's validity without a PIN. Store each offline receipt in a safe place, if there is any issue during the uploading of offline transactions the receipt will contain required card and cardholder information for processing at a later stage.
Detailed reports: Further transactional information and reporting is available from Worldline. Insights, a free Worldline offering allows self-service online access to transactional information from your computer, for more information please contact Worldline directly on 0800 729 627 quoting "Insights".
Common faults
Transmission error
This error usually occurs when the terminal has been unable to communicate with Worldline. In most cases this can be narrowed down to a network related issue, checking Internet connectivity and cabling is advised.
Declined
The card's issuing bank has declined the transaction, the most common cause is insufficient funds.
Account error
The cardholder has selected the incorrect account for the card.
Incorrect PIN
The cardholder has entered an incorrect PIN for the card.
Invalid transaction
The merchant facility does not support the type of transaction or card being used. Commonly this occurs if a credit card is used when this is not accepted by the merchant facility.
Response error
Terminal has been disconnected by Worldline, this is commonly a billing issue between the merchant and Worldline. Contact Wordline support on 0800 729 627.
Phone help desk
Please contact tech support on 0800 180 181.
Alert irruption/unauthorised
The terminal's anti-tampering system has been activated, this system is in place to prevent fraud. Please contact technical support on 0800 180181.
6 Somerset St,
Frankton
Hamilton 3204
support@eftco.co.nz
0800 180 181
Documents / ResourcesDownload manual
Here you can download full pdf version of manual, it may contain additional safety instructions, warranty information, FCC rules, etc.
Advertisement


Need help?
Do you have a question about the Move/5000 and is the answer not in the manual?
Questions and answers