Ingenico Move5000 Quick Reference Manual
By fiserv first data
Hide thumbs
Also See for Move5000:
- Quick start manual ,
- User manual (60 pages) ,
- Quick reference manual (40 pages)
Table of Contents
Advertisement
Quick Links
Move5000
Quick Reference Guide
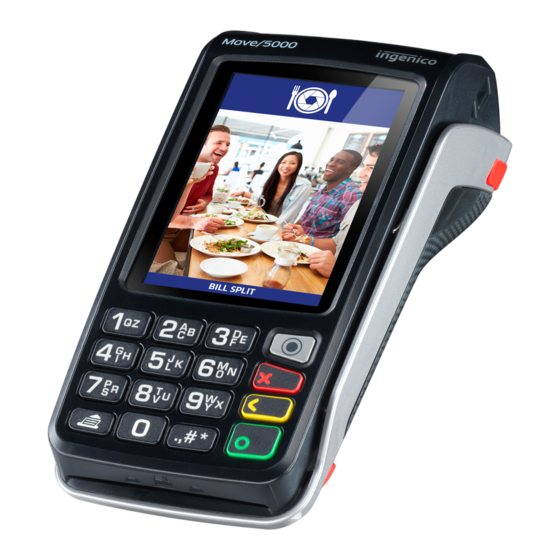
The Move5000 device is equipped with a touch panel that allows you to capture functions and menus by
using your finger or a stylus.
Keyboard details and functionality
The functions key accesses
the different application menus
The red key cancels the procedure in
progress
The yellow key cancels the last
character
The green key validates input selections and
information. It is also used to switch on the
terminal.
The feed key will eject the thermal paper a
few centimeters over the tear line if pressed
for more than two seconds
Advertisement
Table of Contents

Related Manuals for Ingenico Move5000


Summary of Contents for Ingenico Move5000
- Page 1 The feed key will eject the thermal paper a few centimeters over the tear line if pressed for more than two seconds The Move5000 device is equipped with a touch panel that allows you to capture functions and menus by using your finger or a stylus.
- Page 2 Move5000 Quick Reference Guide (Terminal is touch-screen capable. All selections are made by touching the options on screen). Sale (Retail Merchant) Input amount and press . 1. Press . 2. Once transaction is completed, ask Terminal will prompt to print customer to sign on the screen or customer’s copy.
- Page 3 Tips Adjustment Input Tip Amount and press . Press . Select TIPS ADJUST at main menu. Press to confirm amount. Input amount and press . Once transaction is completed, terminal will print out the TIP Adjust Sale receipt. Select Search record method: Terminal will prompt to print customer’s copy.
- Page 4 (Offline function is only available for Offline Sale selected merchants) 1. Press . 7. Touch the screen to switch to # & Alphabet keyboard. 2. Select OFFLINE at main menu. 8. Press. 3. Input password and press . 9. Once transaction is completed, ask customer to sign on the screen or press.
- Page 5 ® ® Pre-Auth Completion (For Visa /Mastercard /JCB) 7. Input Invoice number and press . 1. Press . 2. Select PRE-AUTH at main menu. 8. Insert/Swipe/Tap Card/Input Card#. 3. Select PRE-AUTH COMP (VM/J/D/A). 9. Once transaction is completed, ask customer to sign on the screen or press .
- Page 6 Instalment (IPP) 1. Press . 7. Insert/Swipe/Tap Card/Input Card#. 2. Select INSTALMENT at main menu. 8. Once transaction is completed, ask customer to sign on the screen or press . 9. Terminal will print out merchant’s copy 3. Select INSTALMENT SALE. receipt.
- Page 7 Reprint Last Settlement Receipt 1. Press . 4. Select the LAST SETTLEMENT. 2. Scroll and select MERCHANT. 5. Terminal will print out the last settlement. 3. Select REVIEW. View Any Transaction (By Trace #) 1. Press . 6. Select the TRACE NUMBER. 2.
- Page 8 Print Out Detail Report 1. Press . 4. Select DETAIL. 2. Scroll and select MERCHANT. 5. Select the host at Select Host menu. 3. Select REPORT. 6. Terminal will print out detail Report. Print Out Summary Report 1. Press . 5.
Need help?
Do you have a question about the Move5000 and is the answer not in the manual?
Questions and answers