Advertisement
MAN#650179
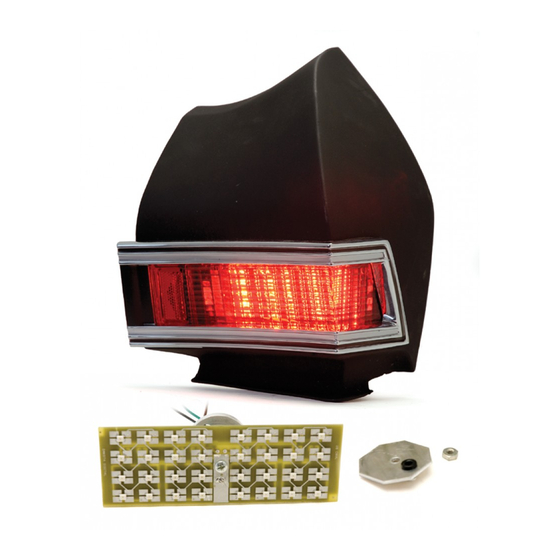
Kit Includes:
Installation:
1. Remove the chrome tail light cover. There are four nuts on the back of the housing.
2. Remove the tail light lens.
3. Remove the light bulb.
4. Remove the original bulb connector from the back side of the housing.
5. Now is a good time to clean the lens and housing. If lenses are in bad shape a new set is
recommended.
6. Remove the nuts and back plate from the back of the new LED assembly.
7. Insert the new LED assembly into the hole where the original bulb
and connector were located. Use caution when feeding the wires
through the socket opening to avoid damaging the wire insulation.
INSTALLATION INSTRUCTIONS
LAT-NR180
LED Tail Lights for 1968 Chevelle
MAN#650179
Advertisement
Table of Contents

Subscribe to Our Youtube Channel
Summary of Contents for Dakota Digital LED Tail Lights for 1968 Chevelle LAT-NR180
- Page 1 MAN#650179 Kit Includes: Installation: 1. Remove the chrome tail light cover. There are four nuts on the back of the housing. 2. Remove the tail light lens. 3. Remove the light bulb. 4. Remove the original bulb connector from the back side of the housing. 5.
- Page 2 If you are replacing only the rear turn signals you should be able to use a heavy duty electronic flasher from your local parts store. If you are replacing both front and rear or do not have front bulbs you will need a no-load flasher, Dakota Digital part number LAT-NLF.
-
Page 3: Service And Repair
This Warranty is in lieu of all other expressed warranties or liabilities. Any implied warranties, including any implied warranty of merchantability, shall be limited to the duration of this written warranty. No person or representative is authorized to assume, for Dakota Digital, any liability other than expressed herein in connection with the sale of this product.


Need help?
Do you have a question about the LED Tail Lights for 1968 Chevelle LAT-NR180 and is the answer not in the manual?
Questions and answers