
Subscribe to Our Youtube Channel
Related Manuals for BDI Elements 8703


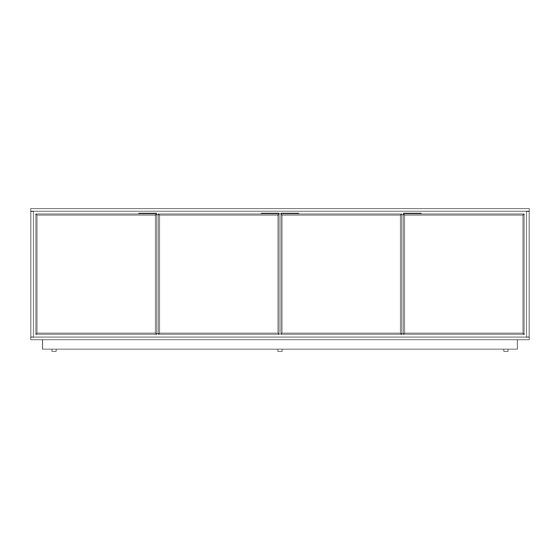
Summary of Contents for BDI Elements 8703
- Page 1 ELEMENTS 8703 & 8709 ® CABINET USER MANUAL LET’S GET STARTED. 8703 8709 DESIGN BDI STUDIO...
- Page 2 2 | BDIUSA.COM ELEMENTS 8703 & 8709...
- Page 3 Congratulations on the purchase of your Elements cabinet from BDI. Your cabinet has been designed to provide a lifetime of enjoyment. This manual will provide assembly instructions and other helpful information to ensure you get the most out of your product.
- Page 4 HARDWARE AND COMPONENTS Unpack and identify the parts listed below. The assembly workspace should be a non-marring surface, such as carpet. For missing hardware pieces, please contact BDI Customer Service at customerservice@bdiusa.com. For all other concerns, please contact your BDI retailer.
-
Page 5: Rolling Plinth Base
HARDWARE AND COMPONENTS HARDWARE AND COMPONENTS Elements cabinets are available with two base options. Depending on the base that you have selected, your configuration will include one of these two sets of components. CONSOLE BASE PROCEED TO PAGE 6 Leveler Wrench (T3) QTY: 1 Screw M6 x 75 (H3) QTY: 8... -
Page 6: Qty
Spanners (C7) using 8 Screws (H5) and tighten with Hex Wrench (T2). SCREW – H5 SCREW – H4 Attach the Legs (C9) to the Connection Plate (C8) using 8 Screws (H4) and tighten with Hex Wrench (T2). 6 | BDIUSA.COM ELEMENTS 8703 & 8709... -
Page 7: Proceed To
STEP 1. ASSEMBLE BASE & ATTACH BASE TO CABINET ASSEMBLY (CONTINUED) CONSOLE BASE Lay the Cabinet (C1) on its top on a soft, non- marring surface, like carpet. Attach the Base to HEX WRENCH – T2 the Cabinet (C1) using 8 Screws (H3) and tighten with Hex Wrench (T2). - Page 8 Plinth Base (C6) to the Cabinet (C1) using 10 Screws (H2) and tighten with Hex Wrench (T2). SCREW – H2 With the help of another person, carefully turn the Cabinet onto its Base. 8 | BDIUSA.COM ELEMENTS 8703 & 8709...
- Page 9 STEP 2. ATTACH DOOR PULLS ASSEMBLY Open the doors and connect the 4 Door Pulls PHILLIPS-HEAD (C5) with 8 Screws (H1). Tighten with Phillips- SCREWDRIVER – T1 head Screwdriver (T1). SCREW – H1 NEED ASSISTANCE? customerservice@bdiusa.com | 9...
- Page 10 Repeat this process for the Center Shelf (C2), adjusting the position of the Shelf Pins as needed Note that there is a fifth Shelf Pin that supports the back center of the shelf. Install the shelf by tilting it and placing it securely on the pins. 10 | BDIUSA.COM ELEMENTS 8703 & 8709...
- Page 11 STEP 4. ATTACH BACK PANELS ASSEMBLY To install the cabinet's Back Panels (C4), slide the top edge of one Back Panel into the groove in the underside of the cabinet's top panel. Align the bottom edge of the panel over the groove in the cabinet's bottom and let the back panel drop into place.
- Page 12 Place a level (not included) on top of the cabinet and use the Leveler Wrench (T3) to adjust the levelers located on the foot of each leg of the base. Turning clockwise will extend the leveler; turning it counter-clockwise will retract it. 12 | BDIUSA.COM ELEMENTS 8703 & 8709...
- Page 13 FINE TUNING LEVEL CABINET ROLLING PLINTH BASE Elements model 8703 is equipped with wheels to allow it to easily roll forwards and backwards for access to the rear of the cabinet. When you are finished wiring your components and no longer need access to the back of the cabinet, you have the option to raise your cabinet off its wheels to level it and secure it in place, if desired.
- Page 14 Door C & Door D here Door C Loosening Screw 1 on this hinge will close the seam between Door C & Door D here Door A Door B Door C Door D 14 | BDIUSA.COM ELEMENTS 8703 & 8709...
- Page 15 While BDI’s stained wood finishes are stable in tone & appearance, all finishes are subject to some degree of discoloration with prolonged exposure to direct sunlight. Please avoid positioning your BDI cabinet in any area with ample direct sunlight.
- Page 16 Select chairs carry coverage for five (5) years from the date of the product delivery, based on an 8-hour daily use pattern. BDI reserves the right to refine or update its warranty from time to time. See the complete and latest warranty document at www.bdiusa.com/warranty.
Need help?
Do you have a question about the Elements 8703 and is the answer not in the manual?
Questions and answers