Sign In
Upload
Download
Add to my manuals
Delete from my manuals
Share
URL of this page:
HTML Link:
Bookmark this page
Add
Manual will be automatically added to "My Manuals"
Print this page
×
Bookmark added
×
Added to my manuals
Manuals
Brands
BDI Manuals
Indoor Furnishing
CORRIDOR 8108
Instruction manual
BDI CORRIDOR 8108 Instruction Manual
Storage
Hide thumbs
1
2
3
4
5
6
7
8
9
10
11
12
page
of
12
Go
/
12
Bookmarks
Advertisement
Quick Links
Download this manual
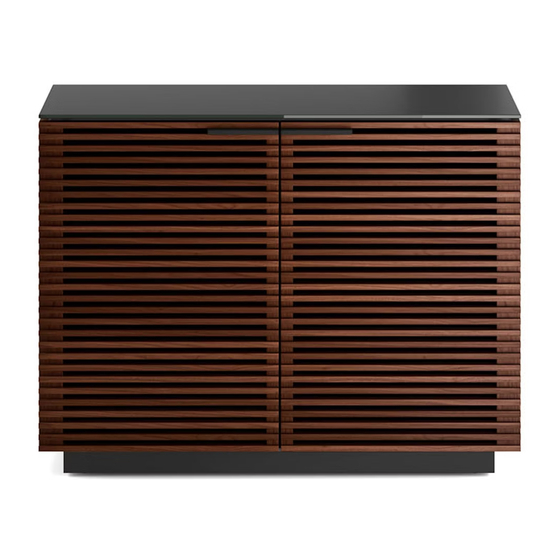
CORRIDOR
8108 & 8109
®
STORAGE
INSTRUCTION MANUAL
LET'S GET STARTED.
8108
8109
DESIGN MATTHEW WEATHERLY
Table of
Contents
Previous
Page
Next
Page
1
2
3
4
5
Advertisement
Need help?
Do you have a question about the CORRIDOR 8108 and is the answer not in the manual?
Ask a question
Questions and answers
Related Manuals for BDI CORRIDOR 8108
Indoor Furnishing BDI CORRIDOR 8172 Instruction Manual
Audio tower (17 pages)
Indoor Furnishing BDI CORRIDOR 8177 Assembly Instructions
(5 pages)
Indoor Furnishing BDI CORRIDOR 8179-WL Manual
Media console (5 pages)
Indoor Furnishing BDI CORRIDOR 8179 Instruction Manual
Media console (16 pages)
Indoor Furnishing BDI CORRIDOR 8179 Assembly Instructions
Media console (5 pages)
Indoor Furnishing BDI CORRIDOR 8177 Instruction Manual
(16 pages)
Indoor Furnishing BDI cavo Assembly Instructions
Wide tv cabinets (5 pages)
Indoor Furnishing BDI Corridor 8175 Assembly Instructions Manual
Cabinet (6 pages)
Indoor Furnishing BDI CORRIDOR 8175 Instruction Manual
Media console (16 pages)
Indoor Furnishing BDI CIRRUS 8158 Assembly Instructions
(4 pages)
Indoor Furnishing BDI Meriden 8127 Assembly Instructions
(4 pages)
Indoor Furnishing BDI CIRRUS 8157 Assembly Instructions
(4 pages)
Indoor Furnishing BDI CORRIDOR 8109 Instruction Manual
Storage (12 pages)
Indoor Furnishing BDI ELEMENTS 8777-ME Instruction Manual
Media base (12 pages)
Indoor Furnishing BDI ELEMENTS 8777 Instruction Manual
Console base (12 pages)
Indoor Furnishing BDI PROFILE 8477 Instruction Manual
Media & storage (8 pages)
This manual is also suitable for:
Corridor 8109
Print
Rename the bookmark
Delete bookmark?
Delete from my manuals?
Login
Sign In
OR
Sign in with Facebook
Sign in with Google
Upload manual
Upload from disk
Upload from URL


Need help?
Do you have a question about the CORRIDOR 8108 and is the answer not in the manual?
Questions and answers