
Related Manuals for BDI ELEMENTS 8777-ME


Summary of Contents for BDI ELEMENTS 8777-ME
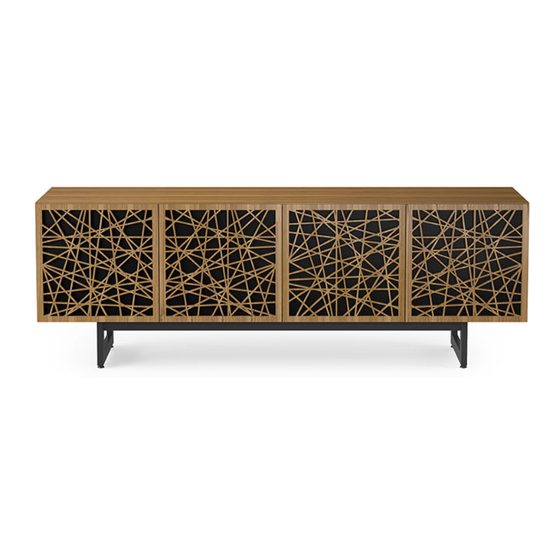
- Page 1 ELEMENTS 8777 & 8779 ® MEDIA BASE INSTRUCTION MANUAL LET’S GET STARTED. DESIGN AL GLASS, JASON GUIDRY, AND LOUIS A. LARA...
- Page 3 Congratulations on the purchase of your Elements Media Cabinet from BDI. Your cabinet has been designed to provide a lifetime of enjoyment. This manual will provide you with assembly instructions and other helpful information that will ensure that you get the most out of your cabinet.
- Page 4 Unpack and identify the parts listed below. The assembly workspace should be a non-marring surface such as carpet. Do not use power tools for the assembly of this product. For missing hardware pieces, please contact BDI Customer Service at customerservice@bdiusa.com. PART #...
- Page 5 HARDWARE AND COMPONENTS HARDWARE AND COMPONENTS PART # DESCRIPTION Cabinet, 3-Door (shown) or 4-Door—Door Pattern Varies QUANTITY PART # PART # PART # DESCRIPTION DESCRIPTION DESCRIPTION Base Rail Left Leg Right Leg QUANTITY QUANTITY QUANTITY 4-DOOR ONLY 4-DOOR ONLY PART # PART # PART # DESCRIPTION...
- Page 6 ASSEMBLY STEP 1. BUILD BASE ASSEMBLY NOTE: You MUST align arrows on (A2) Base Rails PART/DESCRIPTION with arrows on (A3 & A4) Legs for proper orientation. Slide (A3 & A4) Legs into (A2) Base Rails T2-HEX WRENCH and attach by using (T2) Hex Wrench and 8 (H1) Screws.
- Page 7 2 PERSON TASK STEP 2. ATTACH BASE TO CABINET (continued) ASSEMBLY QUAD CABINET PART/DESCRIPTION CAUTION! Do NOT remove blocking above the shelves. NOTE: Do NOT fully tighten until all 8 (H2) Screws T2-HEX WRENCH are started. With help from another person, carefully position the (A1) Cabinet upside-down (as shown) or on H1-SCREW its back.
-
Page 8: Fine Tuning
2 PERSON TASK ASSEMBLY STEP 4. INSERT BACK PANELS With help from another person, carefully rotate your Elements Console onto its feet. The two (C5) Back Panels are removable and can slide towards the middle. To remove, lift up and pull the bottom edge out of its groove. - Page 9 FINE TUNING LEVEL CABINET Levelers are integrated into each leg assembly and PART/DESCRIPTION are accessed at the bottom of each cabinet leg. If your floor is uneven, you may extend one or more levelers to attain a level, stable cabinet placement. T3-LEVELER WRENCH Turning the leveler clockwise will extend the leveler;...
- Page 10 FINE TUNING ADJUST DOOR HINGES (IF NEEDED) The doors on your console should be evenly PART/DESCRIPTION spaced and the doors should open and close freely without rubbing against the door frame. If T1-PHILLIPS the cabinet’s doors appear out of alignment, this SCREWDRIVER condition can be corrected with minor adjustment to the European hinges on each door.
-
Page 11: Care And Maintenance
While BDI’s stained wood finishes are stable in tone & appearance, all finishes are subject to some degree of discoloration with prolonged exposure to direct sunlight. Please take care to avoid positioning your BDI cabinet in any area with extensive direct sunlight. -
Page 12: Warranty
WARRANTY BDI warrants to the original purchaser that for the below-stated warranty term, BDI will repair or replace any product, part, or component covered by this warranty that fails under normal use as a result of a defect in material or workmanship. BDI will repair or replace the aforementioned product, part or component with a comparable product, part or component.
Need help?
Do you have a question about the ELEMENTS 8777-ME and is the answer not in the manual?
Questions and answers