Advertisement
Quick Links
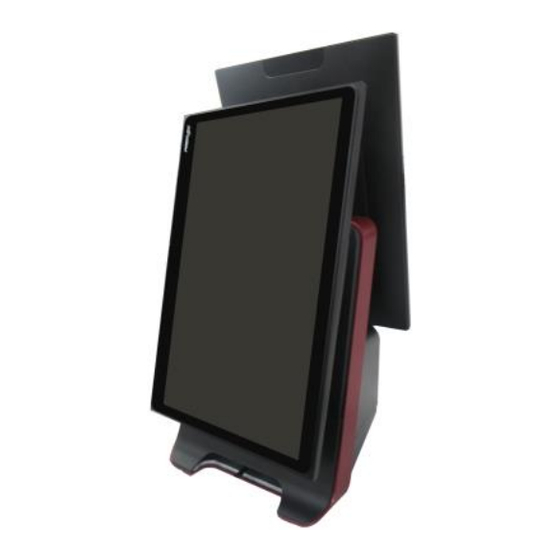
TM/LM-BT15 & TM/LM-BT16
nd
2
Monitor for BT Series
Quick Installation Guide
SOME IMPORTANT NOTES
FCC NOTES
This equipment has been tested and found to comply with the limits for a Class A
digital device, pursuant to part 15 of the FCC Rules. These limits are designed to
provide reasonable protection against harmful interference when the equipment is
operated in a commercial environment. This equipment generates, uses, and can radiate
radio frequency energy and, if not installed and used in accordance with the instruction
manual, may cause harmful interference to radio communications. Operation of this
equipment in a residential area is likely to cause harmful interference in which case the
user will be required to correct the interference at his own expense.
This device complies with part 15 of the FCC Rules. Operation is subject to the
following two conditions: (1) This device may not cause harmful interference, and (2)
this device must accept any interference received, including interference that may cause
undesired operation.
CE CLASS A WARNING
This equipment is compliant with Class A of CISPR 32. In a residential environment
this equipment may cause radio interference.
AVERTISSEMENT CE CLASSE A
Cet équipement est conforme à la classe A de CISPR 32. Dans un environnement
résidentiel, cet équipement peut provoquer des interférences radio.
WARRANTY LIMITS
Warranty will terminate automatically when the machine is opened by any person other
than the authorized technicians. The user should consult his/her dealer for the problem
happening. Warranty voids if the user does not follow the instructions in application of
this merchandise. The manufacturer is by no means responsible for any damage or
hazard caused by improper application.
LIMITES DE GARANTIE
La garantie prend fin automatiquement lorsque la machine est ouverte par une personne
autre que les techniciens autorisés. L'utilisateur doit consulter son revendeur pour le
problème qui se produit. La garantie s'annule si l'utilisateur ne suit pas les instructions
d'application de cette marchandise. Le fabricant n'est en aucun cas responsable de tout
dommage ou danger causé par une mauvaise application.
TM/LM-BT15 & TM/LM-BT16 Ver. A0
1
Advertisement

Related Manuals for POSIFLEX BT Series


Summary of Contents for POSIFLEX BT Series
- Page 1 TM/LM-BT15 & TM/LM-BT16 Monitor for BT Series Quick Installation Guide SOME IMPORTANT NOTES FCC NOTES This equipment has been tested and found to comply with the limits for a Class A digital device, pursuant to part 15 of the FCC Rules. These limits are designed to provide reasonable protection against harmful interference when the equipment is operated in a commercial environment.
- Page 2 警告 為避免電磁干擾,本產品不應安裝或使用於住宅環境。 SAFETY INSTRUCTIONS This equipment is not suitable for use in locations where children are likely to be present. CONSIGNES DE SÉ CURITÉ Cet équipement ne convient pas à une utilisation dans des lieux pouvant accueillir des enfants. BATTERY WARNING Risk of explosion if battery is replaced by an incorrect type.
- Page 3 BT series POS terminal models. Please make sure the BT series POS terminal is completely turn off before installing. Please follow the below procedure to install TM/LM-BT15 or TM/LM-BT16 to BT series POS terminal models.
- Page 4 Remove the plastic cover. Remove. Connect the USB type-C cable to the USB type-C port on the top side of the main board. Install the hinge with five screws, being careful not to press the cables.
- Page 5 Route the cable like the below picture and then close the plastic cover back to the POS terminal.
- Page 6 Pass the USB type-C cable through the cable exit of the hinge bracket, and then install the hinge bracket with four M4 screws. Install. Install. Fix four M4 screws.
- Page 7 Connect the USB type-C cable to the 2 display. Connect the USB type-C cable. 10. There are two hooks on the hinge bracket. Hook the 2 display onto the hinge bracket.
- Page 8 11. After attaching the 2 display onto the hinge bracket, fix the 2 display with two thumbscrews. 12. Installation completed. ※ The product information and specifications are subject to change without prior notice.
Need help?
Do you have a question about the BT Series and is the answer not in the manual?
Questions and answers