Advertisement
Quick Links
Advertisement

Related Manuals for SMITH SYSTEM CONSTELLATE CLASSROOM STORAGE


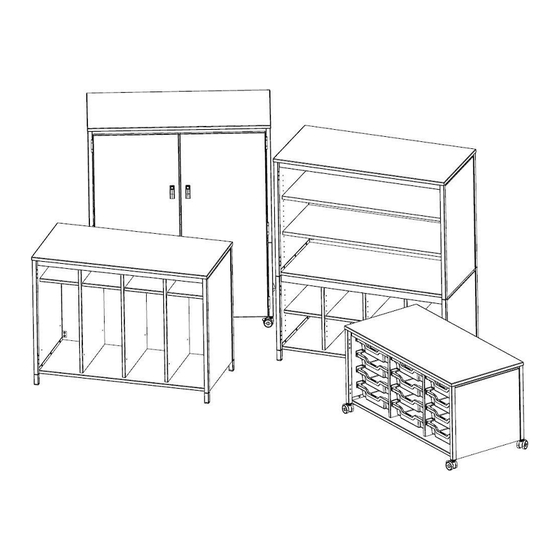
Summary of Contents for SMITH SYSTEM CONSTELLATE CLASSROOM STORAGE
- Page 1 Assembly Instructions CONSTELLATE CLASSROOM STORAGE Document #: 179727 Revised: 11/28/2023...
- Page 2 Hardware And Components FOR DOOR UNITS ONLY (PN: 60550) GLGLIDE MODELS ONLY (PN: 60372) CASTER MODELS ONLY CUBBIE AND LOCKER W/ SHELVES MODELS ONLY (PN: 60552) Document #: 179727 Revised: 11/28/2023...
- Page 3 Hardware And Components INCLUDED WITH ALL MODELS SHELF MODELS ONLY (60373) ANCHOR KIT PACK (PN: 60375) EXTERNAL HOOK (PN: 60554) Document #: 179727 Revised: 11/28/2023...
- Page 4 General Assembly Guidelines • Ensure that all components are accounted for and undamaged before assembling • Follow each step carefully to ensure the proper assembly of this product • 2-person assembly is highly recommended • Clean the product with a mild cleaner and damp cloth Tools •...
- Page 5 Caster Assembly Instructions Unpack and confirm all parts are present. As a team, remove the Constellate unit from the pallet and place standing up on a smooth flat surface. Do not lay on its back. Tilt unit to one side to install 2x casters, it is a press fit, lock casters once done. Tilt unit to opposite side to install 2x remaining casters.
- Page 6 Glide Assembly Instructions 1. Unpack and confirm all parts are present. As a team, remove the Constellate unit from the pallet and place standing up on a smooth flat surface. Do not lay on its back. Tilt unit to one side to install 2x glides using supplied Allen key. Allen key head is accessed through a hole in the bottom of the glide.
- Page 7 Door Handle Assembly Instructions 1. Install casters or glides first, see caster or glide assembly instructions. Installed handles as shown. NOTE: P15306, the shorter machine screw goes into the top hole. Document #: 179727 Revised: 11/28/2023...
- Page 8 Cubbie Assembly Instructions 1. Install 4x shelf pins per shelf at the desired height. 2. Fasten 2x screws per shelf in opposite corners. Document #: 179727 Revised: 11/28/2023...
- Page 9 Shelf Assembly Instructions 1. Install 4x shelf pins per shelf at the desired height. 2. Insert shelf at an angle aligning the slots in the shelf with the pin. Lower lifted side of shelf to sit flat on pins. Document #: 179727 Revised: 11/28/2023...
- Page 10 Anchor Kit Assembly Instructions 1. Position bracket as shown below on the back of the unit, keeping the bracket inside the hatched area. 2. Attach bracket using 2x P15316 fasteners. 3. Mount other bracket within 6” of the bracket mounted to the back of the unit on the wall of your choice using adequate hardware, capable of supporting 400lbs.
- Page 11 External Hook Assembly Instructions 1. The external hook can be installed in any of the 3 oval cutouts shown below. Install external hook as shown below, do not over tighten. Document #: 179727 Revised: 11/28/2023...
Need help?
Do you have a question about the CONSTELLATE CLASSROOM STORAGE and is the answer not in the manual?
Questions and answers