
Related Manuals for PowerMax UrbanTrek TD-M4


Summary of Contents for PowerMax UrbanTrek TD-M4
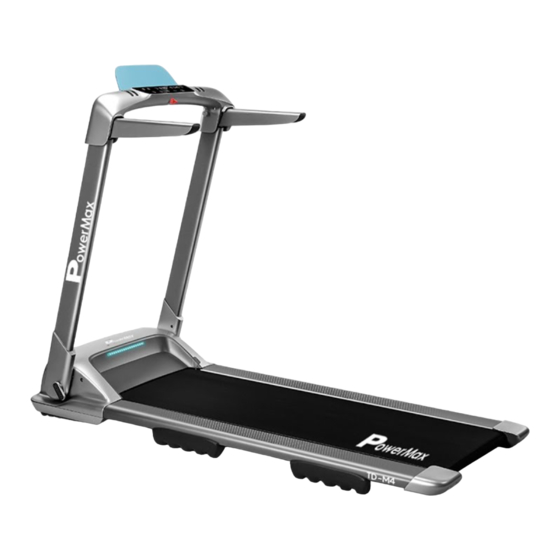
- Page 1 Powermax UrbanTrek Series Treadmill Instruction Model : TD-M4 POWERMAX FITNESS (INDIA) PVT LTD 808, 8th floor, Lotus Trade Centre, New Link Road, Andheri West, Mumbai - 400053 +91 22 26315114 (4 lines) POWERMAX FITNESS (INDIA) PVT LTD...
-
Page 2: Table Of Contents
Contents 1.Product Brief Introduction 2.Safety Instruction 3.Parameter and Component 4.Installation Instruction 5.Product Operation Instruction 5.1Button and Program Instruction 5.2Error Code Display 6.Exercise Suggestion and Guideline 7.Maintenance Guidance and Instruction... -
Page 3: Product Brief Introduction
2. Safety Instruction 1.Product Brief Introduction Thank you for choosing our product. Product Name: Powermax Urban Trek Series Treadmill The correct use of treadmill is the guarantee for your safety and convenience. Product Model: TD-M4 Please read the following contents carefully before you use thetreadmill. - Page 4 16.On the digital display, you can clearly see the speed,time and distance of your exercise. Also, it can show the calorie you consumed and your heart rate on the digital display. During running, your heart beat Product Name Powermax UrbanTrekTreadmill rate could be measured by grabbing the chips on the two front handrails. Model TD-M4 17.Warning!
-
Page 5: Installation Instruction
4.Installation Instruction: 4.Installation Instruction: Simple installation in seven steps 4.Take mobile phone holder and 2pcs self tapping screw out of the hardware bag. 1.Open package, take the integrated UrbanTrek treadmill, hardware bag, spare part box and user Install the mobile phone holder with two screws. manual out of the carton, and lay it flat on the ground (refer to picture 1) hardware Mobile Phone Holder... -
Page 6: Product Operation Instruction
5. Product instruction: 5. Product instruction: 5. 1 Button and Program Instruction: 5. 1 Button and Program Instruction: Speed Window Time Window Calorie; Distance and Heart-rate Window 3. Time Window Calorie 3.1 It displays the running time.(Range: 0-99:59) Indicator Light 3.2 It displays the error code when failure occurs 4. -
Page 7: Error Code Display
5.2 Error code display 5.2 Error code display A: Error information of control device and troubleshooting methods Information Possible reasons Troubleshooting Guideline Code Information Possible reasons Troubleshooting Guideline Code 1.Check if overloaded. 2.Check if the mechanical running parts are 1.Check whether the safety key is connected to jammed. -
Page 8: Exercise Suggestion And Guideline
6. Exercise Suggestion and Guideline 6. Exercise Suggestion and Guideline If it is your first time to use electronic running machine, you need to read the below Stretch exercise content: No matter how fast you walk, it is better to do stretch exercises first. Warm muscle is easier to stretch, so please spend 5-10 minute to Preparation warm up first. - Page 9 7.Maintenance Guideline and Instruction 7.Maintenance Guideline and Instructions 1. Maintenance guideline 7. Maintenance guideline and instruction 2.1 Running plate lubrication WARNING: Be sure that the electric treadmill is not plugged in before you clean or maintain the ① We mentioned above that it is necessary to inject silicone oil on running plate at the right time. product.
- Page 10 7.Maintenance Guideline and Instructions 2.3 Running belt centering ①Place the treadmill on even ground. ②Start the treadmill and set the speed at about 3.5 kilometers per hour. ③If the running belt is tilted to the left side, rotate the adjustment bolt on the left side by 1/2 circle in the clockwise direction , and then rotate the adjustment bolt on the right side by 1/2 circle in an anticlockwise direction.
Need help?
Do you have a question about the UrbanTrek TD-M4 and is the answer not in the manual?
Questions and answers