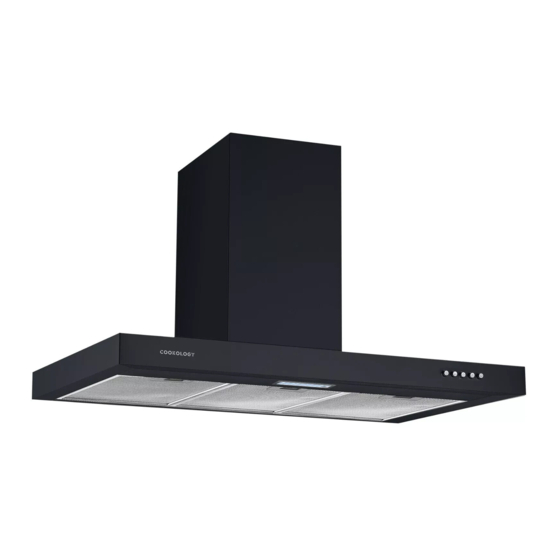
Summary of Contents for Cookology TSH601BK/A
- Page 1 TSH601BK/A TSH601SS/A TSH901BK/A TSH901SS/A Cooker Hood Instruction Manual Please register the warranty for this product on www.Cookology.com ...
-
Page 2: Table Of Contents
Content 1…………………………………..………………………………Safetyinstructions 2…………………………………..………………………………Installation 3…………………………………..………………………………Startusingyourcookerhood 4…………………………………..………………………………Troubleshooting 5…………………………………..………………………………Maintenanceandcleaning 6…………………………………..………………………………Environmentprotection... -
Page 3: SafetyInstructions
SAFETY INSTRUCTIONS hismanualexplainstheproperinstallationanduseofyourcookerhood, pleasereaditcarefullybeforeusingevenifyouarefamiliarwiththeproduct. Themanualshouldbekeptinasafeplaceforfuturereference. of a range hood or other cooking fume Nevertodo: extractor, the operation of open flued gas appliances should be tested by a ● o not try to use the cooker hood competent person to ensure that back without the grease filters or if the filters flow of combustion gases does not are excessively greasy! - Page 4 Alwaystodo: Alwaystodo: ● ● lways put lids on pots and pans aution: The appliance and its when cooking on a gas cooker. accessible parts can become hot during operation. Be careful to avoid ● hen in extraction mode, air in the touching the heating elements.
-
Page 5: Installation
INSTALLATION (VENT OUTSIDE) MOUNTING OF THE V-FLAP If the cooker hood does not have an assembled V-flap 1, you should mount the half- parts to its body.The images only show an example of how to mount the V-flap, because the outlet may vary according to different models and configurations. To mount the V-flap 1 you should: •... - Page 6 2. The cooker hood should be placed at a distance of 65~75cm above the cooking surface for best effect. 3. After decide the cooker hood height, measure the position of the holes for hanging hood and inside chimney bracket. Use 2 pcs 4mm * 30mm screws to hang the hood.
- Page 7 HINTS FOR EXHAUST DUCT INSTALLATION The following rules must be strictly followed to obtain optimal air extraction: • Keep expansion pipe short and straight. • Do not reduce the size or restrict the expansion pipe. • When using the expansion pipe always install the pipe pulled taut to minimize pressure loss.
-
Page 8: StartUsingYourCookerHood
Start Using Your Cooker Hood Push button Push the “0” button, and the motor will stop. 2) Push the “1” button, and the motor will run at low speed. 3) Push the “2” button, and the motor will run at mid speed. 4) Push the “3” button, and the motor will run at high speed. 5) Push the light button and the two lights will illuminate. -
Page 9: MaintenanceAndCleaning
MAINTENANCE AND CLEANING Caution: • Before maintenance or cleaning is carried out, the cooker hood should be disconnected from the mains power supply. Ensure that the cooker hood is switched off at the wall socket and the plug removed. • External surfaces are susceptible to scratches and abrasions, so please follow the cleaning instructions to ensure the best possible result is achieved without damage. - Page 10 INSTALLING GREASE MESH FILTERS • To install filters for the following four steps: - Angle the filter into the slots at the back of the hood. - Push the button on tne handle of the filter. - Release the handle once the filter fits into a resting position. - Repeat to install all filters.
- Page 11 BULB REPLACEMENT The bulb must be replaced by the manufacturer, its Important : service agent or similarly qualified persons. Always switch off the electricity supply before carrying out any operations on the appliance. When handling bulb, make sure it has completely cooled down before any direct contact with hands.
-
Page 12: EnvironmentProtection
At the end of life, the appliance should not be disposed of with household waste. Check with your Local Authority or retainer for recycling advice. Please register the warranty for this product on www.Cookology.com Cookology Limited Ground floor, 71 Lower Baggot Street, Dublin 2, D02 P593...


Need help?
Do you have a question about the TSH601BK/A and is the answer not in the manual?
Questions and answers