Table of Contents
Advertisement
Quick Links
IARMOR EDGE™
BEFORE INSTALLATION
REMOVE CONTENTS FROM BOX. VERIFY ALL PARTS ARE
PRESENT. READ INSTRUCTIONS CAREFULLY BEFORE
STARTING INSTALLATION. ASSISTANCE IS RECOMMEND-
ED. THANK YOU FOR CHOOSING OUR PRODUCT!
*DRILLING IS REQUIRED
*TRIMMING NOT REQUIRED
PART LIST
Driver Front Mounting
Bracket (DFM)
Driver Front Support
Step Pad
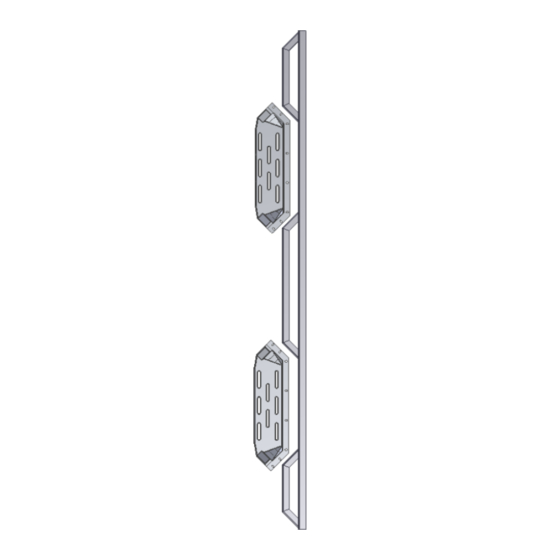
Driver Side Step Bar
iArmor
Bracket (DFS)
Driver & Passenger Rear
Support Bracket (DRS/PRS)
Driver Rear Mounting
Bracket (DRM)
Customer Support: info@iarmorauto.com
Torque Value
Fastener Size
Tightening Torque (ft-lbs)
6mm
8mm
10mm
12mm
14mm
Front
Passenger Front Mounting
Passenger Front Sup-
port Bracket (PFS)
Passenger Rear Mounting
Bracket (PRM)
1
®
PART#: IA-N152
6-7
16-18
31-32
56-58
92-94
Bracket (PFM)
Passenger Side Step Bar
Rev. 20211001
Required
√
√
√
X
X
Step Pad
Advertisement
Table of Contents

Related Manuals for iArmor EDGE IA-N152


Summary of Contents for iArmor EDGE IA-N152
- Page 1 ® IARMOR EDGE™ PART#: IA-N152 Torque Value BEFORE INSTALLATION Fastener Size Tightening Torque (ft-lbs) Required REMOVE CONTENTS FROM BOX. VERIFY ALL PARTS ARE PRESENT. READ INSTRUCTIONS CAREFULLY BEFORE √ STARTING INSTALLATION. ASSISTANCE IS RECOMMEND- 16-18 √ ED. THANK YOU FOR CHOOSING OUR PRODUCT!
- Page 2 ® M10 Plastic Washer M10X35 T-Bolt Plate M10X35 Bolt Plate M10X40 Bolt Plate Insert Installation Tool M8X1.25-25mm Hex M10 Lock Washer M8 Flat Washer M10 Flat Washer M10 Hex Nut Bolt M6 Nylon Lock M6 Large Flat M8 Lock Washer...
- Page 3 ® M10 X 35 T-Bolt Plate Front Fig 3A Fig 1B Front (1) M8X1.25-25mm Hex Bolt (2) M8 Flat Washers (1) M8 Lock Washer (1) M8 Hex Nut (Fig 3) Attach Driver Front Support Bracket to Driver Front (Fig 1A) M10X35 T-Bolt Plate Installation Mounting Bracket (1) M8X1.25-25mm Hex Bolt...
- Page 4 ® STEP 6 (Fig 5B) M10 x 35 Bolt Plate Next, select (1) Driver Rear Support Bracket (DRS/PRS), (Fig 6A). Bolt the Support Bracket to the front side of the Driver Rear Mounting Bracket (DRM) with (1) M8X1.25-25mm Hex...
- Page 5 ® (Fig 8) Driver Side Step Bar Installation Warning: Install the T-bolt on the step Front bar and rotate it to 90 degrees!!! (2) M6X1-20mm T-Bolts (2) M6X1-20mm T-Bolts (2) M6 Large Flat Washers (2) M6 Large Flat Washers...
- Page 6 ® Hold the handle and push the M8 Rivet Nut into the drilled hole in the pinch weld. NOTE: Insert must fit snug in hole. If neces- STEP 10 sary, use a small hammer to carefully tap the Insert into the hole until the rim on the insert is flush against the pinch weld.
- Page 7 ® (1) M8X1.25-25mm Hex Bolt STEP 12 (1) M8 Lock Washer (1) M8 Flat Washer Move to the other side of the vehicle. Repeat Steps 1—11 for other side Step Bar installation. Rear Attention (Fig 15) Driver Rear Support Bracket Installed Do periodic inspections to the installation to make sure that all hardware is secure and tight.
Need help?
Do you have a question about the EDGE IA-N152 and is the answer not in the manual?
Questions and answers