
Related Manuals for PLANEPRINT Swift S1


Summary of Contents for PLANEPRINT Swift S1
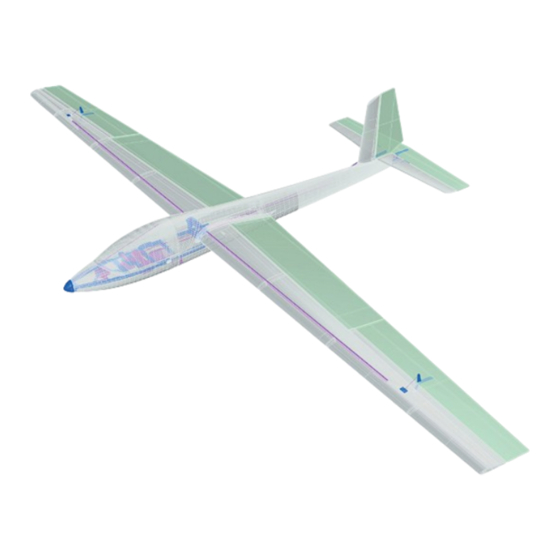
- Page 1 Ultra-lightweight indoor and park glider www.planeprint.com the ONLY place where you can get original Planeprint STL fi les legally!
- Page 2 LW-PLA CARBON FOAM SWIFT S1 PRINTING & ASSEMBLING MANUAL © PLANEPRINT...
- Page 3 • thin smooth nylon silk Ø approx. 0.2 to 0.3 mm (Fishing line) • Adhesive tape • Self adhesive velcro tape * These parts cannot be printed for weight reasons, LW PLA is much heavier than foam. SWIFT S1 PRINTING & ASSEMBLING MANUAL © PLANEPRINT...
- Page 4 Cutting template for the Depron parts Print out these two pages on A4 paper, cut them along the red dotted line and tape the pages together exactly. Then cut out the templates for the wing, ailerons, elevator and rudder. Fix them to the Depron board and cut two pieces from each (aileron and wing) and one rudder and elevator.
- Page 5 Rudder Wing part (twice) Aileron (twice) Elevator...
- Page 6 This manual is constantly being improved and supplemented, we recommend downloading the latest version from our website before building. To print all PLANEPRINT models you need to set some basic profiles in Cura (If you use another slicer, please set the same parameters).
- Page 7 Please note the additional settings for the individual parts! P2_Frame–S1.stl MATERIAL PLA, Weight: ~ 9 g ADDITIONAL SETTINGS None required P2_Parts 1–S1.stl MATERIAL PLA, Weight: ~ 7 g ADDITIONAL SETTINGS None required SWIFT S1 PRINTING & ASSEMBLING MANUAL © PLANEPRINT...
- Page 8 Please note the additional settings for the individual parts! P2_Parts 2–S1.stl MATERIAL PLA, Weight: ~ 4 g ADDITIONAL SETTINGS None required P2_Servo lever.stl MATERIAL PLA, Weight: ~ 1 g ADDITIONAL SETTINGS None required SWIFT S1 PRINTING & ASSEMBLING MANUAL © PLANEPRINT...
- Page 9 • Layer Height: 0.25 mm • Wall Line Count/Perimeters: 1 • Spiralize Outer Contour (Cura)/ Spiral Vase (Prusa) • Top and Bottom Layers: 0 • Flow, Temp and Speed suitable for LW PLA SWIFT S1 PRINTING & ASSEMBLING MANUAL © PLANEPRINT...
- Page 10 • Layer Height: 0.25 mm • Wall Line Count/Perimeters: 1 • Spiralize Outer Contour (Cura)/ Spiral Vase (Prusa) • Top and Bottom Layers: 0 • Flow, Temp and Speed suitable for LW PLA SWIFT S1 PRINTING & ASSEMBLING MANUAL © PLANEPRINT...
- Page 11 • Layer Height: 0.25 mm • Wall Line Count/Perimeters: 1 • Spiralize Outer Contour (Cura)/ Spiral Vase (Prusa) • Top and Bottom Layers: 0 • Flow, Temp and Speed suitable for LW PLA SWIFT S1 PRINTING & ASSEMBLING MANUAL © PLANEPRINT...
- Page 12 • Layer Height: 0.25 mm • Wall Line Count/Perimeters: 1 • Spiralize Outer Contour (Cura)/ Spiral Vase (Prusa) • Top and Bottom Layers: 0 • Flow, Temp and Speed suitable for LW PLA SWIFT S1 PRINTING & ASSEMBLING MANUAL © PLANEPRINT...
- Page 13 • Layer Height: 0.25 mm • Wall Line Count/Perimeters: 1 • Spiralize Outer Contour (Cura)/ Spiral Vase (Prusa) • Top and Bottom Layers: 0 • Flow, Temp and Speed suitable for LW PLA SWIFT S1 PRINTING & ASSEMBLING MANUAL © PLANEPRINT...
- Page 14 • Layer Height: 0.25 mm • Wall Line Count/Perimeters: 1 • Spiralize Outer Contour (Cura)/ Spiral Vase (Prusa) • Top and Bottom Layers: 0 • Flow, Temp and Speed suitable for LW PLA SWIFT S1 PRINTING & ASSEMBLING MANUAL © PLANEPRINT...
- Page 15 • Layer Height: 0.25 mm • Wall Line Count/Perimeters: 1 • Spiralize Outer Contour (Cura)/ Spiral Vase (Prusa) • Top and Bottom Layers: 0 • Flow, Temp and Speed suitable for LW PLA SWIFT S1 PRINTING & ASSEMBLING MANUAL © PLANEPRINT...
-
Page 16: Fuselage Assembly
V_Fuselage 5 R–S1.stl Please be careful with the knife! Do NOT glue in these two places yet! Here you can fi nally align the horizontal stabilizer exactly parallel to the wing. P2_Parts 2–S1.stl SWIFT S1 PRINTING & ASSEMBLING MANUAL © PLANEPRINT... - Page 17 Carbon fi ber strip 1*5*1000mm STEP 4 Insert the carbon fi ber strip through fuselage 2, align the horizontal stabilizer parallel to it and glue the STEP 3 two struts in place. SWIFT S1 PRINTING & ASSEMBLING MANUAL © PLANEPRINT...
-
Page 18: Elevator/Rudder Assembly
Leave a small gap so that STEP 2 the elevator/rudder can be moved easily. STEP 1 SWIFT S1 PRINTING & ASSEMBLING MANUAL © PLANEPRINT... - Page 19 (or another glue suitable for Depron). Coat get caught on the fuselage when the both sides and allow the glue to dry. Then elevator is moved downwards! position the control horn on the foam part. SWIFT S1 PRINTING & ASSEMBLING MANUAL © PLANEPRINT...
-
Page 20: Servo Mount
Steel wire Ø0.6 mm Double-sided tape or CA glue P2_Parts 2–S1.stl Adjust the servo travel so that the wire does not block at the front! The tow rope should be about 5 meters long. SWIFT S1 PRINTING & ASSEMBLING MANUAL © PLANEPRINT... -
Page 21: Wing Assembly
Be careful not to get any glue into P2_Parts 1–S1.stl the gap at the top of the wing! V_Wings 3–S1.stl V_Wings 4–S1.stl Carefully open the hole on the underside of the wing with a knife or drill. SWIFT S1 PRINTING & ASSEMBLING MANUAL © PLANEPRINT... - Page 22 Glue the wing foam parts to the wing and fuselage as shown in the picture. For Depron use UHU POR (again, coat both sides, allow to dry! and only then glue together). SWIFT S1 PRINTING & ASSEMBLING MANUAL PRINTING & ASSEMBLING MANUAL © PLANEPRINT...
- Page 23 Now thread the other end of the line into the wing in the opposite direction from below. This must protrude from the top and be tied to the upper horn. SWIFT S1 PRINTING & ASSEMBLING MANUAL © PLANEPRINT...
- Page 24 This part NOT glue! Then do this again in reverse with the other aileron. When arranging the lines, make sure that the ailerons work in opposite directions! Thread the fi shing line here SWIFT S1 PRINTING & ASSEMBLING MANUAL © PLANEPRINT...
- Page 25 It does not need to be fi xed in place. RC Components Position the components so that the CG fi ts exactly. Secure them with self-adhesive Velcro tape. Reiceiver Battery SWIFT S1 PRINTING & ASSEMBLING MANUAL © PLANEPRINT...
-
Page 26: Technical Specifications
Do not forget to check if the wings are exactly in ballance in the roll axis. If one wing is heavier, correct this with a small weight on the wingtip. correct this with a small weight on the wingtip. SWIFT S1 PRINTING & ASSEMBLING MANUAL © PLANEPRINT... -
Page 27: Control Direction Test
Program the throttle lever or a switch for the Tow function. (for some remote EXPO ELEVATOR 30 % controls a minus has to be in front AILERON 30 % of the number) RUDDER 30 % SWIFT S1 PRINTING & ASSEMBLING MANUAL © PLANEPRINT... - Page 28 3D printing Always keep the transmitter switched on when the model will not be replaced by PLANEPRINT.com in any way. is switched on. When operating, always keep a safe distance from your Always remove the battery before disassembling the model.
Need help?
Do you have a question about the Swift S1 and is the answer not in the manual?
Questions and answers