Table of Contents
Advertisement
Quick Links
X912
Unpacking
Before you begin using the device, please check the version you got and ensure that the following items are included in the
shipped box:
Flush-mounting box x1
ST4X20 crosshead screw x4
M4x16 torx head screw x2
Quick Guide
Flush-mounting plate x1
Plastic wall anchor x4
Torx wrench x1
Flush-mounting bracket x1
M3X8 crosshead screw x4
Advertisement
Table of Contents

Summary of Contents for Akuvox X912
- Page 1 X912 Quick Guide Unpacking Before you begin using the device, please check the version you got and ensure that the following items are included in the shipped box: Flush-mounting box x1 Flush-mounting bracket x1 Flush-mounting plate x1 ST4X20 crosshead screw x4...
-
Page 2: Product Overview
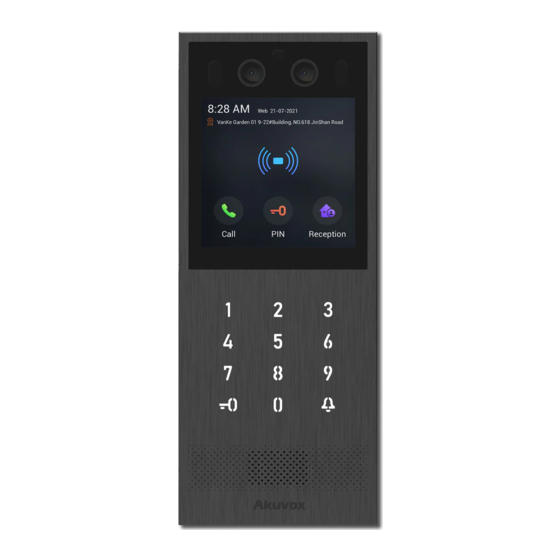
X912 Product Overview Main Camera Face-liveness Detection Camera TOF Sensor Infrared LED Infrared LED MIC (Left) MIC (Right) Card Reader Touch Screen Keypad Speaker... -
Page 3: Installation Environment
X912 Installation Environment Please do not place device under direct sunlight. If installing the device indoors, please keep device at least 2 meters away from light, and at least 3 meters away from window and door. Attention: Biometric recognition product may not be considered 100% accurate in any identification application. -
Page 4: Installation
X912 Installation Step1: Flush-mounting Box Installation Place flush-mounting box in Take down the flush-mounting the square hole, then mark box then use a hand drill to According to the position the four holes of make four holes with diameter of the cable, cut a square... - Page 5 X912 Step2: Wiring Cover Installation Choose a suitable size rubber plug (small, large and medium) to hold down the wires, while tearing off the adhesive sticker on the Take out the device, wiring cover, selected rubber plugs and plug them into the and rubber plug.
- Page 6 X912 Step3: Device Installation Align the fixing hole of flush-mounting Sound hole plate with the bolts of flush-mounting Combine the device with the flush-mounting bracket, then insert flush-mounting plate bracket according to the direction indicated onto the flush-mounting bracket. Use in the figure.
-
Page 7: Device Wiring
X912 Device Wiring... - Page 8 X912 Application Network Topology (third party) SIP Video Phone Indoor Monitor Network Video Recorder (third party) PoE+ PoE+ X912 X912 X912 X912...
-
Page 9: Operation
System Information to check the device IP address. X912 uses DHCP by default. 2. Account Registration: On the web interface, go to the path Account > Basic page to register and fill in the account information. (Please... - Page 10 Information contained in this document is believed to be accurate and reliable at the time of printing. This document is subject to change without notice, any update to this document can be viewed on Akuvox’ s website: http://www.akuvox.com © Copyright 2022 Akuvox Ltd. All...


Need help?
Do you have a question about the X912 and is the answer not in the manual?
Questions and answers