Table of Contents
Advertisement
Quick Links
Advertisement
Table of Contents

Related Manuals for Sungrow AC007UK-01 L1


Summary of Contents for Sungrow AC007UK-01 L1
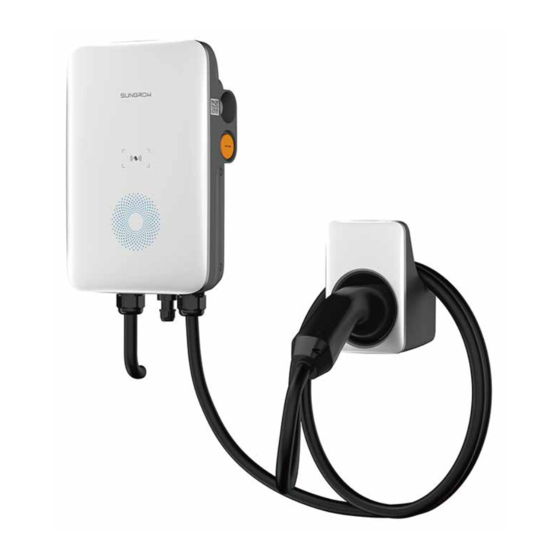
- Page 1 Quick Installation Guide AC Charger AC007UK-01 L1 www.sungrowpower.com...
- Page 2 Before installing the equipment, check whether the goods are complete and consistent with the order, and whether there is obvious damage according to the packing List. Contact the shipping company or SUNGROW directly in case of any damage or incompleteness.
-
Page 3: Eu Declaration Of Conformity
The restriction of the use of certain hazardous substances (RoHS) in electrical and electronic equipment Directive 2011/65/EU and Commission Delegated Directive (EU)2015/863 SUNGROW confi rms herewith that the products described in this document are in compliance with the fundamental requirements and other relevant provisions of the above-mentioned directives. The entire EU Declaration of Conformity can be found at support.sungrowpower.com. -
Page 4: Scope Of Delivery
Scope of delivery Upper hanging plate×1 Socket-out×1 Backplate ×1 Charger×1 Combination screw×4 Expansion screw×7 Lower hanging plate×2 Mounting pole×1 (for wall-mounted installation) (optional) Combination screw×11 L-shaped wrench×1 Wire end ferrule×1~2 Countersunk screw×6 (for pole-mounted installation) Card Number Charger SN RFID-Card×2 Documents Cable drilling tool: Marker... -
Page 5: Mounting Place
Mounting place Dimensions and weight 205mm 92.4mm... -
Page 6: Ac Cable Connection
Cable connection AC Cable connection Note: cable shall be connected before the charger is installed. Cable cross section: 3×6 mm ① Remove the back cover. ② Thread. ③ Crimp the terminal. (OT2.5-5) 0.5±0.1N•m ④ Connect the cable. ⑤ Install the back cover. 3±0.2N•m 0.5±0.1N•m... -
Page 7: Rs485 Communication Connection
RS485 Communication Connection Note: Crimp the blue wire and the blue-white wire to the crystal head.The blue line (PIN4) connects to 485B, and the blue-white line (PIN5) connects to 485A. RJ45 terminal components (B) RJ45 terminal components (A) LOAD D SU6 66 D SU6 66 R S485A RS 485B... - Page 8 ② Install the socket-out .(It is recommended that the socket-out be installed at the lower right side of the charger, with a linear distance of about 20cm from the charger. The actual situation on site shall prevail.) Wall-mounted installation effect ③...
- Page 9 Pole-mounted charger installation (optional) The drill size is Φ12 mm and the drilling depth is about 70 mm. ③ Install the backplate and the ① AC line installation ② Pile installation(after threading). socket-out. Φ12×70 mm 1.2±0.1N•m ④ Install the upper hanging plate and lower hanging Pile installation effect digram.
- Page 10 Inspection before commissioning Judgment Item Description The charger is correctly mounted at a place that is convenient Location for operation and maintenance. Charger The charger is firmly and securely installed. Cables are correctly and firmly connected, and are adequately Cable protected from damage.
- Page 11 Npsf!jogpsnbujpo!jo!uif!RS!dpef!ps! bu!iuuq;00tvqqpsu/tvohspxqpxfs/dpn Sungrow Power Supply Co., Ltd. www.sungrowpower.com...
Need help?
Do you have a question about the AC007UK-01 L1 and is the answer not in the manual?
Questions and answers