Sign In
Upload
Download
Table of Contents
Contents
Add to my manuals
Delete from my manuals
Share
URL of this page:
HTML Link:
Bookmark this page
Add
Manual will be automatically added to "My Manuals"
Print this page
×
Bookmark added
×
Added to my manuals
Manuals
Brands
Wexiodisk Manuals
Dishwasher
WD-153 optiflow
Installation and user manual
Wexiodisk WD-153 optiflow Installation And User Manual
Tunnel dishwasher
Hide thumbs
1
2
Table Of Contents
3
4
5
6
7
8
9
10
11
12
13
14
15
16
17
18
19
20
21
22
23
24
25
26
27
28
29
30
31
32
33
34
35
36
37
38
39
40
41
42
43
44
45
46
47
48
49
50
51
52
53
54
55
56
57
58
59
60
61
62
63
64
65
66
67
68
69
70
71
72
page
of
72
Go
/
72
Contents
Table of Contents
Bookmarks
Table of Contents
Table of Contents
General Instructions
Symbols Used
Machine Rating
Checking that the Machine and Manual Correspond
EU Declaration of Conformity
Safety Instructions
General Information
Transport
Installation
Detergent and Drying Agent
Operation
High Temperatures
Risk of Crushing
Risk of Slipping
Sounds
Cleaning the Machine
Installation Instructions
General Information
Rust on Industrial Dishwashers
Requirements for the Installation Site
Lighting
Ventilation and Ambient Temperature
Power Supply
Water
Steam (Optional)
Drain/Waste Pipe
Space for Servicing
Transport and Storage
Unpacking
Installation
Preparing for the Installation
Positioning the Machine
Connections
Electrical Connection
Water Connection, Regardless of any Options
Ventilation
Steam (Optional)
Drain/Waste Pipe
Detergent and Drying Agent
Installation and Connection of Auxiliary Equipment and Options
Machines with Rinse Cleaning Functions
Limit Switch
Conveyors
Emergency Stop
Trial Operation
Commissioning Protocol
Documentation
Operating Instructions
Before Washing
Machine Design
Preparations before Filling
Touch Panel
Filling and Heating the Machine
Positioning of Dishware in Baskets
Washing
Selecting the Contact Time/Wash Time
Starting Washing
Cancelling Washing
Emergency Stop
Guaranteed Final Rinse
Changing the Water
Checking the Wash Result
After Use - Cleaning
Incorrect Cleaning Methods
Emptying and Daily Cleaning
Cleaning and Checking each Week or as Required
Cleaning in the Event of an Alarm or 1 Time / Year
Operating Problems
Technical Specifications
Advertisement
Quick Links
1
Technical Specifications
Download this manual
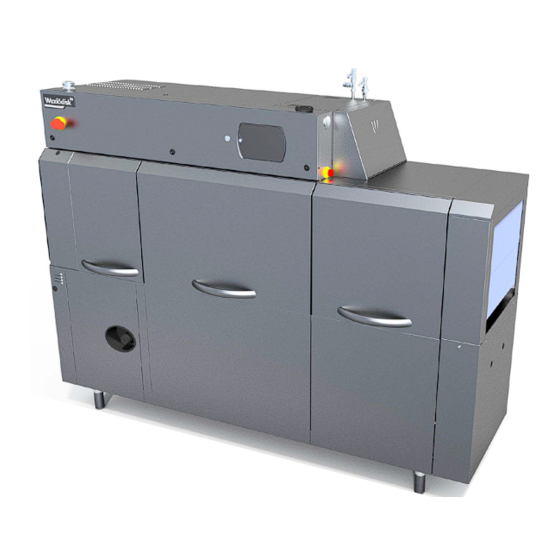
TUNNEL DISHWASHER
WD-153 - WD-423
optiflow
(original documentation)
Read the manual before using the machine!
Installation and user manual
S/N: (En)
Valid from: 202310
Rev.: 00 (202310)
Table of
Contents
Previous
Page
Next
Page
1
2
3
4
5
Advertisement
Table of Contents
Need help?
Do you have a question about the WD-153 optiflow and is the answer not in the manual?
Ask a question
Questions and answers
Related Manuals for Wexiodisk WD-153 optiflow
Dishwasher Wexiodisk WD-18CW Installation And User Manual
Trolley dishwasher (48 pages)
Dishwasher Wexiodisk WD-18CW Installation And User Manual
Trolley dishwasher (53 pages)
Dishwasher Wexiodisk WD-12 Installation And User Manual
Combi dishwasher (53 pages)
Dishwasher Wexiodisk WD-12GHE Manual
(4 pages)
Dishwasher Wexiodisk WD-12S Installation And User Manual
Combi-dishwasher (56 pages)
Dishwasher Wexiodisk WD-11 Installation And User Manual
Rack conveyor dishwasher (59 pages)
Dishwasher Wexiodisk WD-11 touch Installation And User Manual
Tunnel dishwasher (56 pages)
Dishwasher Wexiodisk WD-151E touch Installation And User Manual
Tunnel dishwasher (71 pages)
Dishwasher Wexiodisk WD-10S Installation And User Manual
Potwasher/combi-dishwasher (55 pages)
Dishwasher Wexiodisk WD-6 Installation And User Manual
Hood type dishwasher (51 pages)
Dishwasher Wexiodisk WD-4C Installation And User Manual
Undercounter dishwasher (33 pages)
Dishwasher Wexiodisk WD-8 Installation And User Manual
(56 pages)
Dishwasher Wexiodisk WD-59CTS Installation And User Manual
(59 pages)
Dishwasher Wexiodisk WD-40BRE Installation And User Manual
Tray dishwasher (47 pages)
Dishwasher Wexiodisk WD-B 500 Installation And User Manual
Flight-type dishwasher (51 pages)
Dishwasher Wexiodisk WD-243 optiflow Installation And User Manual
Tunnel dishwasher (72 pages)
This manual is also suitable for:
Wd-423 optiflow
Wd-213 optiflow
Wd-243 optiflow
Wd-333 optiflow
Table of Contents
Print
Rename the bookmark
Delete bookmark?
Delete from my manuals?
Login
Sign In
OR
Sign in with Facebook
Sign in with Google
Upload manual
Upload from disk
Upload from URL


Need help?
Do you have a question about the WD-153 optiflow and is the answer not in the manual?
Questions and answers