
Related Manuals for CAME LVC/01


Summary of Contents for CAME LVC/01
- Page 1 FA01725-EN Audio and video entry panel LVC/01 LVC/01 LC/01 LC/01 LVC/01 - LC/01 EN English PROGRAMMING MANUAL...
-
Page 2: General Precautions
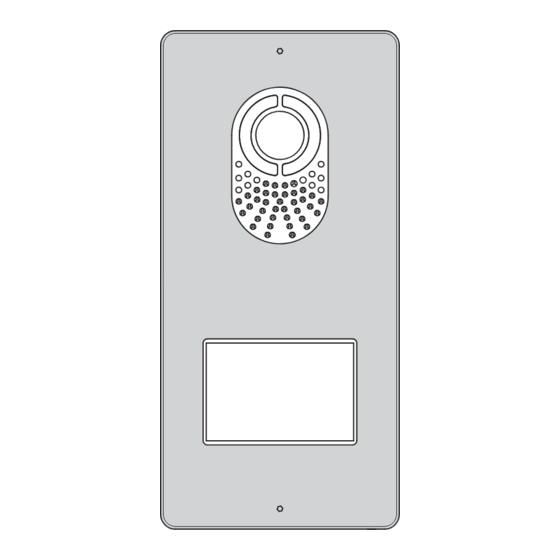
The manufacture date is provided in the production batch printed on the product label. If necessary, contact us at https://www.came.com/global/en/contact-us. The general conditions of sale are given in the offi cial CAME price lists. PROG key 3 and PROG LED 4 Programming key and LED (see 'Programming' paragraph). -
Page 3: Connection Examples
(*) Before installing the product, keep it at room temperature where it has previously been stored or transported at a very high or very low temperature. (**) The average product life is a purely indicative estimate. It applies to compliant usage, installation and maintenance conditions. - Page 4 PROGRAMMING ENTRY PANELS WITH VAS/101 Programming for the first time Entering programming mode Press the PROG key for at least 3 seconds 1 and then release it (within 6 PROG >3’’ >3’’ seconds), as soon as the PROG LED lights up and the key back lighting fl ashes <6’’...
- Page 5 Reprogramming Going into Programming PROG >3’’ >3’’ Press the PROG key for at least 3 seconds 1 and then release it (within 6 <6’’ <6’’ seconds) as soon as the PROG LED fl ashes and the key back lighting lights up PROG as illustrated in fi...
- Page 6 Programming an intercommunicating group ☞ Programming an intercommunicating group must be carried out AFTER assigning the call key to all of the receivers. Assigning intercommunicating groups PROG >8’’ >8’’ With the SW3 jumper inserted, press the PROG key for at least 8 seconds and <11’’...
- Page 7 PROGRAMMING ENTRY PANELS WITH VA/01 First Programming with one entry panel Going into Programming Press the PROG button on the power supply 1 until the PROG LED lights PROG PROG up. Failure of the PROG LED to light up, indicates a malfunction. Check the connections and return to programming.
- Page 8 First Programming with several entry panels Going into Programming Press the PROG button on the power supply 1 until the PROG LED lights up. PROG PROG If the PROG LED immediately goes out, this indicates a malfunction in the connections between the power supply and the entry panel. Check the >3’’...
- Page 9 Reprogramming Going into Programming Press the PROG key on the power supply A until the PROG LED lights up. The PROG PROG PROG LED and key back lighting will fl ash 2. Wait 5 seconds for the auto test to be completed and continue as shown below. >3’’...
- Page 10 Press one of the call keys on the entry panels to be reprogrammed, the LEDs 1 P.E 2 P.E backlighting the call keys 8 will stop fl ashing. Repeat this operation on all the entry panels to be reprogrammed 8 and 9. If all the entry panels are reprogrammed, the confi...
- Page 11 Connection examples LVC/01 VAS/101 VA/01 LVC/01 LC/01 LC/01...
- Page 12 AGATA V-VC AGATA VC/B CL.RES CL.RES MASTER XDV/304 AGATA V-VC AGATA VC/B CL.RES CL.RES SLAVE LVC/01 VAS/101 – BOUT...
- Page 13 VA/01 LVC/01 RS232 +12V BOUT BIN1 BIN2 BIN3 BOUT LC/01 LC/01 BOUT BOUT...
- Page 14 XDV/304 XDV/304 VA/01 VAS/101...
- Page 15 Distances with VCM/1D cable Distances La+Le ≤100 m * La+Le+L1(L2, L3) ≤150 m Lb+Le ≤100 m * Lb+Le+L1(L2, L3) ≤150 m Lc+Le ≤100 m Lc+Le+ L1(L2, L3) ≤150 m Ld+Le ≤100 m Ld+Le+ L1(L2, L3) ≤150 m ≤25 m La+Lb+Lc+Ld+Le+L1+L2+L3 ≤600 m 2x2.5 mm ≤60 m...
- Page 16 CAME S.p.A. Via Martiri Della Libertà, 15 31030 Dosson di Casier - Treviso - Italy tel. (+39) 0422 4940 - fax. (+39) 0422 4941 info@came.com - www.came.com...
Need help?
Do you have a question about the LVC/01 and is the answer not in the manual?
Questions and answers