Advertisement
Quick Links
Teknik
www.teknikoffice.co.uk
1800 Hutch
NOTE: THIS INSTRUCTION
BOOKLET CONTAINS
IMPORTANT SAFETY
INFORMATION.
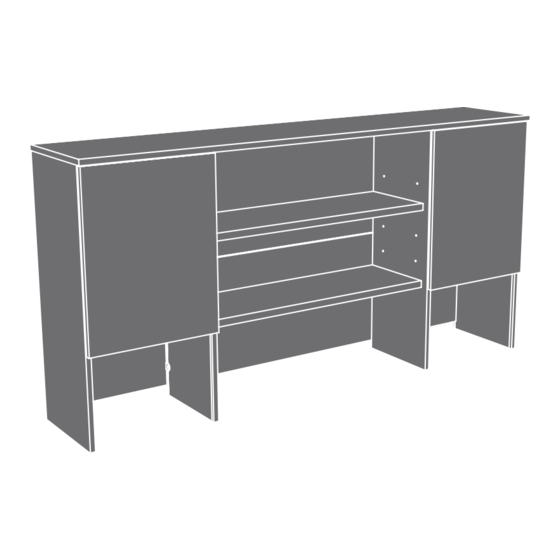
Hudson Elm finish | Model 5427431
PLEASE READ AND KEEP
FOR FUTURE REFERENCE.
English pg 1-18
Français pg 19-21
Español pg 22-24
Lot # 566603
08/24/21
Purchased:
__________________
Advertisement

Related Manuals for Teknik 1800 Hutch


Summary of Contents for Teknik 1800 Hutch
- Page 1 Teknik www.teknikoffice.co.uk 1800 Hutch NOTE: THIS INSTRUCTION BOOKLET CONTAINS IMPORTANT SAFETY INFORMATION. Hudson Elm finish | Model 5427431 PLEASE READ AND KEEP FOR FUTURE REFERENCE. English pg 1-18 Français pg 19-21 Español pg 22-24 Lot # 566603 08/24/21 Purchased: __________________...
- Page 2 Table of Contents Assembly Tools Required Part Identification No. 2 Phillips Screwdriver Hardware Identification Tip Shown Actual Size Hardware Usage Guide Assembly Steps 6-18 Hammer Not actual size Français 19-21 Español 22-24 Safety 25-26 Tape Measure Warranty Page 2...
- Page 3 Now you know Part Identification our ABCs. å While not all parts are labeled, some of the parts will have a label or an inked letter on the edge to help distinguish similar parts from each other. Use this part identification to help identify similar parts. RIGHT END (1) LEFT UPRIGHT (1) FIXED SHELF (2)
- Page 4 Hardware Identification å Screws are shown actual size. You may receive extra hardware with your unit. DOOR 13H HINGE - 4 HIDDEN CAM - 12 CAM DOWEL - 12 WOOD DOWEL - 12 STOP - 2 TAPE CARD/ HOLE 10M TOUCH-UP PEN - 1 107P 182M CORD CLIP - 1...
- Page 5 Hardware Usage Guide HOW TO USE A HIDDEN CAM & CAM DOWEL Insert the metal end of the CAM DOWEL into the HIDDEN CAM. Cam Dowel Arrow Hole Push a HIDDEN CAM into Metal end the part. The arrow in the HIDDEN CAM must point toward the hole in the edge Hidden Cam...
- Page 6 Hardware Usage Guide HOW TO USE A TWIST-LOCK FASTENER ® Push a TWIST-LOCK® FASTENER 1. Insert the dowel end of the FASTENER into the into the large hole in the part. hole of the adjoining part. NOTE: The dowel end of the FASTENER must remain fully inserted in the hole of the adjoining part while locking the FASTENER.
- Page 7 Step 3 å Insert four WOOD DOWELS (42F) into the edges of the FIXED SHELVES (J). å NOTE: You may need to gently tap the WOOD DOWELS in with your hammer. å Fasten the FIXED SHELVES (J) to the UPRIGHTS (D and E). Tighten four TWIST-LOCK®...
- Page 8 Step 4 å Insert four WOOD DOWELS (42F) into the edges of the FIXED SHELVES (J). å NOTE: You may need to gently tap the WOOD DOWELS in with your hammer. å Fasten the ENDS (A and B) to the FIXED SHELVES (J). Tighten four TWIST-LOCK®...
- Page 9 Step 5 å Insert four WOOD DOWELS (42F) into the edges of the ENDS (A and B) and UPRIGHTS (D and E). Side Step: Make nachos. (Optional, but å NOTE: You may need to gently tap the WOOD DOWELS in recommended.) with your hammer.
- Page 10 Step 6 å Carefully stand your unit upright. å Tighten twelve HIDDEN CAMS in the BACKS (F and L). å Fasten the HINGES (13H) to the DOORS (K). Use eight BLACK 1/2" FLAT HEAD SCREWS (11S). BLACK 1/2" FLAT HEAD SCREW (8 used in this step) Tighten twelve HIDDEN CAMS in...
- Page 11 Step 7 å Before fastening the DOOR to your unit, be sure the mounting screw is against the stops as shown in the Stop right diagram. If it isn't, loosen the adjusting screw and mounting screw to slide it against the stops. Then tighten the mounting screw.
- Page 12 Step 8 å Refer to the enlarged diagram to identify the parts on the HINGE. å The DOOR may need some adjustments. Follow the text below to make needed adjustments. å DOOR ADJUSTMENTS: To adjust the DOOR from side to side (horizontal), turn the adjusting screw in or out.
- Page 13 Step 9 å Open the FURNITURE TIPPING RESTRAINT KIT (97) and fasten the SAFETY STRAP to the TOP (C). There is no pre-drilled hole. With extra force, use the short screw provided. å NOTE: Position the SAFETY STRAP hole 2" in from the back edge of the TOP (C).
- Page 14 Step 10 å Carefully lay your unit onto its back edges. å Open the TAPE CARD/PREP PAD KIT (182M). Peel four double stick strips from the TAPE CARD and stick them onto the bottom edges of the ENDS (A and B) as shown in the upper diagram.
- Page 15 Step 11 å IMPORTANT: The Hutch cannot be moved after it is set in place. Pre-plan the Hutch placement, then place it completely on the attaching surface. Hey! It's starting to look å With the help of another person, carefully center the Hutch onto your like something! 427427 or 427422 Desk.
- Page 16 Step 12 å Position your unit in its final location against a wall. We recommend using the SAFETY STRAP for added stability. å NOTE: Do not turn the SAFETY DRYWALL ANCHOR into a wall stud. If you prefer to fasten the SAFETY STRAP to a wall stud, go to your local hardware store for proper hardware.
- Page 17 Step 13 å If you purchased the LED Light (Item 426494), push a cord clip into a LONG SHELF (G) and a HOLE PLUG (105P) into the other LONG SHELF. If you did not purchase the LED LIGHT, push a HOLE PLUG (105P) into each LONG SHELF (G). å...
Need help?
Do you have a question about the 1800 Hutch and is the answer not in the manual?
Questions and answers