
Related Manuals for Teknik Denver Swivel Recliner


Summary of Contents for Teknik Denver Swivel Recliner
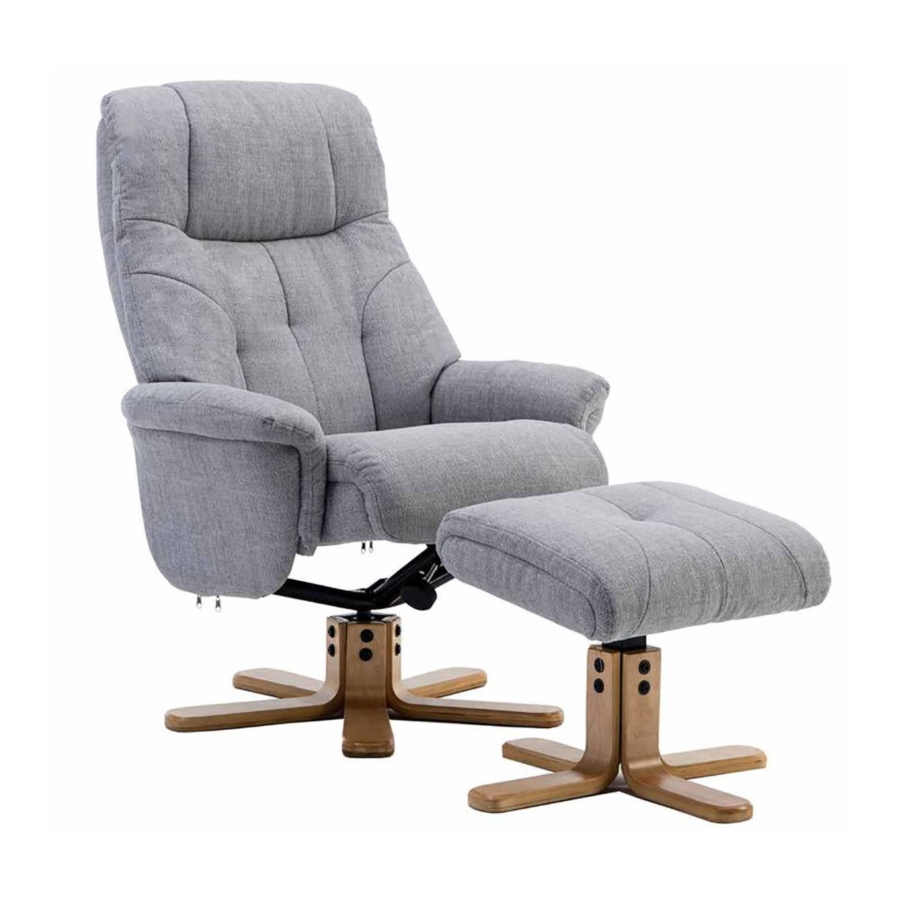
- Page 1 01234 328804 01234 342446 customerservice@teknikoffice.co.uk www.teknikoffice.co.uk Denver Swivel Recliner DESCRIPTION Recliner with Footstool...
- Page 2 This product is designed to seat people up to a maximum of 115kgs (18 stone) Check and re-tighten parts/nuts & bolts every three months For any assistance with assembly, please contact customer service on 01234 328804 or customerservice@teknikoffice.co.uk email...
-
Page 3: Safety Information
IMPORTANT: Please read this manual carefully before beginning assembly of this product. Keep this manual for future reference. SAFETY INFORMATION Identify all the parts and hardware. Do not discard of the packaging until you have checked that you have all of the parts and hardware required. -
Page 4: Pre-Assembly Information
PRE-ASSEMBLY INFORMATION PARTS DESCRIPTION Seat Back Seat pad U-frame Qty 1 Qty 1 Qty 1 Footstool Pad Chair Leg LHF & RHF Arm Qty 1 Qty 5 Qty 1 set... - Page 5 PRE-ASSEMBLY INFORMATION PARTS DESCRIPTION Footstool Leg Chair Spindle Footstool Spindle Qty 4 Qty 1 Qty 1 Footstool Plate Screws Washers Qty 4 Qty 18 Qty 18...
- Page 6 PRE-ASSEMBLY INFORMATION PARTS DESCRIPTION Nuts Bolt & Clip Screw Qty 1 Qty 2 Qty 6 Screw Spanner Screw Qty 4 Qty 1 Qty 2...
- Page 7 PRE-ASSEMBLY INFORMATION PARTS DESCRIPTION Spanner Allen Key Recliner Handle Qty 1 Qty 1 Qty 1 Spanner Qty 8...
- Page 8 ASSEMBLY STEP 1 STEP 2 Place arm at an angle as displayed and partially fasten bolt. STEP 3...
- Page 9 ASSEMBLY STEP 4 Partially fasten centre bolt first on each side,then place other bolts on either side and fully tighten. Fully tighten armrest bolts and close the zippers. STEP 6...
- Page 10 ASSEMBLY STEP 7 STEP 8 STEP 9...