Table of Contents
Advertisement
Quick Links
Supplied and Serviced by Roberts audio Solutions LTD
User guide – RedCat (Infrared)
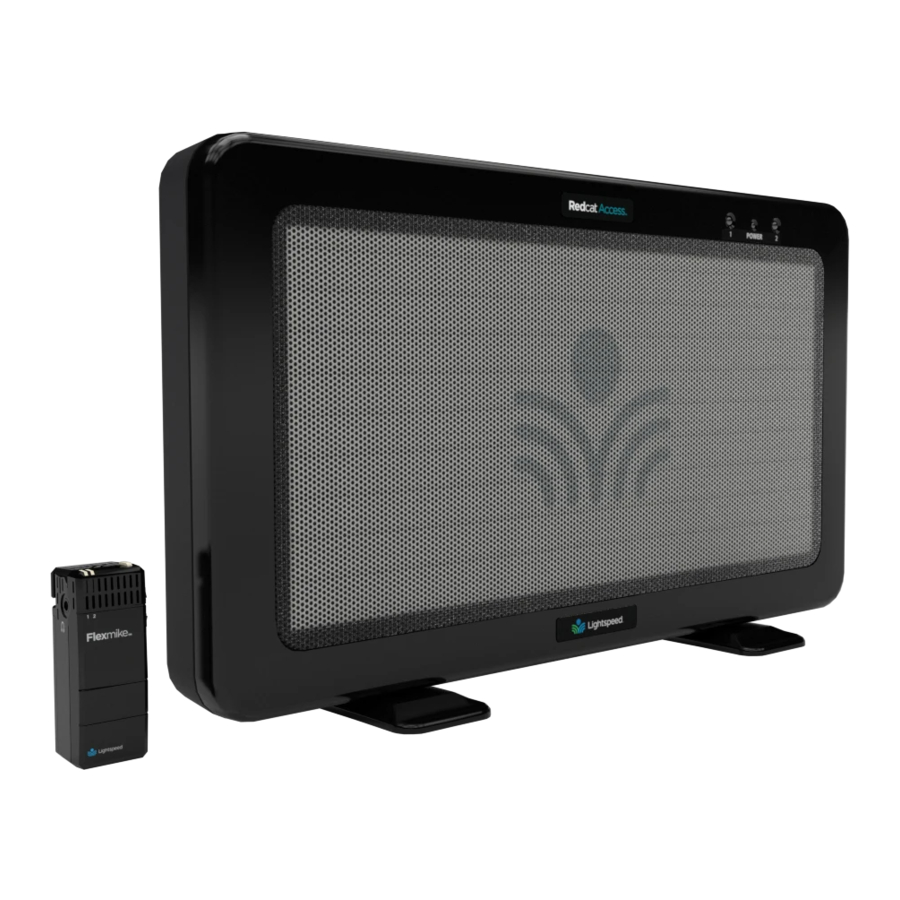
Main Unit
Front Panel Indicators
1. Power on indicators: The power LED will glow
power is supplied
2. Channel A and B: These LED's will illuminate
the audio from the microphones is received
Side Panel Controls
1. Tone control: Adjusts the audio tone level
2. Audio input and volume control: A 3.5mm stereo jack can be
connected to a source such as an mobile phone, laptop etc
3. Audio output and volume control: A 3.5mm stereo jack can to be
connected, enabling the output to be fed into an assisted listening
device (ALD)
4. Power switch: The switch is used to turn on and off the Redact.
When the main
power is on
5. DC power input jack: Plug the power supply into this socket
Prioryfield House, 20 Canon Street, Taunton, Somerset, TA1 1SW |
www.robertsaudiosolutions.co.uk |info@robertsaudiosolutions.co.uk |
Blue
when
Red
when
Top Panel Controls
1. Channel A Volume: Main control for the
volume for the microphone which is set at A
2. Channel B Volume: Main control for the
volume for the microphone which is set at B
Blue
LED is illuminated
| 01823 323363
Blue
this indicates that the
Page 1
Advertisement
Table of Contents

Related Manuals for Lightspeed Redcat


Summary of Contents for Lightspeed Redcat
- Page 1 Supplied and Serviced by Roberts audio Solutions LTD User guide – RedCat (Infrared) Main Unit Front Panel Indicators 1. Power on indicators: The power LED will glow Blue when power is supplied 2. Channel A and B: These LED’s will illuminate...
- Page 2 Teachers microphone (Redmike) 5. Audio input: This can be used to plug in an audio source such as a mobile phone or laptop 6. Channel A and B selection switch: This switch allows selection between both channels. We recommend using channel A for this microphone 7.
- Page 3 Students microphone (Sharemike) 1. On / Off switch 2. Power / Charging indicator: This light glows Blue when the microphone is turned ON and turns OFF to indicate a low battery level. When charging this light will glow 3. Audio input: This can be used to plug in an audio source such as a mobile phone or laptop 4.
Need help?
Do you have a question about the Redcat and is the answer not in the manual?
Questions and answers