Subscribe to Our Youtube Channel
Summary of Contents for Lilin MR8322
- Page 1 MR8322/8342 D/N 2MP(4MP) HD IR IP Camera MR8422/8442 D/N 2MP(4MP) HD Vari-Focal IR IP Camera Quick Installation Guide...
- Page 2 CAUTION Do not drop or strike this equipment Do not install the equipment near any naked flames or heat sources Do not expose this unit to rain, moisture, smoke or dust Do not cover the opening of the cabinet with cloth and plastic or to install this unit in poorly ventilated places.
-
Page 3: Product Overview
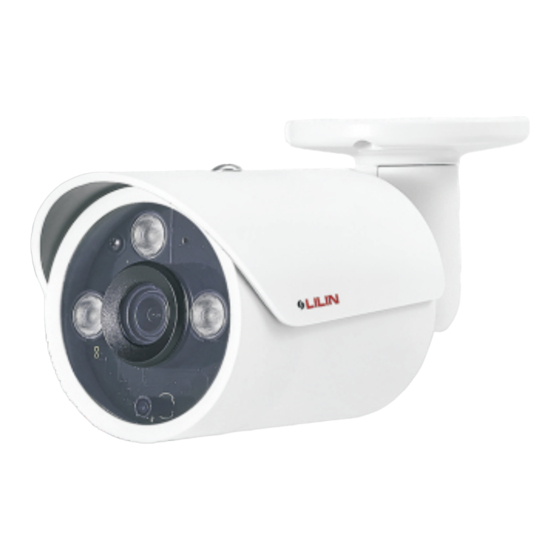
Product Overview Unit: mm ① Sun Shield ② Main Body ③ Front Cover ④ Bracket Base ⑤ Window ⑥ Lens ⑦ RJ-45 Network Port (PoE supported) ⑧ DC Power Input Jack (DC12V ±10%) ⑨ Micro SD Card Slot ⑩ Reset Key Restores the camera back to factory default settings. -
Page 4: Installation
Installation 1. Remove the camera from the box first. Connect the Ethernet cable and power cable to the camera’s RJ-45 network connector and DC power-in connector (FIG.1). Secure the camera to the wall (FIG.2). 2. Adjust the five adjustment screws to move the camera to the desired angle, and then tighten the adjustment screws (FIG.3–8). -
Page 5: Inserting A Microsd Card
3. Rotate focus and zoom knobs foroptimal video images (FIG.9). NOTE: Vari-Focal Model Only. Inserting a Micro SD Card Rotate the front cover counterclockwise to remove it and insert a Micro SD card (FIG.10 & FIG.11). - Page 6 System Architectures To connect HD IP cameras to the network, please follow one of the system architectures: (1). Use a DC12V power adapter and a network switch to connect to the network. DC12V Power Supply (2). Use a PoE network switch to connect to the network. (3).
-
Page 7: Emergency Factory Default
MJPEG or H.264 Full HD video. When you log in to the IP camera using Internet Explorer, a security warning dialog box will prompt the installation of the LILIN Universal ActiveX. Click Install to download and install the required software. - Page 8 IPScan software from the installation CD, and paste to your computer. Alternatively, you can execute the IPScan software from the installation CD, or download the software from the Merit LILIN website (www.meritlilin.com). To change the settings of the IP address, subnet mask, gateway, or HTTP port, you can follow the steps below: 1.
- Page 9 Configuring IP Addresses via Web Interface To change an IP address via web interface, type the default IP address (192.168.0.200) in the Internet browser and follow the steps below: 1. Login to the H.264 Full HD IP camera by the default username “admin”...
- Page 10 Once complete, you can access the IP camera’s live video by entering the default IP address via your Internet browser. As the security warning dialog box appears, click OK to download the ActiveX directly from the IP camera. Login There are two levels of user authentication, including admin and guest, that can access the IP camera.
- Page 11 The default usernames and passwords are as follows: Administrator Username admin Password pass To logon the H.264 FULL HD IP camera, please type username and password in logon HTML page and click on Submit button to enter the system.
- Page 12 66-MR8322CSM...


Need help?
Do you have a question about the MR8322 and is the answer not in the manual?
Questions and answers