Advertisement
Table of Contents
- 1 Table of Contents
- 2 Warning Decal Placement
- 3 Important Precautions
- 4 Before You Begin
- 5 Part Identification Chart
- 6 Assembly
- 7 How to Use the Treadmill
- 8 How to Fold and Move the Treadmill
- 9 Maintenance and Troubleshooting
- 10 Exercise Guidelines
- 11 Part List
- 12 Exploded Drawing
- 13 Ordering Replacement Parts
- 14 Recycling Information
- Download this manual
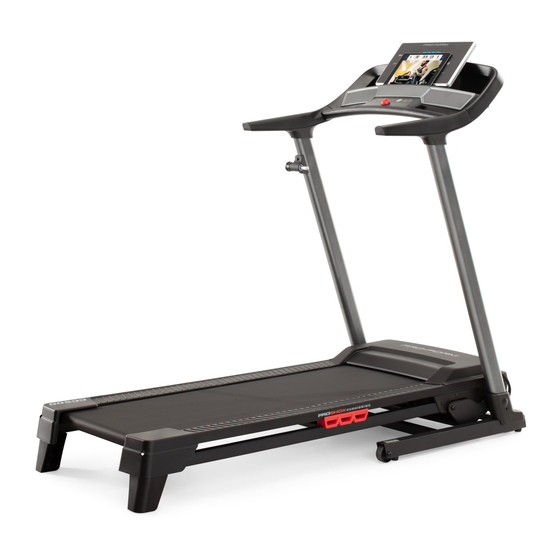
Model No. PFTL39621-INT.0
Serial No.
Write the serial number in the space
above for reference.
Serial
Number
Decal
MEMBER CARE
UNITED KINGDOM
Call: 0330 123 1045
From Ireland: 053 92 36102
Website: iconsupport.eu
E-mail: csuk@iconeurope.com
Write:
ICON Health & Fitness, Ltd.
Unit 4, Westgate Court
Silkwood Park
OSSETT
WF5 9TT
UNITED KINGDOM
AUSTRALIA
Call: 1800 993 770
E-mail: australiacc@iconfitness.com
Write:
ICON Health & Fitness, Inc.
PO Box 635
WINSTON HILLS NSW 2153
AUSTRALIA
CAUTION
Read all precautions and
instructions in this manual before
using this equipment. Save this
manual for future reference.
USER'S MANUAL
iconeurope.com
Advertisement
Table of Contents


Need help?
Do you have a question about the Cadence Compact 500 and is the answer not in the manual?
Questions and answers
how do you know how many miles are on the machine?
To check the mileage on a Pro-Form Cadence Compact 500, look at the display and find the "Distance" reading, which shows how far you have walked or run in miles or kilometers. If needed, you can change the unit of measurement by pressing the "St/M" button.
This answer is automatically generated
My cc500 treadmill is squeaking. Do I need to lubricate it and where?
The Pro-Form Cadence Compact 500 treadmill has a walking belt coated with high-performance lubricant. The manual explicitly states not to apply silicone spray or other substances to the walking belt or walking platform unless instructed by an authorized service representative. If the treadmill is squeaking, lubrication should not be applied unless advised by the manufacturer. Instead, check for other possible causes, such as loose parts or misalignment.
This answer is automatically generated
Can you send me a diagram for the proform cc 500