Advertisement
Quick Links
Advertisement

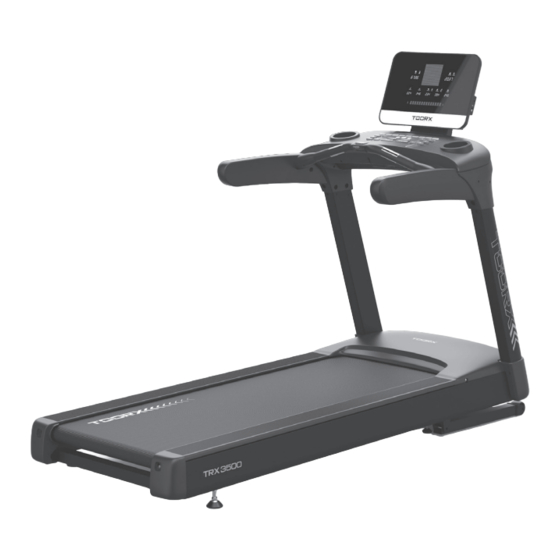
Summary of Contents for TOORX TRX 3500
- Page 1 INSTRUCTION...
-
Page 2: Exploded Drawing
Exploded drawing... -
Page 3: Parts List
Parts list Description Description Description Base frame Right rear end cap Cross head sunk screw M3X8 Running board Motor Cross head sunk supporting tube screw M8X25 Incline frame Incline motor Cross head sunk screw M8X30 Left upright tube Controller Cross head sunk screw M8X35 Right upright Overload switch... -
Page 4: Installation Instruction
Running belt Big flat washerΦ5 Universal foot Bolt M5X35 Spring washerΦ4 Side rail Bolt M8X35 Spring washerΦ5 Baffle plate Bolt M8X50 Spring washerΦ8 Bolt M10X50 Spring washerΦ10 Side rail Bolt M10X75 C10 Nylon washer Φ10 positioning nut Square end cap Bolt M10X90 Cushion Bolt M10X160... - Page 5 2. Installation of left upright tube 2.1 Install Left upright tube (4) to base frame (1) by two sets of half round bolt M8X20 (A8),half round bolt M8*40 (A9) and four pcs of flat washer φ8 (C2) by side. (Attention: to align screw hole with the upper surface).
- Page 6 4. Installation of handlebar and controlling panel 4.1 Connect the Signal wire from right upright tube to corresponding wires from Handlebar. 4.2 Install handlebar and controlling panel set(6) to the left/right upright tube (4/5). 4.3 Connect handlebar and controlling panel (6) to the left/right upright tube (4/5) from inner and front sides by six sets of half round bolt M10X25(A10), spring washerφ10...
- Page 7 ST4.2*12 (A18), then tighten. ( see Figure 6) WARNING: Improper connection of the grounding conductor may cause electric shock. If you’re not sure whether the device is properly grounded, please turn to a professional electrician or repairman to inspect. Do not modify the plug supplied with the product, if the plug does not match the socket, you should turn to a professional electrician to install a proper socket.
-
Page 8: Console Instruction
5.After running, you can reduce speed to the minimum, and then press the start/stop button to stop the treadmill. 6.If running at high speed, it is too late to slow down, or even lose balance, you can press the emergency stop button, and the treadmill can stop running immediately. - Page 9 2. Controlling panel instruction 2.1 Physical silicon button controlling panel Fat burn Hill Target Manual Cardio Custom Strength Fit test Incline up Speed up Speed quick Incline quick Incline down Speed down Previous song/Volume- Next song/Volume+ Play/Pause Clear Enter Start Pause/Stop 2.11 Button function Icon...
- Page 10 ENTER Press this key to confirm the setting. CLEAR Press this key to clear the setting. It is a safety device to prevent slipping or force shutdown in case of emergency. When using the treadmill, you need to insert the safety key Emergency stop inward (after inserting, the emergency stop button will...
- Page 11 Rehabilitation target training, set the intensity metabolic P4: Target program equivalent (METS) during exercise as the target training mode Three kinds of different incline hill program. It can be P5: Hill program strengthen upper and lower limb joint and muscle training from gentle to steep incline.
- Page 13 3.2 Display function 4. Operation function 4.1 Treadmill operation instruction 4.1.1Standby mode operation Put the special power wire insert to treadmill socket, another end of power wire is connected to the environment working voltage (the environment working voltage must be in conformity with requirements of the treadmill).
- Page 14 4.1.3 Exercise program operation instruction The treadmill is equipped with 9 kinds of intelligent exercise program wiht different level of internsity. According to user’s age, gender, weight etc, and user’s exercise purpose to customize. Exerciser can choose a appropriate exercise program according to his age, gender, weight and other parameters as well as exercise purpose.
- Page 15 P3 Manual program P4 Target program P5 Hill program P6 Fat burn program P7 Cardio program P8 Strength program...
- Page 16 P9 Fit test program 4.1.5 MP3 Playing and treadmill operation Warm tip: When you use P1 Heart Rate Control Program/ P6 Fat burn Program/ P7 Cardio Program, do not play MP3 at the same time to avoid audio signal interfere to wireless heart rate, and special HRC wireless heart rate chest belt will be required.
- Page 18 ● Hill program graphics ●Fat percentage reference table...
- Page 19 ●Adult body mass index(BMI) reference table 5. Hand pulse test The test can detect static and dynamic heart rate before and after exercise, and recovery after exercise. The user holds the metal plate of heart rate detection on the left and right horizon handlebar with both hands, then the heart rate value will be displayed on the screen.
- Page 20 7.4 Connet the treadmill. WARNING:To ensure the safety and normal use, check the wear and damage of the treadmill regularly. Maintennance and malfunction treatment 1.Clean: The surface of the treadmill should be kept clean, pull out the power cord before cleaning. You can clean the running belt and the surface of the treadmill with a soft and wet cloth, be sure not to use strong solvents.
- Page 21 “LUBRICATE”, it means need to add oil to the treadmill. After the first time oiling, the next reminding will display every 1000KM. Press “ENTER” to add oil and exit the reminding. Press “CLEAR” key to ignore lubricate temporarily, LED will show ”LUBRICATE” after 50KMS. The LED will show “REPLACE BELT”...
- Page 22 GARLANDO SPA Via Regione Piemonte, 32 - Zona Industriale D1 15068 - Pozzolo Formigaro (AL) - Italy www.toorx.it - info@toorx.it...


Need help?
Do you have a question about the TRX 3500 and is the answer not in the manual?
Questions and answers