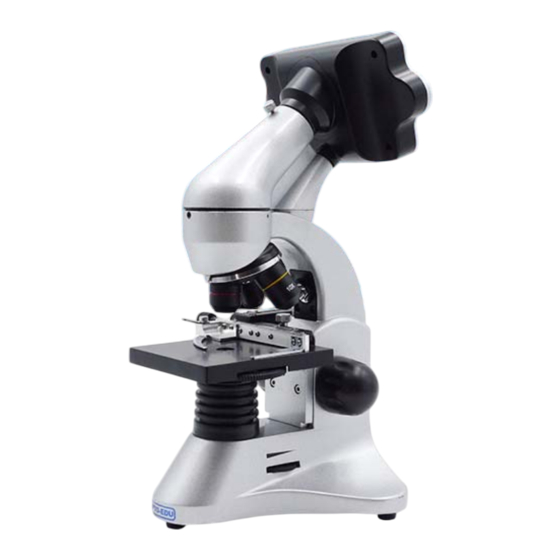
Summary of Contents for OPTO-EDU A33.1501
- Page 1 A 3 3 . 1 5 0 1 3.5” LCD Digital Microscope Instruction Manual Please read this manual carefully before use microscope! WWW.CNOEC.COM.CN OPTO-EDU (BEIJING) CO., LTD.
- Page 2 8. Vernial scale, sliding ruler (Optional) 9. Disc Diaphragm & Colour filter disc 10. LED lighting (transmitted light) 11. Working Stage 12. Focusing wheel 13. Dimmer for top LED lighting 14. Dimmer for bottom LED lighting (transmitted light) WWW.CNOEC.COM.CN OPTO-EDU (BEIJING) CO., LTD.
- Page 3 Power connection (220 V or 110V) is required for observations using the electrical LED lighting and the electronic LCD eyepiece (screen module). Furthermore the microscope possesses an interface to a PC (USB connection). 2. Start-up, electrical LED lighting WWW.CNOEC.COM.CN OPTO-EDU (BEIJING) CO., LTD.
- Page 4 For higher magnification turn the lens turret to a higher setting (objectives 10X and 40X). Note: Before you change the objective setting, first move the microscope table fully downwards. This will avoid possible damage! WWW.CNOEC.COM.CN OPTO-EDU (BEIJING) CO., LTD.
- Page 5 3.2.2 Producing photographs By pressing of the photo button “SNAP ” a photograph is taken of the live image, which is stored. 3.2.3 Photograph management By pressing “MODE” again you change from video record mode to photo WWW.CNOEC.COM.CN OPTO-EDU (BEIJING) CO., LTD.
- Page 6 Date &Time (can show the date and time on the picture or video). 3.2.5 Camera setup By pressing the “MENU” button whilst displaying the live image a menu bar appears, which you can control using the appropriate arrow keys. Then by WWW.CNOEC.COM.CN OPTO-EDU (BEIJING) CO., LTD.
- Page 7 LCD Micro is on the bottom of the screen module beside the memory card slot. Put the smaller B-plug (Micro) into the socket on the microscope and the larger A plug (PC) into a free USB port in your computer. After a WWW.CNOEC.COM.CN OPTO-EDU (BEIJING) CO., LTD.
- Page 8 This is the so-called stage drive. By turning these screws it is possible to precisely position the object, in the left or right direction and forwards or backwards. 6.3 After you have set up the microscope with the corresponding illumination, look through the Eyepiece. WWW.CNOEC.COM.CN OPTO-EDU (BEIJING) CO., LTD.
- Page 9 7.4 After usage, you should stow the microscope and the accessories in their correct containers again. Remember: A well maintained microscope will keep its optical quality for years and thus maintain its value. WWW.CNOEC.COM.CN OPTO-EDU (BEIJING) CO., LTD.


Need help?
Do you have a question about the A33.1501 and is the answer not in the manual?
Questions and answers