
Related Manuals for OPTO-EDU A15.1302


Summary of Contents for OPTO-EDU A15.1302
- Page 1 A15.1302 Polarizing Microscope Instruction Manual To ensure the safety and obtain satisfactory performance, please study this instruction manual thoroughly be fore start to use the instrument.
- Page 2 Read it carefully before operating and keep it with the microscope Dear Sir or Madam: Thank you for using A15.1302 series transmission polarizing microscopes. As one of the professional designers, manufacturers and distributors for optical instruments in China, since 1978, we have been working for supplying the new or old customers worldwide with high-quality and low-cost products.
- Page 3 7. Working surroundings requirements Room temperature: 0°C-40°C The highest relative humidity: 85% High temperature and humidity can cause mildew and damage the instrument. 8. Microscope is a precision instrument, soft and gentle operation is necessary. Any rude action or hard shake may damage it. INDEX A) Application of Microscope B) Structure and Specification of Microscope...
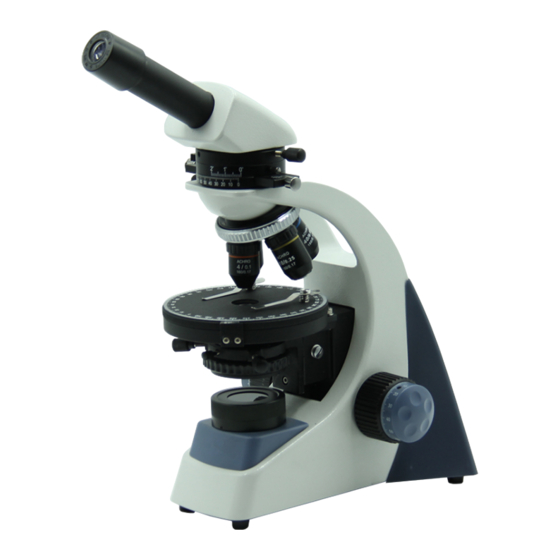
- Page 4 It is also widely used in academic demonstration and research. λ Slip (first class red),and1/4λ Slip make the microscope more perfect. B) Structure and Specification of Microscope: 1.Picture of Microscope: Fig.1 A15.1302 Fig.2 Monocular Fig.3 Dual Fig.4 Trinocular...
- Page 5 2. Structure Diagram of Microscope: 1. Eyepiece 2. Viewing Head 3. Nosepiece 4. Objective 5. Clips 6. Round Stage 7. Vernier Scale for Stage 8. Fix Screw for Condenser 9. Centering Screw 10.Plate for Numerical Aperture 11. Filter Frame 12. Light Collector 13.
- Page 6 2)Eyepiece(1) : Type Magnification Diameter of Viewing Field(mm) Quantity Wide Field Eyepiece Wide Field Eyepiece (Optional) 3)Viewing Head(2) : It is a monocular, or dual, or binocular or trinocular head. Binocular or trinocular head is separated from the microscope body for transport safety. It is only fixed on the analyzer part with screw (28) before using.
- Page 7 Usually, the sample is put on the stage under the clips (5). 7)Condenser(24) : Revolve the knob (23), the gear-rack mechanism makes the condenser up or down to suit for the different objectives. 8)Plate for Numerical Aperture(10) : The numerical aperture of the iris diaphragm built-in can be adjusted from Ø2mm to Ø30mm by turning the plate (10).
- Page 8 Rotate the coarse focusing knob (21) to raise the stage (6) up/down quickly. Rotate the fine focusing knob (22) to raise the stage (6) up/down slowly. The knob (20) is used to adjust the coarse focusing moment. It will avoid the stage dropping automatically because of its deadweight and provide comfortable operating.
- Page 9 Caution: If the power supply voltage is not fitted to the microscope, it will damage the circuit and bulb, even leads to insecurity. 4. Focusing: Put the sample on the stage, and place a lower objective (4X) into position. Raise the stage close to the sample by rotating the coarse focusing knob (21) in the anticlockwise direction.
Need help?
Do you have a question about the A15.1302 and is the answer not in the manual?
Questions and answers