Table of Contents
Advertisement
Quick Links
Advertisement
Table of Contents

Subscribe to Our Youtube Channel
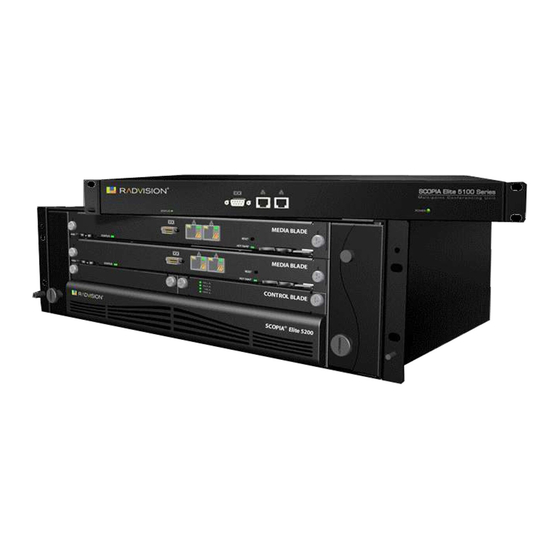
Summary of Contents for RADVision SCOPIA Elite 5100 Series
- Page 1 Quick Start SCOPIA Elite 5100 Series MCU Version 7.1...
- Page 2 RADVISION the United States and other territories. All registered trademarks recognized. For further information contact or your local distributor or reseller. RADVISION SCOPIA Elite 5100 Series MCU, January 2010 Publication 2 http://www.radvision.com 62546–00004 Rev A02...
-
Page 3: What's Inside
Quick Start ’ NSIDE This Quick Start provides the basic steps required for getting your MCU up and running. The suggested order of operation is as follows: Prepare a Checklist Prepare the Site Assign an IP Address to the MCU Change the Default Administrator Password Check MCU Service Prefixes Define Gatekeeper Settings... -
Page 4: Status Led
1 Gbps, and lights orange if the connection speed reaches 100 Mbps. RESET button Allows you to reset the MCU manually. Power LED Lights green to indicate that the power is turned on. 2 SCOPIA Elite 5100 Series MCU Quick Start... -
Page 5: Prepare The Site
Before you start configuration, fill in the checklist below: REPARE A HECKLIST IP address: _ _ _. _ _ _. _ _ _. _ _ _ IP subnet mask: _ _ _. _ _ _. _ _ _. _ _ _ Router IP address: _ _ _. - Page 6 P: Change the configuration software password S: Configure network security level T: Configure TFTP servers list A: Advanced configuration menu Q: Quit Enter N at the prompt to configure the default network port values and press Enter. 4 SCOPIA Elite 5100 Series MCU Quick Start...
- Page 7 Enter 2 to change the network configuration. Enter the IP address you want to assign to the MCU at the Enter IP address for default interface prompt and press Enter. Note Do not use leading zeros in the IP address. Enter the IP address of the router associated with the segment in which the unit will be installed at the Enter Default Router IP Address prompt and press Enter.
- Page 8 Click Add new service. Enter a prefix for the service and a description of the service in free text. Ensure that the prefix does not conflict with other prefixes used in your network. 6 SCOPIA Elite 5100 Series MCU Quick Start...
-
Page 9: Save The Configuration
Click Apply. After confirming your settings, the MCU is automatically updated with the new service profile settings. EFINE ATEKEEPER ETTINGS Procedure Click Configuration. Click Protocols. Select Gatekeeper Settings. Verify the H323 Gatekeeper configuration points to the AVE THE You can save MCU configuration settings to a file and then export this file to a storage device on your network. -
Page 10: Create A Meeting
Dial the meeting ID number to start the meeting, as follows: <service prefix>+<unique ID number>. As soon as the MCU accepts the call, the meeting is established. 8 SCOPIA Elite 5100 Series MCU Quick Start... - Page 11 Dialing to the MCU using the MCU IP address Procedure Dial from the endpoint to the MCU IP address. You access the MCU Auto Attendant. Click 0 to create a new conference, Select an existing conference from the list. Create a Meeting 9...
- Page 12 F +44 20 3178 5717 F +852 2801 4071 infoUSA@radvision.com infoUK@radvision.com infoAPAC@radvision.com This document is not part of a contract of license as may be expressly agreed RADVISION is registered trademarks of RADVISION, Ltd. All trademarks recognized. All rights reserved © 2009 RADVISION, Ltd...


Need help?
Do you have a question about the SCOPIA Elite 5100 Series and is the answer not in the manual?
Questions and answers