Numatic NUC244NX Original Instructions Manual
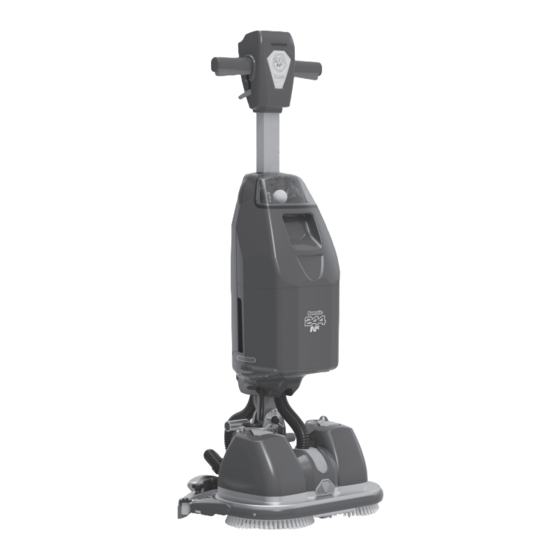
Compact scrubber dryer
Hide thumbs
Also See for NUC244NX:
- Original instructions manual (48 pages) ,
- Instructions manual (36 pages) ,
- Original instructions manual (24 pages)

Related Manuals for Numatic NUC244NX


Summary of Contents for Numatic NUC244NX
- Page 1 NUC244NX COMPACT SCRUBBER DRYER Original Instructions Caution! Read instructions before using the machine...
-
Page 2: Table Of Contents
C O M PA C T S C R U B B E R D R Y E R NUC244NX Index Machine Overview ......... Pages 1 & 2 PLEASE READ Control Panel Overview ......... Page 3 BEFORE COMMENCING OPERATION. Quick Set up Guide ......... -
Page 3: Machine Overview
Machine Overview... -
Page 4: Control Panel Overview
Battery Charge Level Meter Vacuum On / Off In the event of a breakdown contact Water Flow On / Off your Numatic dealer or the Triggers Numatic Technical Handle Lock Button (In the upright position) help line +44 (0)1460 269268... -
Page 5: Quick Set Up Guide
Quick Set-up Guide PLEASE READ BEFORE COMMENCING ANY OPERATION. AFTER THE REMOVAL OF ALL THE PACKAGING, CAREFULLY OPEN AND CHECK THE CONTENTS. NUC244NX CONTENTS Brush fitting - Make sure battery is removed before fitting or removing brushes ● Owner Manual ●... -
Page 6: Clean Water Tank Removal & Filling
DO NOT OVER FILL. Slide the tank back into the main tank body, make sure the front of the clean water tank is lifted to enter the recess (A). Push the tank all the way in until you hear it click, make sure it is securely fitted before fitting the tank assembly back on the machine. www.numatic.com... -
Page 7: Battery Fitting & Water Flow Setting
Make sure each lever is set to the same position. www.numatic.com... -
Page 8: Machine Handle Operation
With either trigger pulled in press the water on button, this lights up blue to Press the vacuum on button, this lights up blue to indicate it is on and the indicate it is on. vacuum starts. You are now ready to start cleaning. www.numatic.com... -
Page 9: Storage & Transportation
With your right foot push the right pedal down (B) while pulling the machine backwards until the storage wheels click into position and the front support wheel extends. MAKE SURE THE HANDLE IS LOCKED IN THE UPRIGHT POSITION BEFORE LETTING GO OF THE HANDLE. www.numatic.com... -
Page 10: Regular Maintenance
Wash the clean water outlets thoroughly under a the two clean water outlets, A and B. water tank. tap, make sure the filter is clean with no blockages. Check for any damage (if any damage is found replace the clean water outlets). www.numatic.com... -
Page 11: Float Valve Removal & Cleaning
3. Pick up the tank, use the base shown as a handle, tip the contents into a suitable drain, rinse the tanks and repeat the emptying process. Refit the clean water tank and separator and place back onto the machine. Note: If the machine is to be left for long periods between use, ensure the clean water tank is emptied. www.numatic.com... -
Page 12: Changing The Floor-Tool Blades
2. Front blade (Slotted / Reversible) 3. Blade carrier 4. Rear blade 5. Floor tool main body NOTE: The blades are designed to be reversible and rotated giving 4 usable surfaces (front, back, top and bottom, thus extending their useful working life). www.numatic.com... -
Page 13: Battery Removal & Charging
Check brush / pad and deck skirt, wipe and rinse. Check floor tool blades for wear and wipe clean. Clean separator assembly including filter and check condition of seal. Flush out system with clean water and clean filters. Notes: www.numatic.com... -
Page 14: Specifications
Adjust fluid control levers (page 6) Blocked clean water tank outlets Remove and clean (page 9) Failure to rectify the problem or in the event of a breakdown contact your Numatic dealer or Numatic Technical helpline +44 (0)1460 269268 www.numatic.com... -
Page 15: Rating Label / Personal Protective Equipment / Recycling
EU Importers info Battery part number Machine QR code Approval Mark Part Number Machine yr/wk Serial number Numatic Support PPE (Personal protective equipment) that may be required for certain operations. Ear Protection Safety Footwear Head Protection Safety Gloves Dust / Allergens... -
Page 16: Safety Precautions
• Use the machine without the solution tanks properly positioned on the machine, as shown in the instructions. • Expect the machine to provide trouble-free, reliable operation unless maintained correctly. • Run the machine over power cable during operation. DON’T • Lift or pull the machine by any of the operating triggers, use the main handle. www.numatic.com... -
Page 17: Recommended Spare Parts
DRIVE BOARD PACK OF 2 TK220WHT GLOMESH PAD 220MM WHITE PACK OF 6 913825 CLEAN WATER TANK TK220RED GLOMESH PAD 220MM RED PACK OF 6 GLOMESH PAD 220MM BLUE PACK OF 6 TK220BLU 913827 WASTE WATER TANK Schematic Diagram www.numatic.com... -
Page 18: Eu Declaration Document
Notes ..................................................................................................................................................................................................................................................................................................................................................................................................................................................................................................................................................................................................................................................................................................... www.numatic.com... -
Page 19: Warranty
Numatic I nternational L imited w arrant t o t he o riginal p urchaser t hat i ts p roducts a re f ree o f ... -
Page 20: Company Address
Charger / Lead & Battery Pack Signed This Product has been comprehensively inspected and checked during every stage of its manufacture. including an in-depth electrical safety and functionality test. Specification subject to change without prior notice www.numatic.com © Numatic International Limited 913728 06/21 (A02)
Need help?
Do you have a question about the NUC244NX and is the answer not in the manual?
Questions and answers