Advertisement
Quick Links
2 people
Assembly Instructions
90mins
This instruction booklet contains important safety information, please read and keep for future
reference.
1 YR LTD
ITEM # HI 681
1 Box
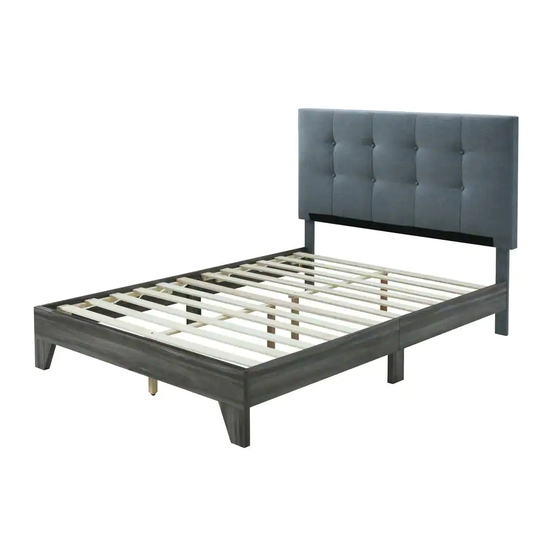
Full - Size Platform Bed
BACK VIEW
FRONT VIEW
Product Dimensions:
Height 47.5" x Width 58.5" x Depth 78"
1 |
P a g e
www.Hodedah.com
Advertisement

Related Manuals for Hodedah HI 681


Summary of Contents for Hodedah HI 681
- Page 1 2 people Assembly Instructions 90mins This instruction booklet contains important safety information, please read and keep for future reference. 1 YR LTD ITEM # HI 681 1 Box Full - Size Platform Bed BACK VIEW FRONT VIEW Product Dimensions: Height 47.5” x Width 58.5” x Depth 78”...
-
Page 2: Warranty
______________________________________________ WARRANTY Hodedah warrants this product to be free from defects in materials and workmanship and agrees to remedy any such defect. This warranty covers one year from the date of original purchase. This is solely limited to replacement of defective parts and no assembly for labor is included. This warranty does not apply to any product that has been improperly assembled, subjected to misuse, abuse or which has been altered or repaired in any way. -
Page 3: Product Care And Maintenance
Never push, drag or pull your furniture, to move to a new location carefully with two or more people carry the unit to its new location. • Avoid extreme changes in temperature by arranging furniture away from radiators, heat and air vents and air conditioning units. P a g e www.Hodedah.com... -
Page 4: Hardware List
1. Before you throw the package, please use the Check Box to identify the parts and hardware to ensure that you have everything you need. 2. Check and measure the bolts before applying them to parts. 3. Do not completely tighten all hardware until the entire assembly is complete, unless indicated otherwise. P a g e www.Hodedah.com... -
Page 5: Parts List
Parts List Head Board Foot Board Side Rail 2Pcs 1499x714x76mm 1426x305x30mm 959x155x15mm Side Rail Side Support LVL Slats 2Pcs 2Pcs 12Pcs 959x155x15mm 275x84x30mm 1384x60x12mm Center Leg Center Slats Post 4Pcs 2Pcs 2Pcs 250x30x30mm 820x40x15mm 605x70x20mm P a g e www.Hodedah.com... - Page 6 The Breakdown… P a g e www.Hodedah.com...
- Page 7 *Place and fix part 5 onto part 3 and 4 by inserting JCBC (C) with Washer (B). *Fasten JCBC (C) using predrilled holes on part 5 into part 3 and 4 by using L Key (F). P a g e www.Hodedah.com...
- Page 8 Step 2 *Place and fix part 9 onto part 1. *Insert and Fasten JCJB (D) with Washer (B) into predrilled holes on part 9 by using L Key (F). P a g e www.Hodedah.com...
- Page 9 Step 3 * First prepare Part 6, 7 and 8. *Insert JCBC (E) into predrilled holes of Part 6 and 8 thru Part 7. *Fasten JCBC (E) by using L Key (F). P a g e www.Hodedah.com...
- Page 10 Step 4 *Place Part 3 and 4 to hook Part 1 and Part 2. *Fasten JCBC by using L Key (G). 10 | P a g e www.Hodedah.com...
- Page 11 Step 5 *Place Part 6, 7 and 8 inside Part 1, 2, 3 and 4. *Faster Screw (A) into predrilled holes of Part 6 by using Screwdriver. 11 | P a g e www.Hodedah.com...
- Page 12 Job Complete… Enjoy & Thank you for purchasing from Hodedah! 12 | P a g e www.Hodedah.com...
Need help?
Do you have a question about the HI 681 and is the answer not in the manual?
Questions and answers