Sign In
Upload
Download
Table of Contents
Contents
Add to my manuals
Delete from my manuals
Share
URL of this page:
HTML Link:
Bookmark this page
Add
Manual will be automatically added to "My Manuals"
Print this page
×
Bookmark added
×
Added to my manuals
Manuals
Brands
Victory Motorcycles Manuals
Motorcycle
Hammer S
Rider's manual
Victory Motorcycles Hammer S Rider's Manual
Hide thumbs
Also See for Hammer S
:
Owner's manual
(170 pages)
,
Rider's manual
(96 pages)
1
2
3
4
5
6
Table Of Contents
7
8
9
10
11
12
13
14
15
16
17
18
19
20
21
22
23
24
25
26
27
28
29
30
31
32
33
34
35
36
37
38
39
40
41
42
43
44
45
46
47
48
49
50
51
52
53
54
55
56
57
58
59
60
61
62
63
64
65
66
67
68
69
70
71
72
73
74
75
76
77
78
79
80
81
82
83
84
85
86
87
88
89
90
91
92
93
94
95
96
97
98
99
100
101
102
103
104
105
106
page
of
106
Go
/
106
Contents
Table of Contents
Bookmarks
Table of Contents
Table of Contents
Introduction
Safety
Reporting Safety Defects
Component Identification
Instruments, Features and Controls
Pre-Ride Inspections
Operation
Maintenance
Cleaning and Storage
Warranties
Specifications
Identification Numbers
Maintenance Record
Index
Advertisement
Quick Links
1
Table of Contents
2
Introduction
3
Instruments, Features and Controls
4
Operation
5
Maintenance
6
Specifications
7
Index
Download this manual
2016 Rider's Manual
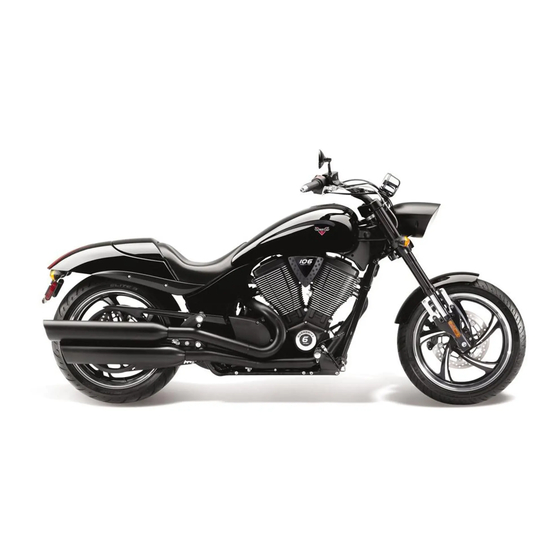
Hammer® S
Vegas®
Vegas 8-Ball®
High-Ball®
Gunner
Table of
Contents
Previous
Page
Next
Page
1
2
3
4
5
Advertisement
Table of Contents
Need help?
Do you have a question about the Hammer S and is the answer not in the manual?
Ask a question
Questions and answers
Related Manuals for Victory Motorcycles Hammer S
Motorcycle Victory Motorcycles 2009 Hammer Owner's Manual
(170 pages)
Motorcycle Victory Motorcycles Hammer S Rider's Manual
(96 pages)
Motorcycle Victory Motorcycles 2005 Ness Signature Series Kingpin Owner's Manual
(169 pages)
Motorcycle Victory Motorcycles Hammer 2005 Owner's Manual
(332 pages)
Motorcycle Victory Motorcycles Hammer 2010 User Manual
(332 pages)
Motorcycle Victory Motorcycles 2005-2006 Hammer Service Manual
(12 pages)
Motorcycle Victory Motorcycles 2011 Cross Roads Rider's Manual
(126 pages)
Motorcycle Victory Motorcycles 2012 Vegas Service Manual
(103 pages)
Motorcycle Victory Motorcycles Classic Cruiser 2002 Service Manual
(31 pages)
Motorcycle Victory Motorcycles Classic Cruiser 2003 Owner's Manual
(180 pages)
Motorcycle Victory Motorcycles Cross Country 2015 Manual
(160 pages)
Motorcycle Victory Motorcycles Vision Tour 2013 Owner's Manual
(134 pages)
Motorcycle Victory Motorcycles Kingpin 2004 Manual
(162 pages)
Motorcycle Victory Motorcycles Vision Tour Rider's Manual
(143 pages)
Motorcycle Victory Motorcycles V92C Owner's Manual
(164 pages)
Motorcycle Victory Motorcycles OCTANE 2017 Rider's Manual
(112 pages)
This manual is also suitable for:
Vegas 8-ball
High-ball
Gunner
2005 vegas
Table of Contents
Print
Rename the bookmark
Delete bookmark?
Delete from my manuals?
Login
Sign In
OR
Sign in with Facebook
Sign in with Google
Upload manual
Upload from disk
Upload from URL


Need help?
Do you have a question about the Hammer S and is the answer not in the manual?
Questions and answers