
Related Manuals for Clarke WOODWORKER CBS205


Summary of Contents for Clarke WOODWORKER CBS205
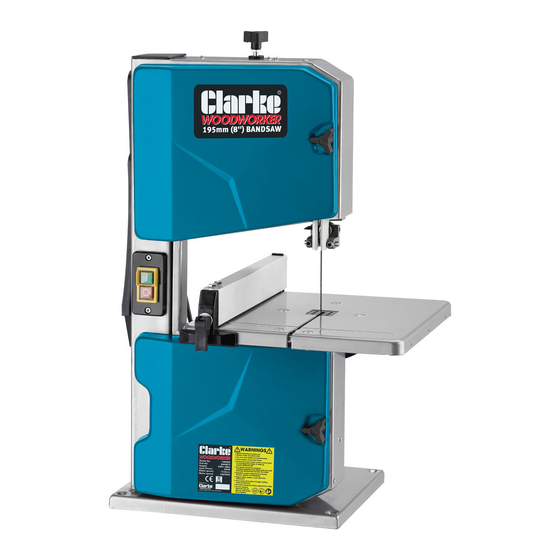
- Page 1 195MM BENCH TOP BANDSAW MODEL NO: CBS205 PART NO: 6460072 OPERATION & MAINTENANCE INSTRUCTIONS ORIGINAL INSTRUCTIONS DL1020 ISS 1...
-
Page 2: Environmental Protection
GUARANTEE This CLARKE product is guaranteed against faulty manufacture for a period of 12 months from the date of purchase. Please keep your receipt as proof of purchase. -
Page 3: Safety Warnings
SAFETY WARNINGS CAUTION: FAILURE TO FOLLOW THESE PRECAUTIONS COULD RESULT IN PERSONAL INJURY, AND/OR DAMAGE TO PROPERTY. WORK ENVIRONMENT 1. Keep the work area clean and well lit. Cluttered and dark areas invite accidents. 2. DO NOT operate power tools in explosive atmospheres, such as in the presence of flammable liquids, gases or dust. -
Page 4: Personal Safety
7. If the machine requires repair, always contact your CLARKE dealer. Always insist on original spare parts. Repairs carried out by unauthorized persons may be dangerous and invalidate the guarantee. 8. Before cleaning or maintenance operations, always unplug the machine from the power supply. -
Page 5: Additional Precautions For Bandsaws
Check for alignment of moving parts, breakage of parts, mountings, and any other condition that may affect the machine’s operation. Any damage should be properly repaired or the part replaced. If in doubt, DO NOT use the machine. Consult your local CLARKE dealer. SERVICING 1. -
Page 6: Safety Symbols
9. When cutting wood, ensure any nails or fastenings have been removed beforehand. Nails will damage the saw blade. 10. When cutting round timber stock, use a suitable jig or fixture to keep the work from turning. 11. Always ensure the blade is fully tightened and correctly adjusted before use. -
Page 7: Specifications
SPECIFICATIONS CBS205 Weight 16.9 kg Dimensions (W x D x H) 391 x 455 x 681 mm Table Size (W x D) 302 x 304 mm Throat Width 195 mm Table Tilt Angle 90 - 45 80 mm Maximum Cutting Depth @ 90 45 mm Maximum Cutting Depth @ 45 Height of Fence... -
Page 8: Electrical Connections
ELECTRICAL CONNECTIONS WARNING! Read these electrical safety instructions thoroughly before connecting the product to the mains supply. Before switching the product on, make sure that the voltage of your electricity supply is the same as that indicated on the rating plate. This product is designed to operate on 230VAC 50Hz. - Page 9 U Shaped Blocker c/w Nuts Start/Stop Buttons (M6) & Bolts Make sure that all parts are un-damaged and are present. If any parts are missing or damaged please contact your CLARKE dealer immediately. Parts & Service: 020 8988 7400 / E-mail: Parts@clarkeinternational.com or Service@clarkeinternational.com...
-
Page 10: Fitting The Table
ASSEMBLY PREPARATION For maximum stability the bandsaw should be bolted firmly to either a workbench, a suitable stand, or a piece of plywood, 5/8”(15.9mm) thick, and the plywood should be clamped firmly to a workbench whenever the bandsaw is being used. The saw must be located in an area large enough to allow you to work freely, taking into account the likely size of your workpiece, ensuring adequate lighting. -
Page 11: Adjusting The Components
ADJUSTING THE COMPONENTS TILTING THE TABLE 1. Loosen the table tilt knobs and adjust the table to the desired angle. 2. Use the angle indicator scale on the table tilting bracket, to find the desired angle. 3. Re-tighten the table tilt knobs to secure the table. -
Page 12: Adjusting The Blade Tension
4. After adjusting, close both covers. ADJUSTING THE BLADE TENSION CAUTION: TOO MUCH TENSION CAN CAUSE THE SAW BLADE TO BREAK. TOO LITTLE TENSION CAN CAUSE THE BLADE TO MAKE IRREGULAR (WANEY) CUTS. 1. ALWAYS make sure the machine is unplugged from the power supply 2. -
Page 13: Upper Blade Guide Adjustment
UPPER BLADE GUIDE ADJUSTMENT The height of the upper blade guide needs to be adjusted prior to every cutting operation to accommodate the height of the workpiece. The upper blade guide should be set approx 3 mm above the workpiece. Set the upper blade guide by turning the adjusting knob to the desired height and securing in position with... -
Page 14: Using The Fence
USING THE FENCE The fence can be used on both sides of the blade. 1. Engage the fence with the table and move to the required position. The scale indicates the distance from the saw blade to the fence. 2. Ensure the fence is parallel to the blade groove. -
Page 15: Practical Operation
PRACTICAL OPERATION Before commencing work, ensure the work area is clean and tidy and the machine table is clear of tools etc. Plan your work carefully and set the machine up accordingly before switching on. • Check the blade is correctly tensioned before use (see page 12). •... -
Page 16: Freehand Cutting
When cutting a bevel rip, with the table tilted at any angle up to 45 , set the rip fence to the right hand side of the blade if the width of the workpiece allows it. With the fence on the ‘downhill’ side of the table, it will help support the workpiece. -
Page 17: Maintenance
MAINTENANCE WARNING: ALWAYS SWITCH OFF THE MACHINE AND DISCONNECT FROM THE POWER SUPPLY BEFORE CARRYING OUT ANY CLEANING OR MAINTENANCE TASKS. CLEANING Accumulated dust and chips should be removed from inside the bandsaw frequently. Open the upper and lower covers, use a soft brush and/or vacuum cleaner to remove sawdust. -
Page 18: Optional Accessories
Suitable blades are available from your CLARKE stockist: • 6tpi Bandsaw blade: Part No 6460058 DUST EXTRACTORS A suitable dust extractor is available from your CLARKE stockist: • CWVE1 Vacuum Dust Extractor: Part no 6471168 Parts & Service: 020 8988 7400 / E-mail: Parts@clarkeinternational.com or Service@clarkeinternational.com... -
Page 19: Troubleshooting
7. Blade is badly welded or 7. Renew blade brazed. 8. Fit only quality blades 8. Wrong blade fitted. supplied by your CLARKE dealer. 9. Bandsaw left running when 9. Always switch machine not in use. off when not in use. -
Page 20: Parts Diagram
PARTS DIAGRAM Parts & Service: 020 8988 7400 / E-mail: Parts@clarkeinternational.com or Service@clarkeinternational.com... -
Page 21: Parts List
PARTS LIST PART NO DESCRIPTION PART NO DESCRIPTION Lower Housing Door Spring Washer 4 Door Locker M6x26 Lock Washer 4 Lock Nut M6 Bolt M6x12 Screw M5x25 Spring Washer 6 Nut M5 Big Flat Washer 6 Flat Washer 4 Key 5x14 Screw M4x8 Bandsaw Wheel - Lower Lower Housing Door... - Page 22 PARTS LIST PART NO DESCRIPTION PART NO DESCRIPTION Motor Upper Blade Guard Bolt M8x65 Bolt M6x60 Brush Gear Bushing Guide Block Nut M8 Fixing Rod Bolt M5x8 Upper Blade Guide Seat Bolt M6x35 Screw M6x6 Bolt M6x20 Upper Blade Guide Flat Washer 8 Upper Guide Pin Table Insert...
-
Page 23: Declaration Of Conformity
DECLARATION OF CONFORMITY Parts & Service: 020 8988 7400 / E-mail: Parts@clarkeinternational.com or Service@clarkeinternational.com...
Need help?
Do you have a question about the WOODWORKER CBS205 and is the answer not in the manual?
Questions and answers