Table of Contents
Advertisement
Quick Links
SWITCHBACK
HOME EDITION
ASSEMBLY INSTRUCTIONS
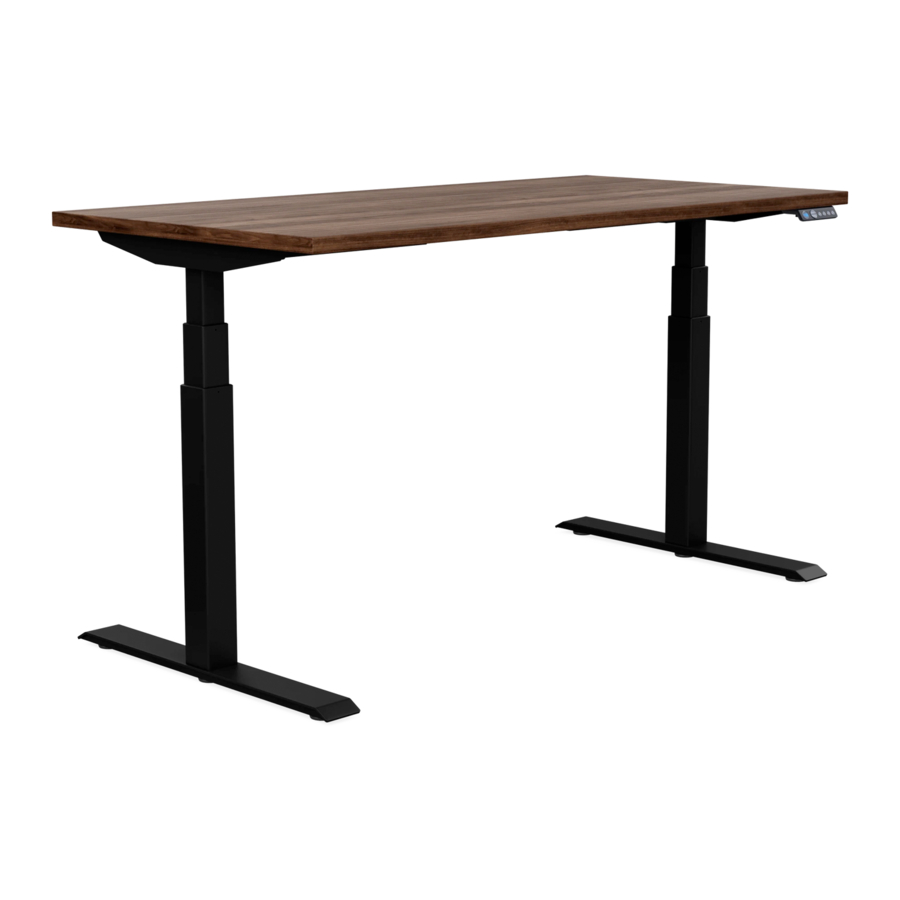
Sit. Stand. Or switch it up (back and forth). Personalize your workspace with Switchback, the
height-adjustable table that lets you change up your workday in a flash. Built with premium
industry-leading features at an unmatched value, you've got one great modern office essential.
C6515 Rev C
Advertisement
Table of Contents

Subscribe to Our Youtube Channel
Related Manuals for SitOnit Seating Switchback Home Edition


Summary of Contents for SitOnit Seating Switchback Home Edition
- Page 1 SWITCHBACK HOME EDITION ASSEMBLY INSTRUCTIONS Sit. Stand. Or switch it up (back and forth). Personalize your workspace with Switchback, the height-adjustable table that lets you change up your workday in a flash. Built with premium industry-leading features at an unmatched value, you’ve got one great modern office essential. C6515 Rev C...
-
Page 2: Component List
SWITCHBACK – HOME EDITION ASSEMBLY INSTRUCTIONS COMPONENT LIST REQUIRED TOOLS • Frame (1) • Top Support (2) • Foot (2) • Controller (1) • #10 × ¾" Screw (18) • #8 × ⅞" Screw (2) 5 mm Hex L-Key • ⅜" × ⅝" Screw (8) (Included) #2 Phillips Screwdriver or Bit... - Page 3 SWITCHBACK – HOME EDITION ASSEMBLY INSTRUCTIONS Column Socket Screw Motor Housing STEPS 1. Rotate the columns into the upright position. 2. Install top supports into columns. 3. Tighten the four socket screws (already in place) on each side that secure the motor housing for each of the columns using the 5 mm hex L-key provided.
- Page 4 SWITCHBACK – HOME EDITION ASSEMBLY INSTRUCTIONS Set Screw U-Pipe Center Support Control Box STEPS 4. Using the provided 5mm hex L-key, install table feet using four ⅜" × ⅝" screws per leg. 5. Place the frame/foot assembly onto the underside of the tabletop and extend the frame to the length indicated by the pilot holes.
- Page 5 SWITCHBACK – HOME EDITION ASSEMBLY INSTRUCTIONS STEPS 7. Attach the frame/foot assembly to the tabletop using the #10 × ¾" screws. 8. Attach the controller to the front of the tabletop with the two #8 × ⅞" crews. 9. Attach power cord. Tuck all excess cords into the frame. 10.
- Page 6 SWITCHBACK – HOME EDITION ASSEMBLY INSTRUCTIONS STEPS To reset the table: Press and hold the up and down buttons at the same time for 3 seconds. Continue pressing until the columns are in the lowest position. When finished resetting, the control box will make a sound and the buttons can be released. Now the system is operational.
- Page 7 SWITCHBACK – HOME EDITION SAFETY INFORMATION RISK OF DEATH AND SERIOUS INJURY WARNING Raising or lowering the table can trap, pinch, or crush body parts or property. Read all instructions before using this equipment. This product has been evaluated by UL for commercial use. it has not been evaluated for environments where children or others who may not recognize and comprehend the risks inherent with moving parts are unsupervised.
-
Page 8: Grounding Instructions
SWITCHBACK – HOME EDITION SAFETY INFORMATION RISK OF DEATH AND SERIOUS INJURY WARNING Raising or lowering the table can trap, pinch, or crush body parts or property. Read all instructions before using this equipment. DO NOT OVERLOAD TABLE Make sure the table system is not overloaded by the weight of the tabletop and objects on table. Evenly distribute load; excess loads near the edges can reduce stability and lead to tip-over. -
Page 9: User Interface Guide
SWITCHBACK – HOME EDITION USER GUIDE USER INTERFACE GUIDE CONTROLLER 3-digit display memory setting (shows height buttons of the desk) INITIALIZATION / RESET Simultaneously ress the buttons for three seconds. Continue pressing until both columns are in the lowest position. When the reset is finished, the control box makes a beep sound and the buttons can be released. Reminders: When reset is being conducted, the display shows “E00”... - Page 10 SWITCHBACK – HOME EDITION USER GUIDE HEIGHT ADJUSTMENT GUIDE SETTING THE UPPER AND LOWER HEIGHT LIMITS Setting upper height limit: 1. Adjust the desk to the preferred height of upper limit. 2. Press buttons together and then release button within 3 seconds. 3.
-
Page 11: Power Saving Function
SWITCHBACK – HOME EDITION USER GUIDE ERROR CODES AND POWER SAVING The digital display shows the error code below to suggest the issues that users may encounter during the operation. Error Code Description Resetting Not reset completely Overuse protection Unbalance protection Anti-collision T-touch protection M1 Motor over-current protection...
Need help?
Do you have a question about the Switchback Home Edition and is the answer not in the manual?
Questions and answers